It's always exciting when KitchenAid releases a new product. The brand is known worldwide for its premium appliances, including its hugely popular stand mixers and blenders which fuse style and practicality.
So when I heard a brand new KitchenAid espresso machine had landed, I couldn't wait to get my hands on it. I was lucky enough to try out the new model, and below I give you my full, honest review, from unboxing and setting up, to topping off my coffee with the perfect frothy head. I won't mention the failed latte art though!
Make sure to check out our round-up of the best coffee machines on sale right now too.
Key stats
- Price: £349-£429
- Power: 1470 W
- Weight: 5.55 kg
- Pressure: 15 Bar Pump
- Removable water tank capacity: 1.4 L
- Dimensions: 28.6 (H) x 33.4 (W) x 16.2 (D) cm
KitchenAid coffee machine review

After the excitement of unboxing my KitchenAid Artisan Espresso machine, I went about finding the perfect spot for it on my kitchen countertop. Thanks to its compact size (it's smaller than my previous coffee machine), it didn't take up much room at all, and the polished stainless-steel design gives it a high-end, professional look that I'm all too happy to show off!
Practically, it sat safely and sturdily on my counter. The power cord is a generous length, coming in at just under 100cm, and there are hooks under the base of the machine to wrap any excess cord neatly out of sight.
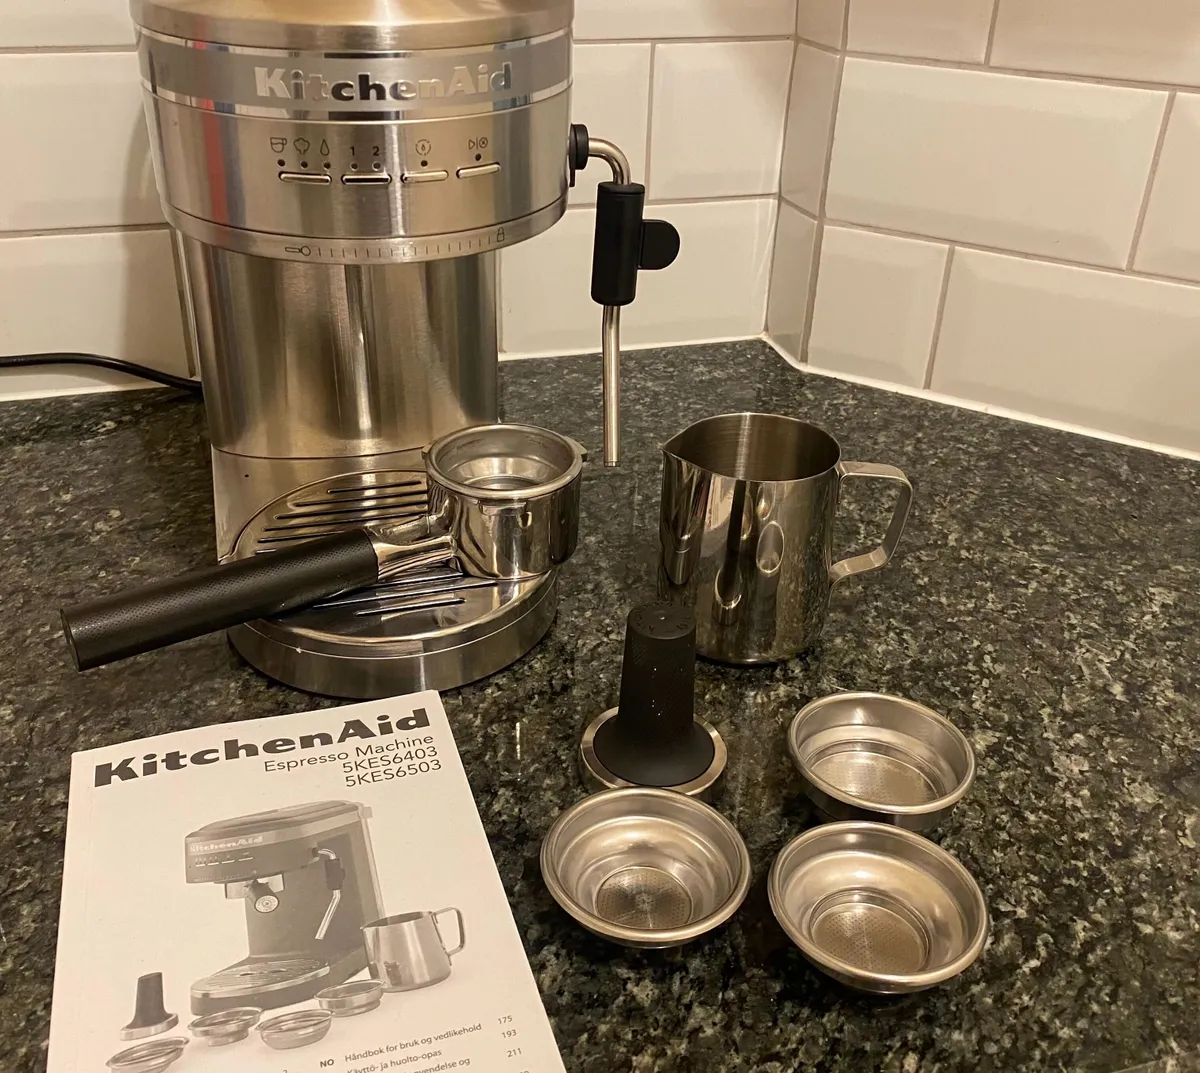
As for accessories, the model comes equipped with a milk jug, steam wand (which can also dispense hot water), portafilter, tamper, and four wall baskets, as well as a removable drip tray and 1.4-litre water tank. The stainless steel portafilter and tamper have an impressive weight to them - adding to the high-end quality feel of the product.

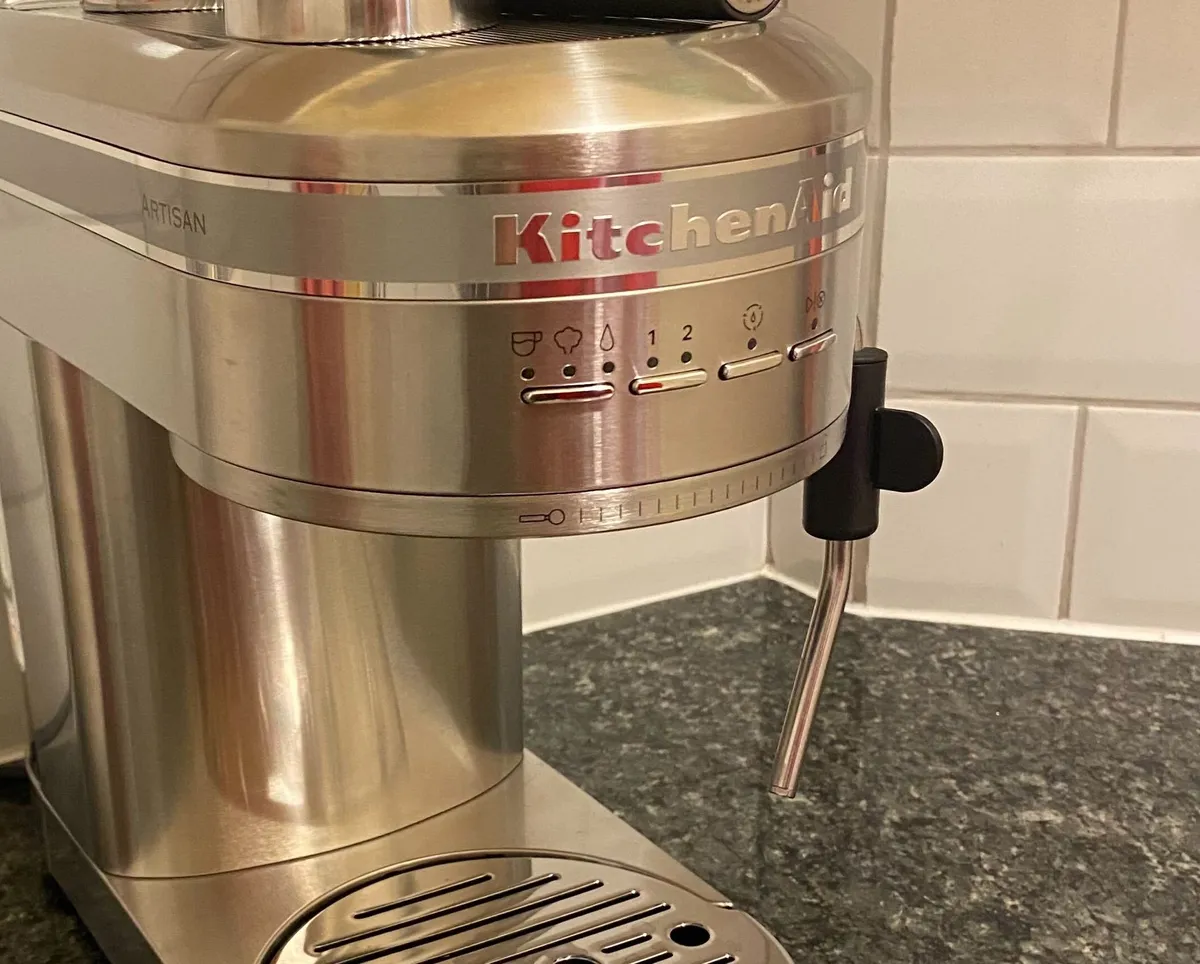
The KitchenAid Artisan Espresso Machine has four operation buttons on the front display, as well as the power button accessed at the back. The left-hand button allows you to select the coffee function, steam function and hot water function. The second button allows you to set one shot or two. The third button is the descaling mode - when it lights up, it's time to hit the button and deep clean your machine. Last but not least, is the start and stop button on the right, which you use when drawing your coffee shot, steaming your milk or using the hot water function.
Within seconds of switching on the power button the water had heated up to temperature, and after a couple of minutes reading through the clear and concise instruction booklet, I was ready to make my coffee. I used the double shot setting and went for the double shot wall basket which, as the booklet told me, is supposed to give 'consistent extraction for beginners'. The tamper did the trick of flattening out my coffee grounds and the portafilter slotted in without any problems.
It took approximately 27 seconds for the shot to pour into my cup. There wasn't a huge amount of crema (the thin layer of foam which sits atop an espresso) but perhaps after a few goes I'll be more successful with this.
After pulling the espresso shot, the coffee grounds in the portafilter were a little wet, but still easy enough to dispose of in the compost bin (you can also dilute used coffee grounds in a watering can and feed to your houseplants!).
I did notice that the drip tray is a little shallow; it needed emptying after two coffees, whereas rivals models often boast drip trays which can last for several cups of coffee a day. It's super easy to remove the tray and rinse out, but it might be worth considering if you're in a household with lots of coffee drinkers!

The final step in the coffee-making process is frothing up your milk (although some people say frothing your milk first, to give it time to cool, can improve the thickness of the froth and make it easier to create latte art).
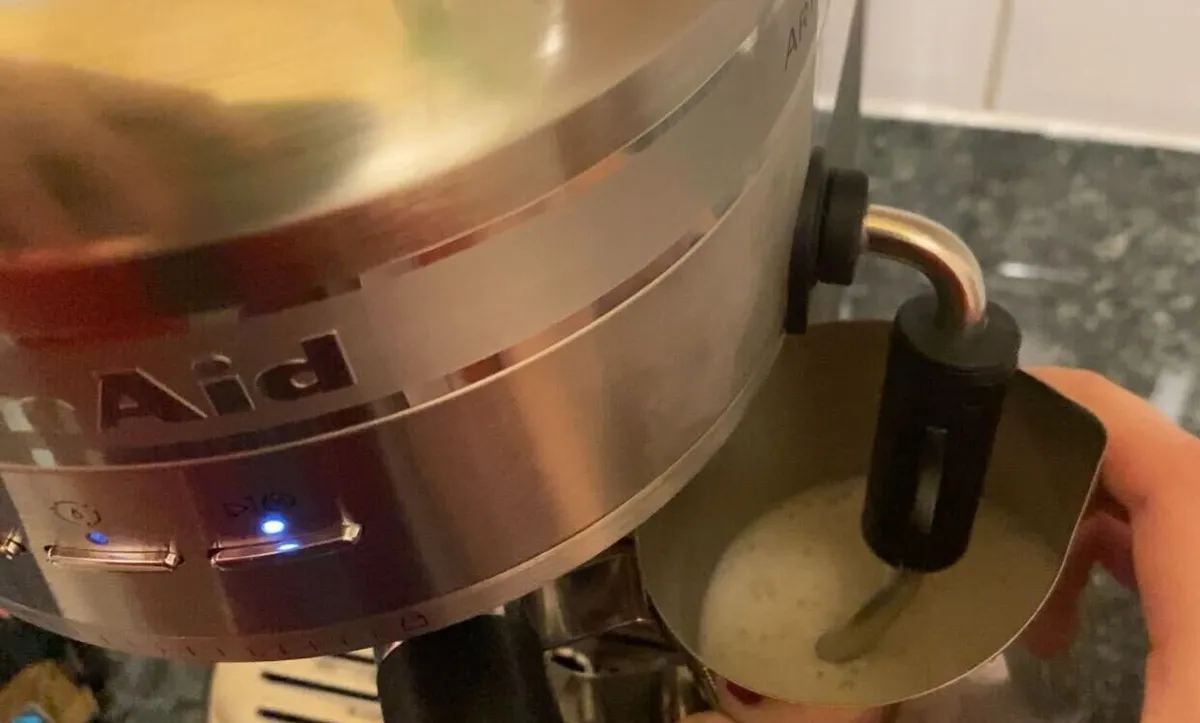
In this instance I followed the rule book and frothed my milk after I pulled my shot. To start, you have to click the left-hand button two times to set the steam function. The steamer is loud, but hey, it gives you a proper barista, coffee shop vibe! It took about 20 seconds to get a proper froth and I found the more milk I used, the better, so if you only want a small amount of froth it might be tricky to get the same kind of thickness.

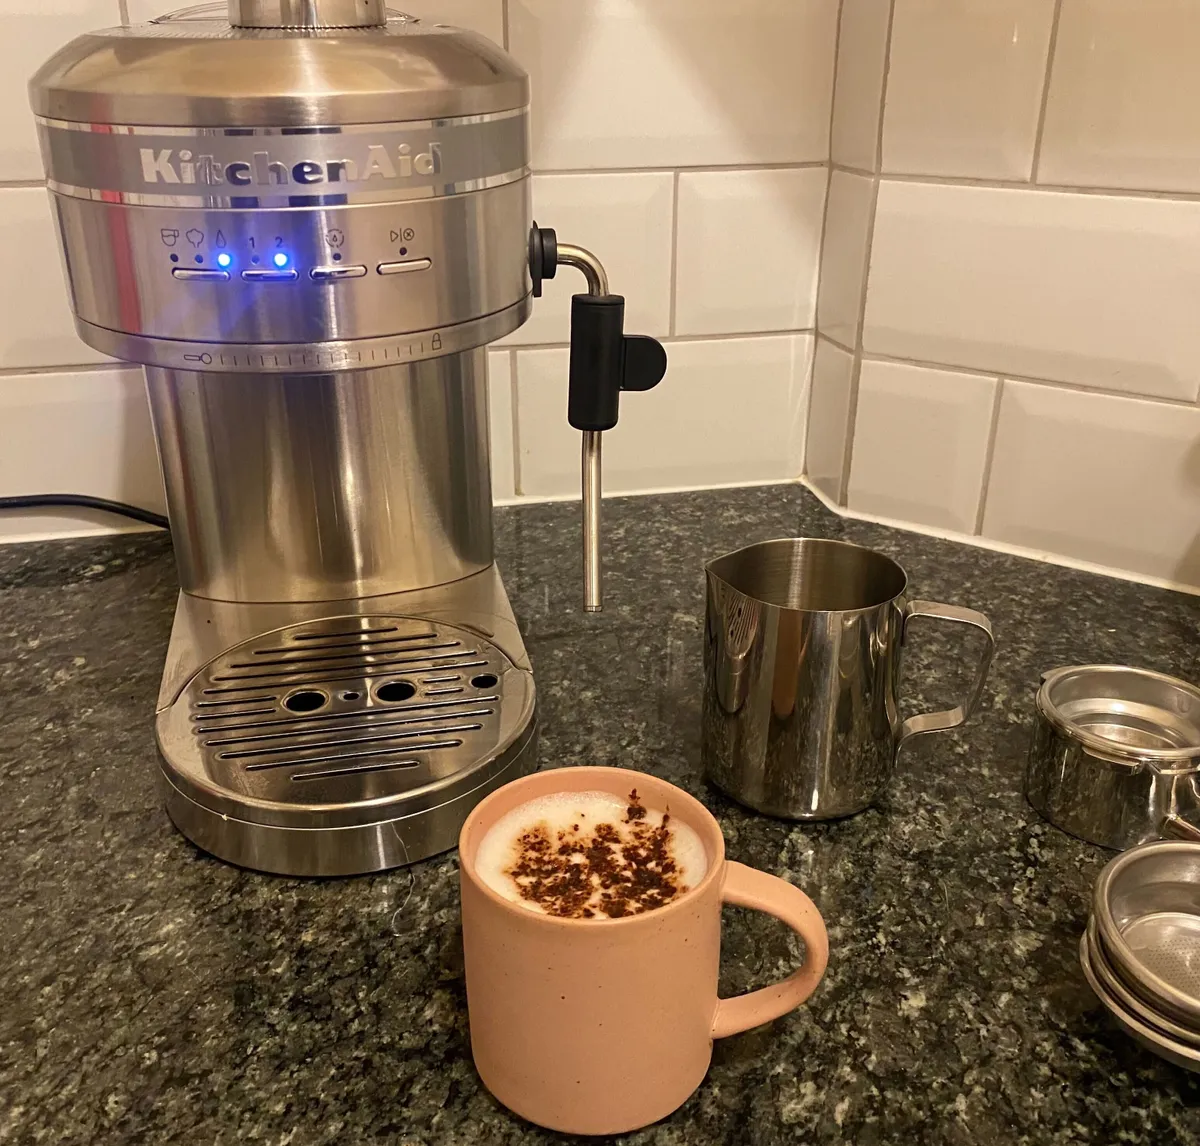
Espresso shot complete! With frothy milk and chocolate on top. Image: © YourHomeStyle
The end product was a delicious cup of smooth coffee that certainly packed a punch taste-wise. The crema could have been a little bit thicker but the addition of the frothy milk definitely made up for that.
Overall, if you're after a reliable, stylish and quick-and-easy coffee machine, you can't go wrong with the Artisan Espresso Machine. It is on the pricier end of the scale, but it's well worth looking out for sales and discount offers (at the time of writing there is a 25% offer). And, if you want to match your coffee bean grinder to your coffee machine, check out their matching Artisan coffee grinder too!
How to clean the KitchenAid Artisan Espresso Coffee Machine
Thanks to the shiny, wipe-clean surface of the KitchenAid Artisan Machine, it's super easy to keep clean and sparkling. The drip tray can be easily removed and rinsed out and the stainless steel drip tray cover can also be wiped clean in seconds. The self-clean mode, accessed via the third button, will also ensure your machine is kept free from any limescale build-ups.
What are the health benefits of coffee?
Wondering how many coffees should you drink a day? 220 Triathlon magazine investigated this and found that moderate coffee consumption 'may lower the risk of colon cancer, gallstones, cirrhosis of the liver and even Parkinson’s disease. In addition, some studies have indicated that coffee contains four times the amount of cancer-fighting antioxidants as green tea.' Read the rest of their article 'Is tea or coffee better for you?' for more!

