Replacing a kitchen doesn’t come cheap.
So, when Claire and Chris Last moved into their two-bedroom period property near Cambridge, they decided to work with the existing layout and units rather than rip it out and start again. ‘It’s actually a great kitchen to work in, as everything is perfectly placed and close to hand,’ says Claire.
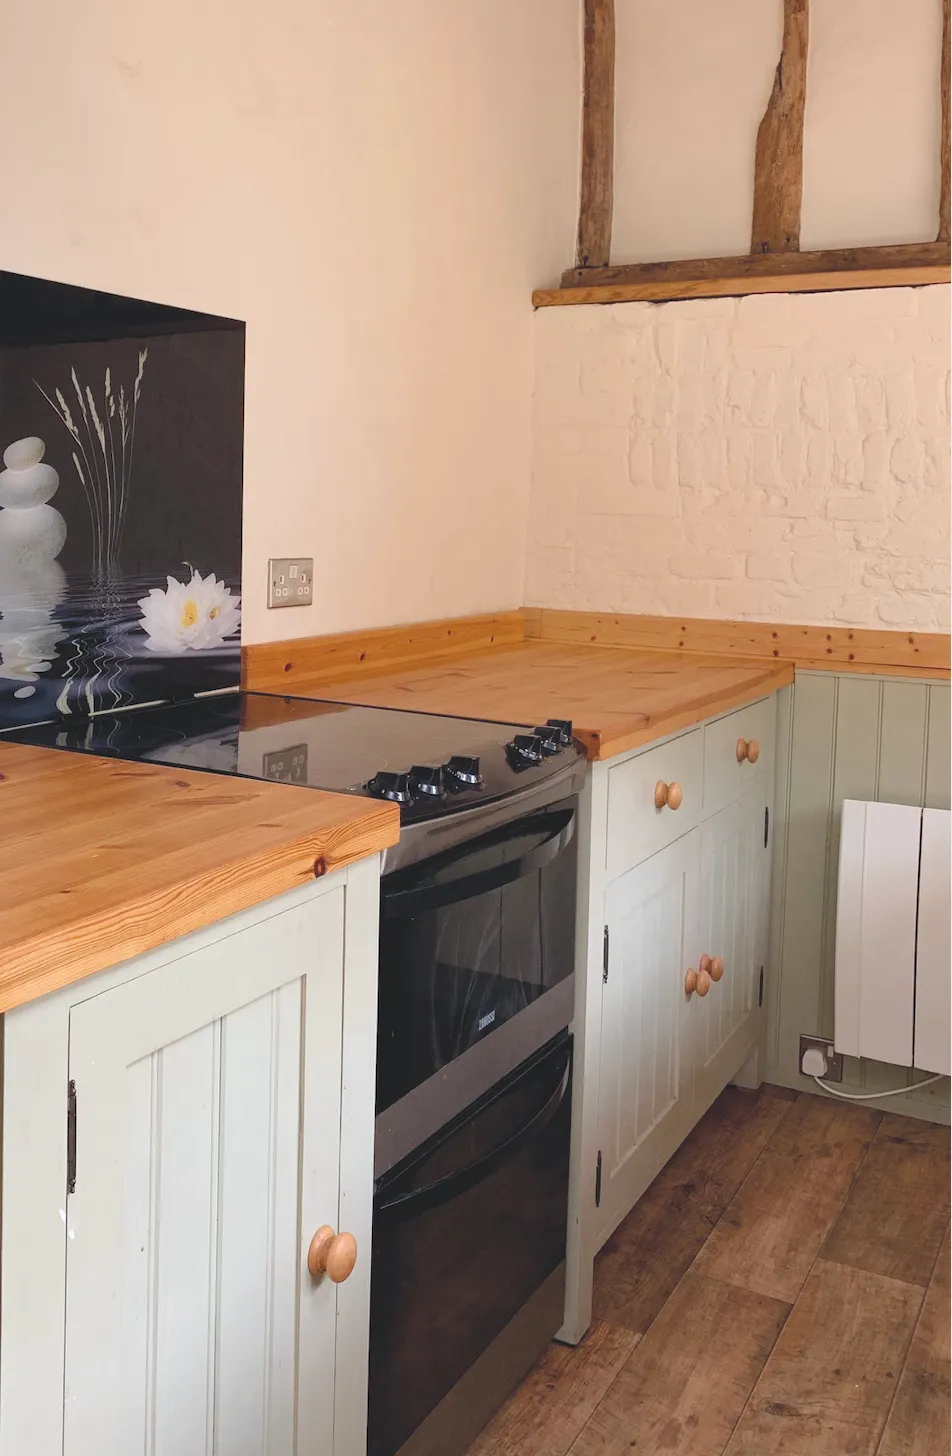
However, with ageing appliances, worn fixtures and stunning original beams lost in a sea of orange pine, the challenge was how to transform this dated kitchen into a more characterful, welcoming space, with only limited funds.
Before
STEP ONE
The couple’s plan was to simply refresh the units with a coat of paint, thus leaving enough in the kitty for a brand new cooker, floor and work surface. ‘I’m not a fan of timber worktops, and ours were quite badly cracked and marked, especially around the sink area, while the laminate flooring had definitely seen better days,’ she explains.
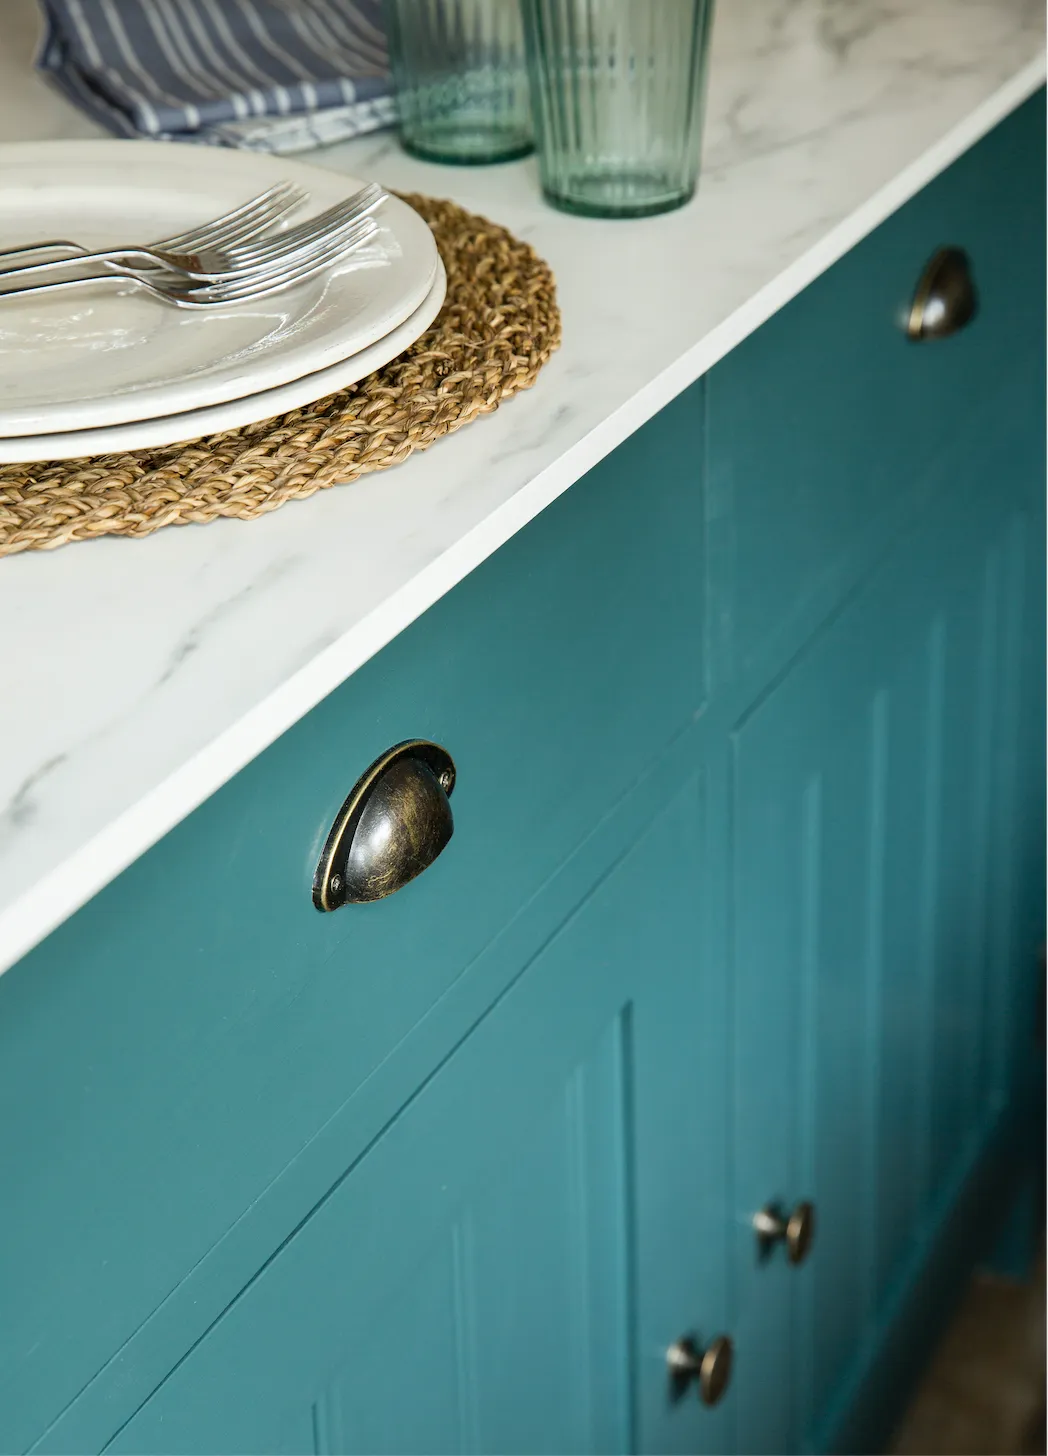
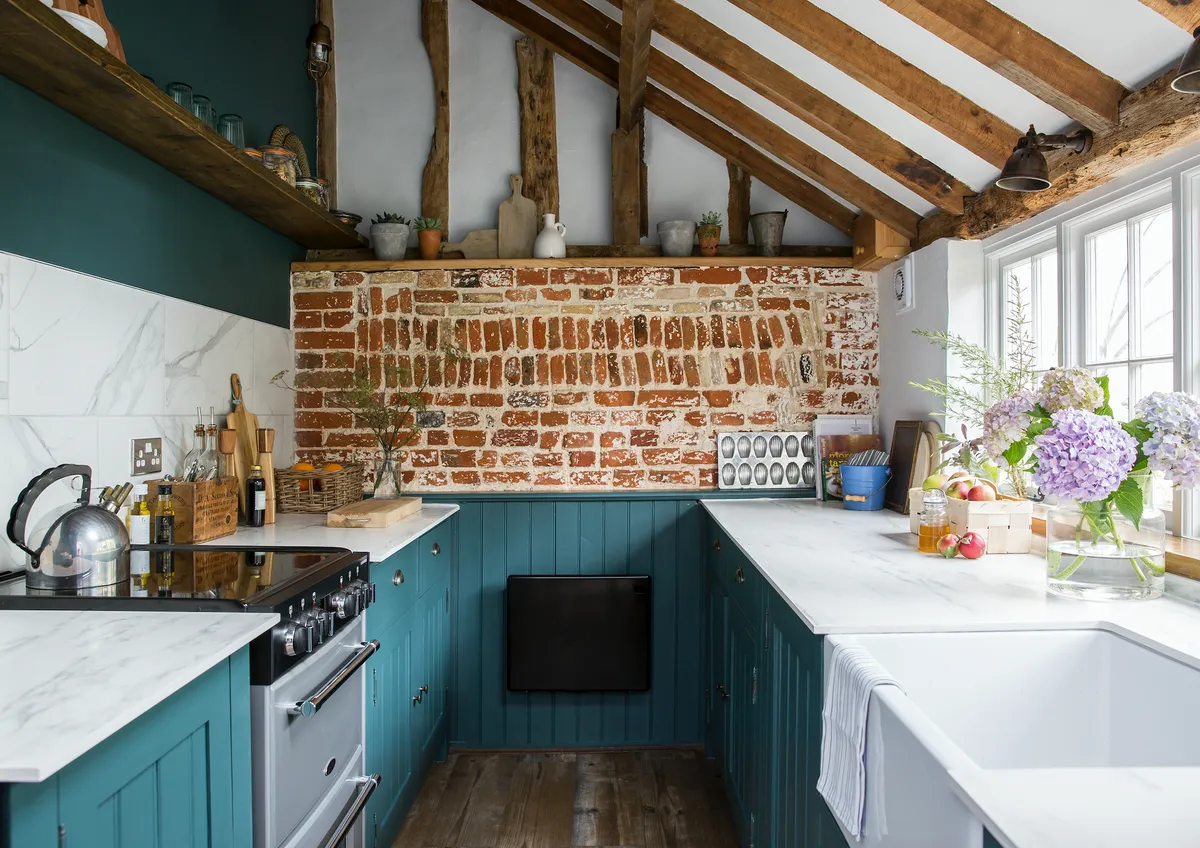
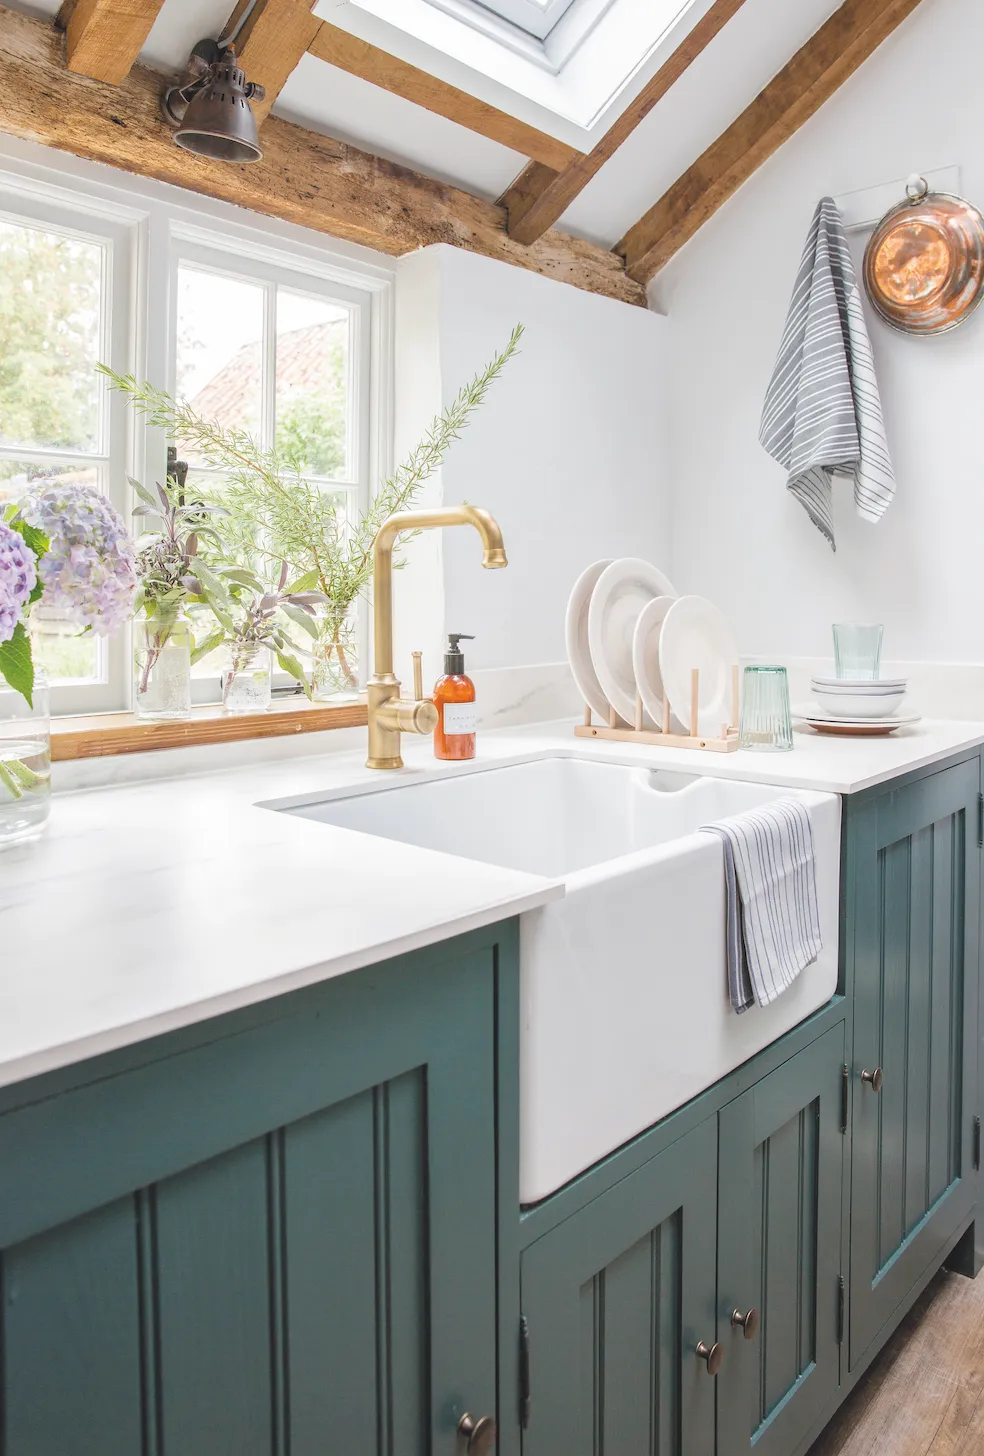
Claire, however, was keen to retain the existing Belfast sink, as it fitted perfectly with her vision of modern, rustic styling. ‘I wanted a bold scheme in keeping with the age of our home, so my idea was to team dark green paintwork with crisp white marble, rustic timbers and metal accents,’ she says.
STEP TWO
Before the painting could begin, Claire was determined to expose a section of the original brickwork. ‘Our house is very old, and I thought revealing more of its history would help inject warmth and personality, as well as tie my proposed scheme together,’ she smiles.

Claire used a preparatory stripper and readily admits removing the old paint was both hard work and extremely time-consuming, but well worth the effort. Luckily, painting the units proved far easier, and having removed the worktops, cooker and flooring, the couple used a water-based eggshell to get the matt finish Claire wanted. ‘We also added new brass handles and painted the walls in a space-enhancing pale grey and complementary dark green,’ she continues.
STEP THREE
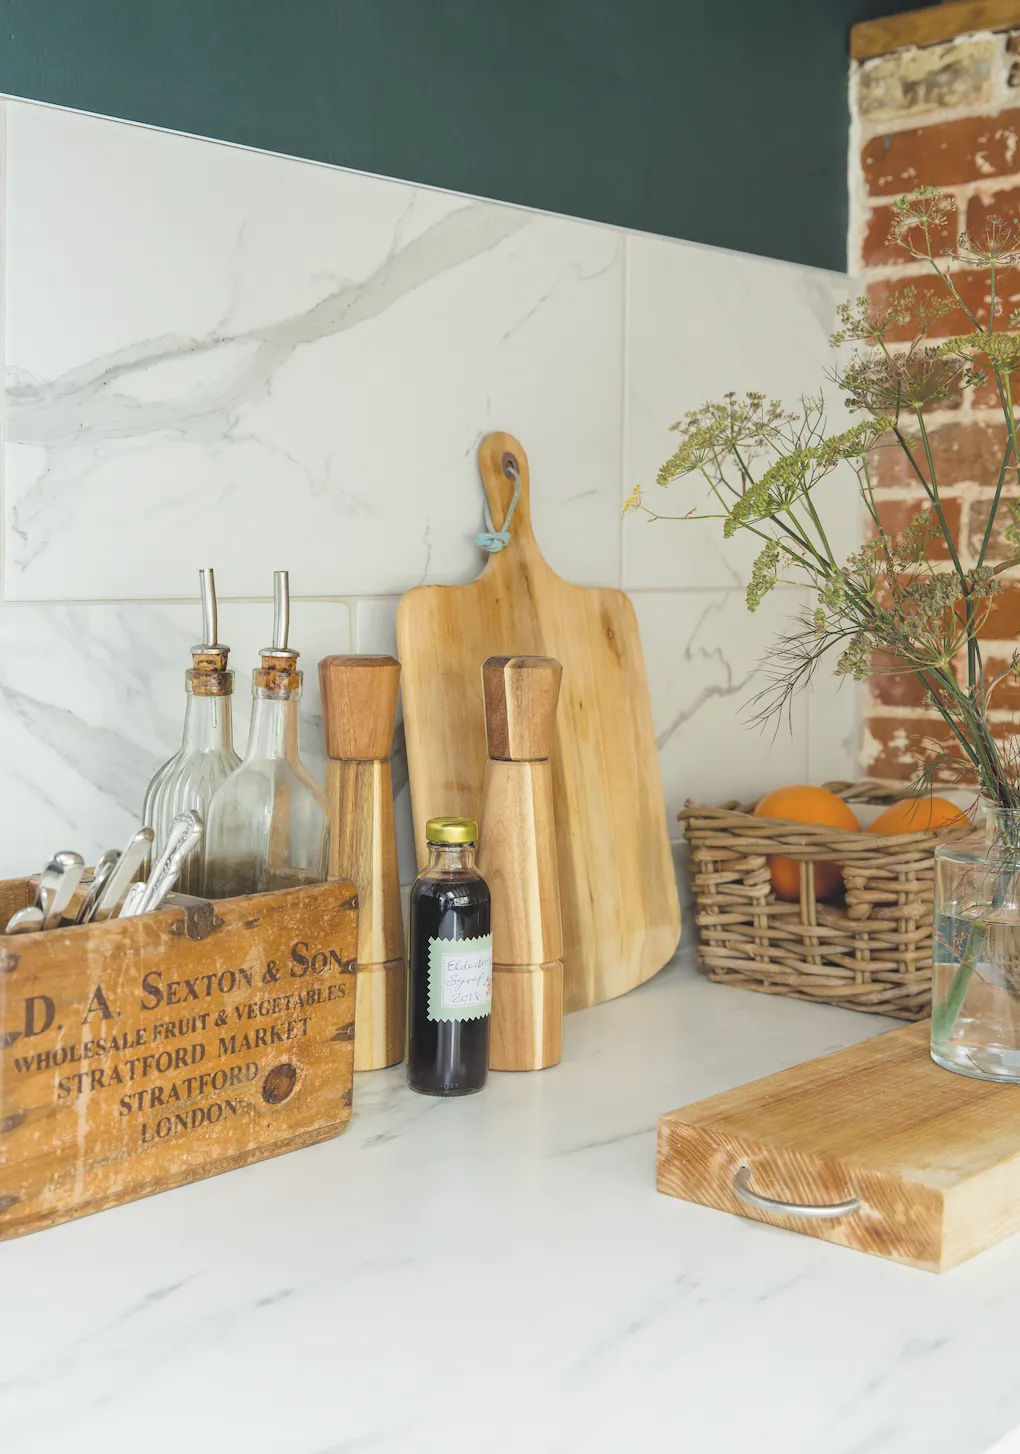
Plenty of elbow grease was on the cards when it came to sprucing up the badly stained sink. ‘I spent an entire weekend getting it back to pristine white, but it was actually changing the tap and worktops that really made the difference,’ says Claire. To get the look they wanted, the couple chose a solid laminate marble lookalike for the worktops and upstands, which along with the antique-style tap, were sourced online.
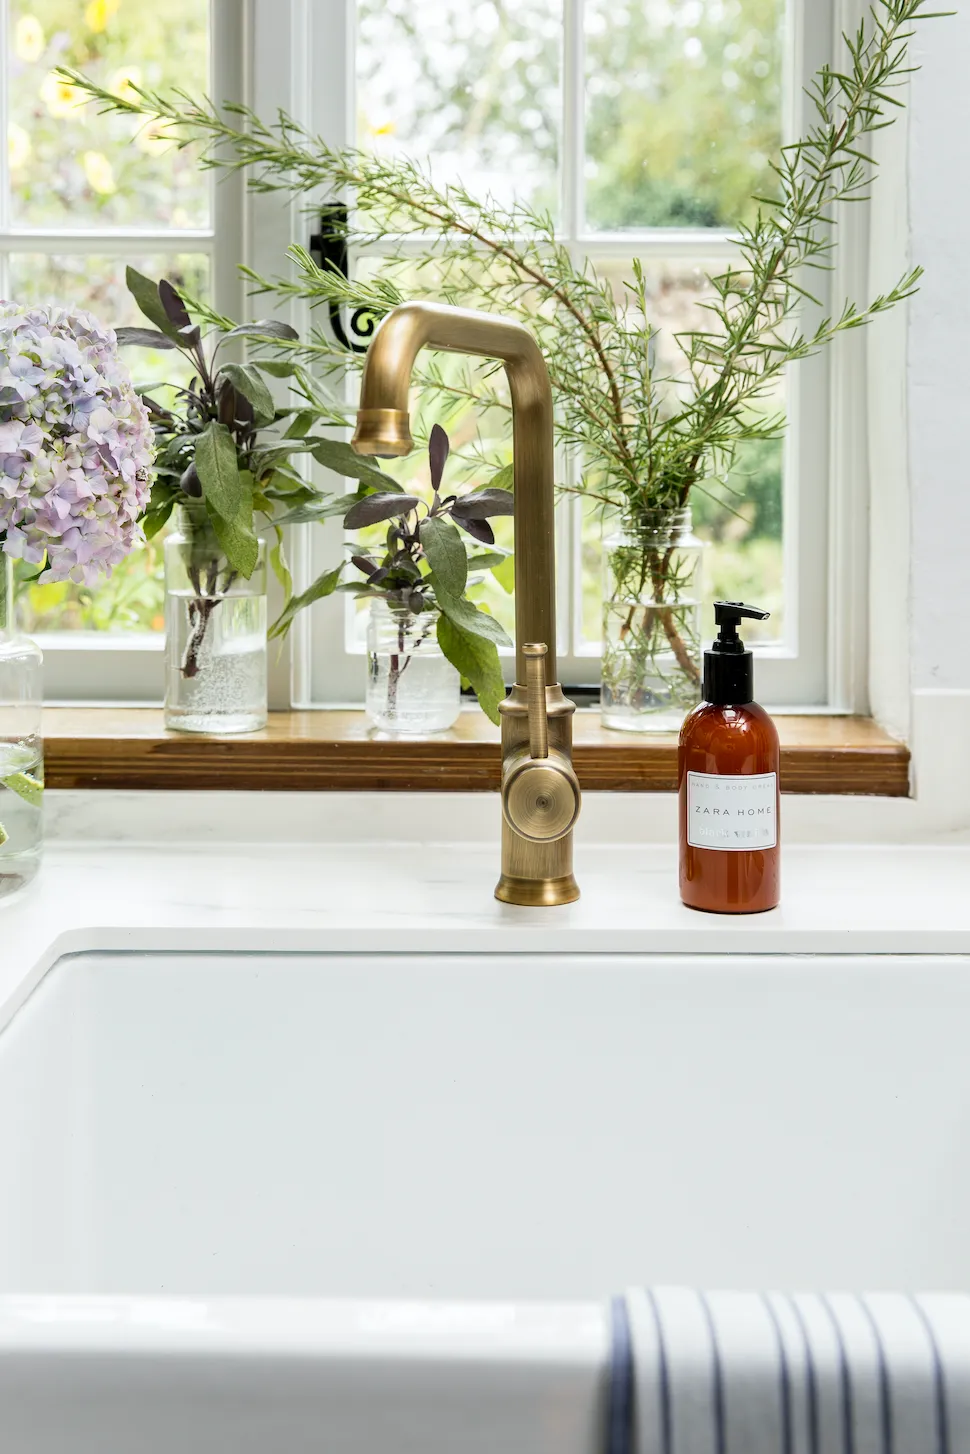
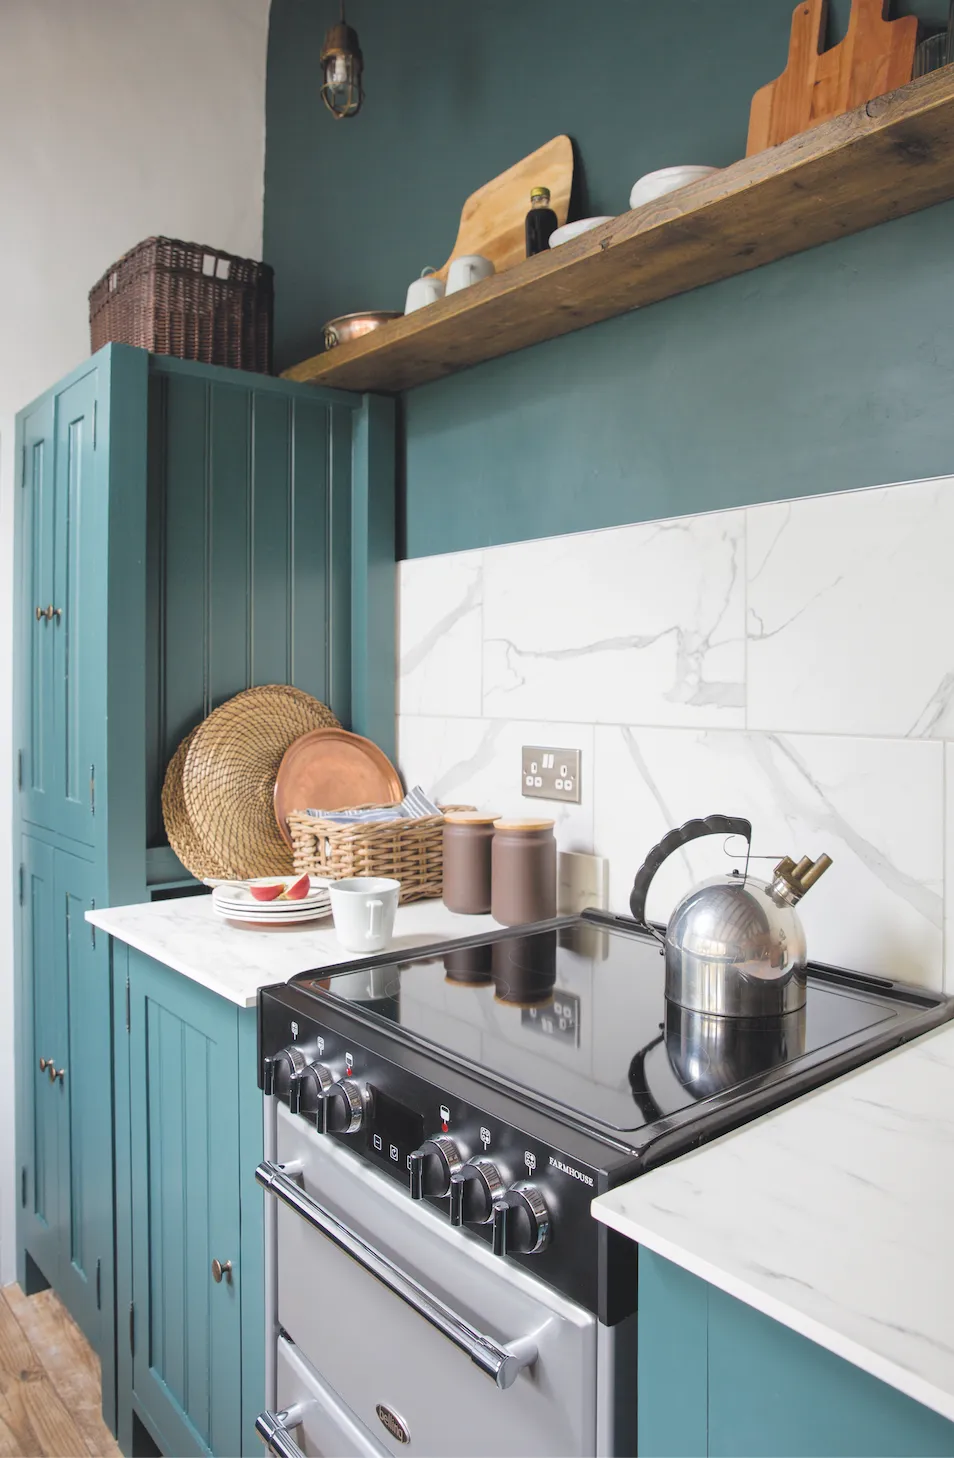
‘I hadn’t heard of solid laminate before, but it’s proved extremely hardwearing and guests often mistake it for the real thing,’ says Claire. Chris then fitted matching porcelain tiles and practical wood-effect vinyl planked flooring, before calling in the professionals to install the new electric cooker and radiator. ‘I’d always wanted a free-standing range but, having assumed they would all be far too big, I couldn’t quite believe it when we spotted a 60cm mini model that would slot perfectly into the existing space!’ smiles Claire.
STEP FOUR
To maximise space, Claire then turned her attention to adding extra storage, but didn’t go down the traditional route of adding cupboards. ‘We could have fitted wall units, but I liked the kitchen’s relaxed, open feel, and thought shelves would work better with the beams and brickwork,’ she says.
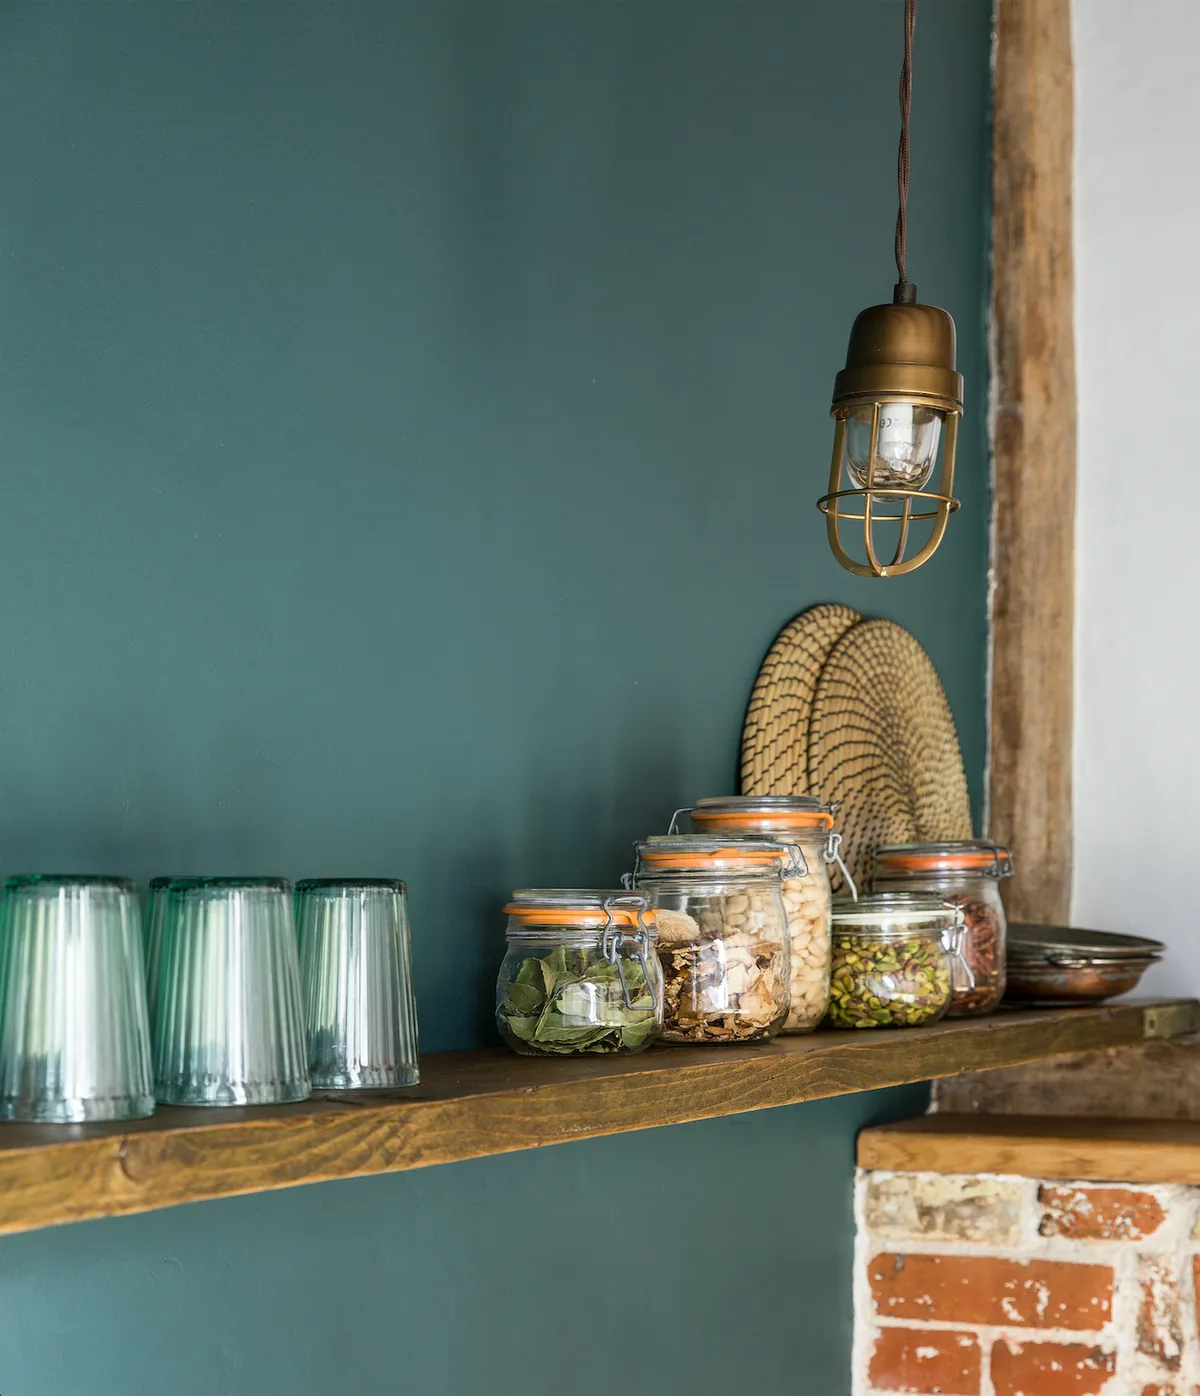
The resulting shelf is actually an old scaffold board, begged from a builder working in the next street, and cost absolutely nothing, which left enough in the budget for replacement vintage-style lighting, plus plenty of baskets and organisers to keep those new surfaces neat and tidy. Now that the transformation is complete, Claire couldn’t be happier. ‘I’m really proud of what we’ve achieved, as it’s now an enjoyable and unique space in which to cook!’
This is a digital version of a feature that originally appeared in Your Home magazine. For more inspirational home ideas, why not subscribe today?
