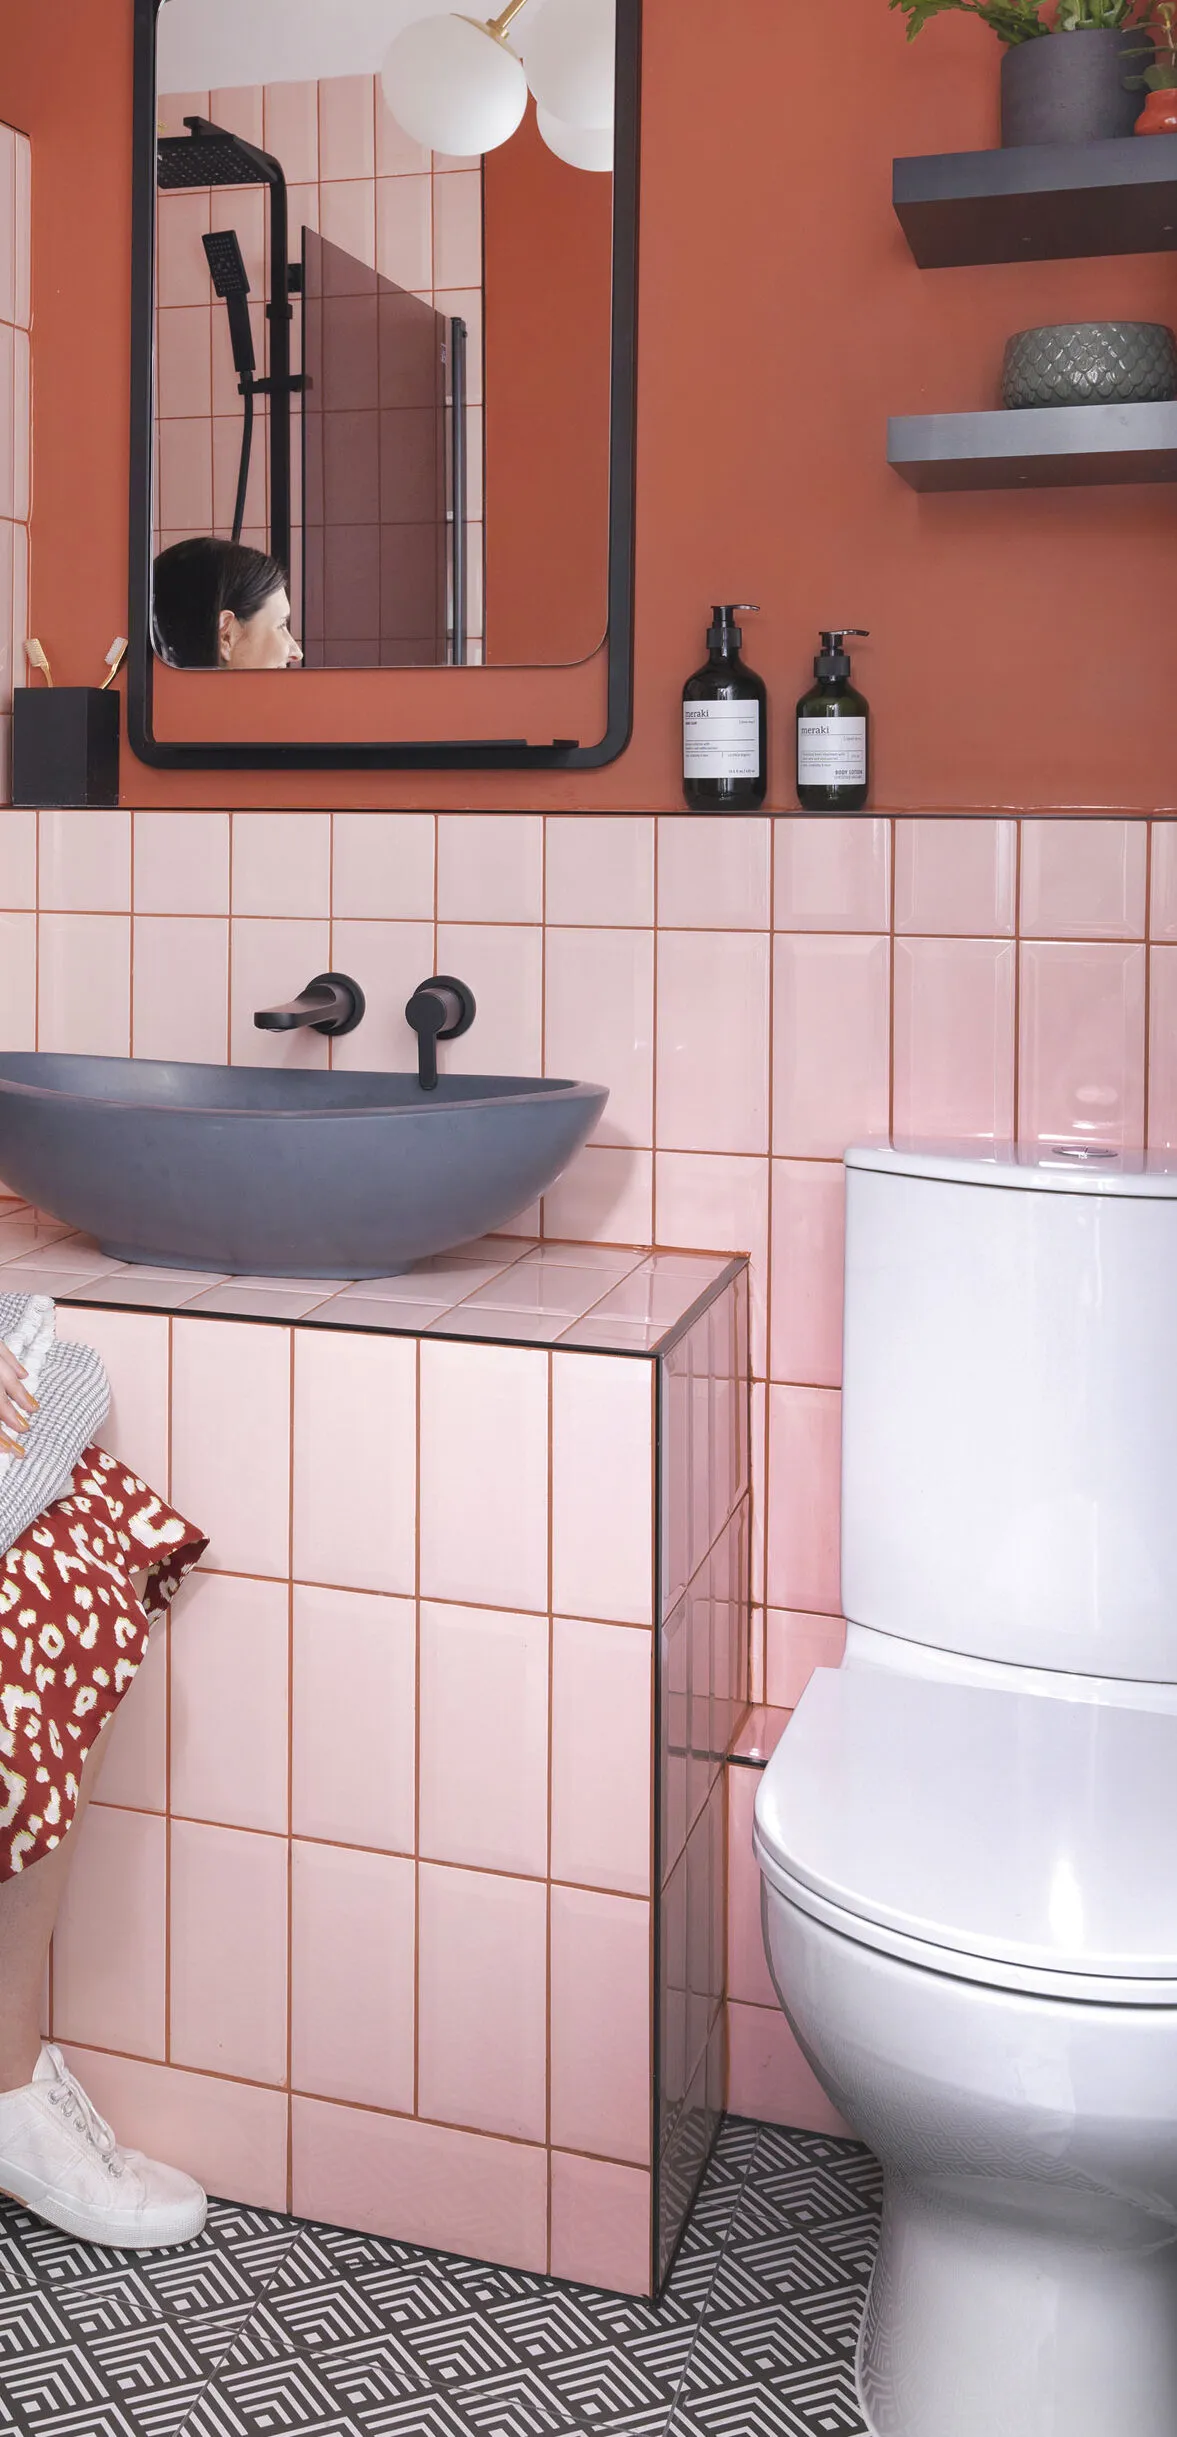
Undaunted by the size of her compact bathroom, Riannon Selcuk used blush pink metro tiles and modern black fittings to turn a dated disaster into a fun, contemporary scheme.
Here, she talks us through her bathroom makeover...
My experience…
I had been renting in London for a while when I started looking for my first flat to buy. I was so excited when I saw this place as it’s in a great location and most of the rooms are spacious and light.
The flat had some wear and tear, but mainly it was out-of-date décor and didn’t need much work – except for the bathroom, that is, which was very rundown, dark and small.
I worked out from a previous property listing that the bathroom was installed 10 years ago, so it was definitely time for it to go and a new one installed.
Because I work in the interior design sector on high-end projects, I often get to see a lot of inspiring ideas and I wanted to take some of these away and use them on my own home, although on a cheaper price scale to fit in with my budget.
Welcome to my home...
A bit about me I’m Riannon Selcuk and I work as a project lead at an interior design agency in London. I bought my one-bedroom 1960s flat in Crystal Palace, south London, in July 2019, and moved in November the same year.
My problem bathroom The room was rundown and dated, with old black and white tiles that looked dirty no matter how much I cleaned them – plus, the shower didn’t work, and the basin was coming off of the wall! There was mould from condensation too, as there was no air going into the bathroom. I couldn’t wait to rip it all out and start from scratch.

While I was looking for tiles, I fell in love with a blush pink metro design from Topps Tiles. I wanted to keep the scheme looking edgy and modern, rather than too ‘pretty’, so I decided to include black bathroom fittings, to sit alongside the tiles.
Black fittings are usually quite pricey, but I was amazed at the choice out there.
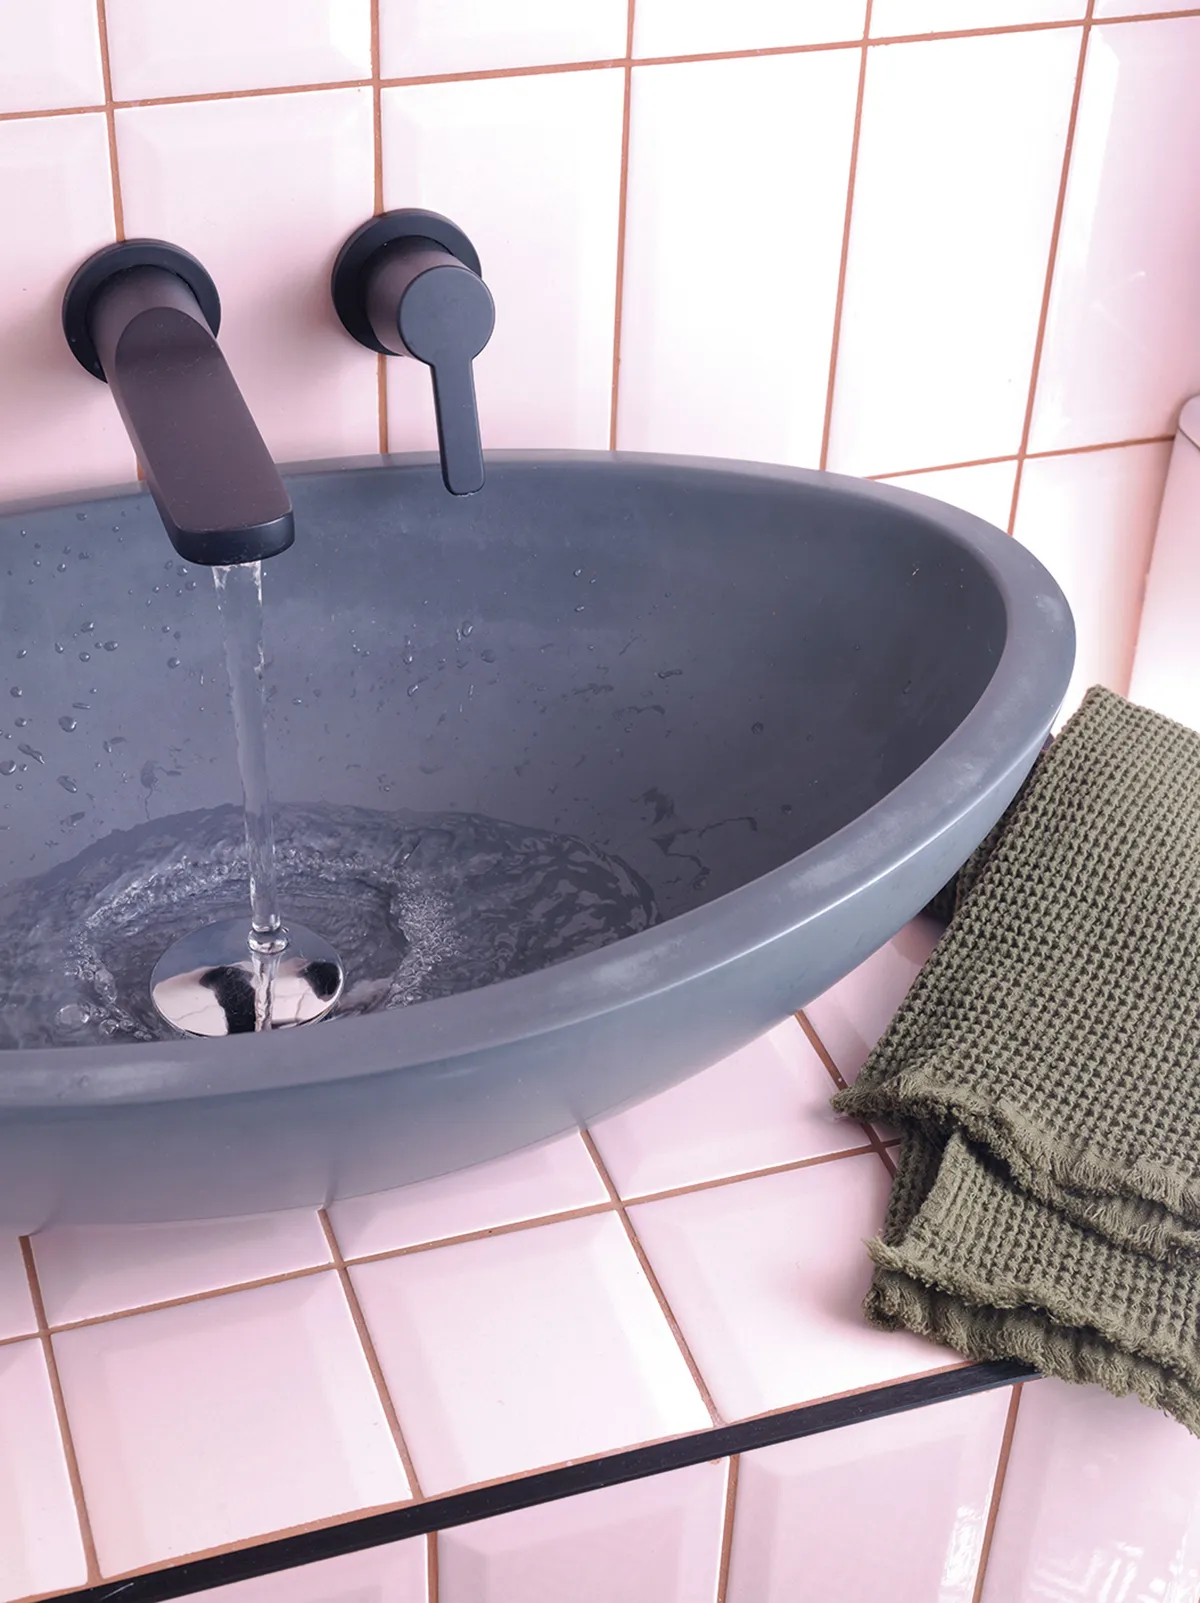
I bought my taps from Crosswater and although they weren’t cheap, they really make the scheme and are great quality – the finishing touches really make this bathroom.
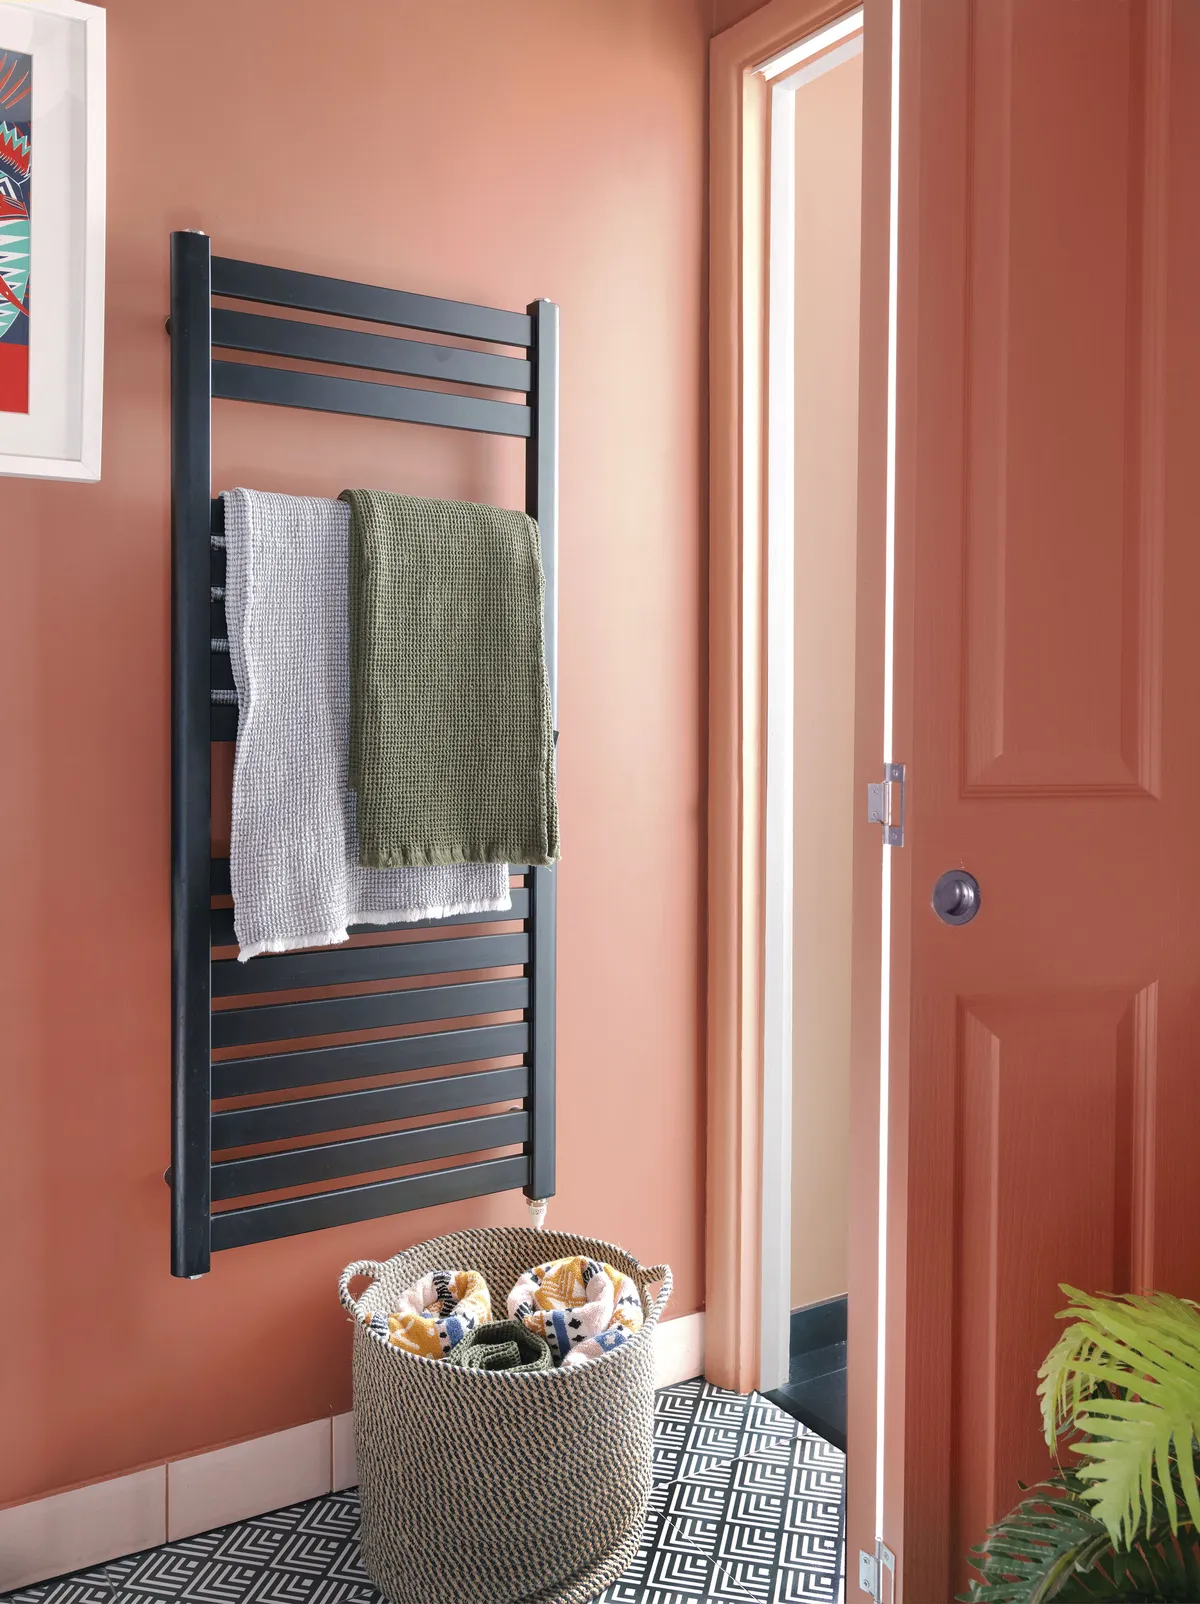
I also bought a really cool black heated towel rail and co-ordinating mirror from Drench to bring the look together.
A bit more about my home...
My favourite part Definitely the colour palette – pale pink mixed with earthy terracotta and matt black just gives the room a strong feminine vibe, which I love. The basin comes a close second though, with its curvy shape and gunmetal colour.
How I made it work First of all, I had all the pipework boxed in to create a more streamlined look. I then teamed pale blush tiles with an earthy terracotta paint on the walls, and installed completely new modern black fittings, along with a statement basin and showstopping ceiling light.

I hired a contractor to fit the new bathroom. When the renovation work was taking place, it was raining heavily and because the flat is on the top floor with a flat ceiling above, the condensation that built up at night-time kept causing the ceiling to fall down.
It was installed about three times and, in the end, they had to do it as one of the last things, so it put the sequence of works out slightly.
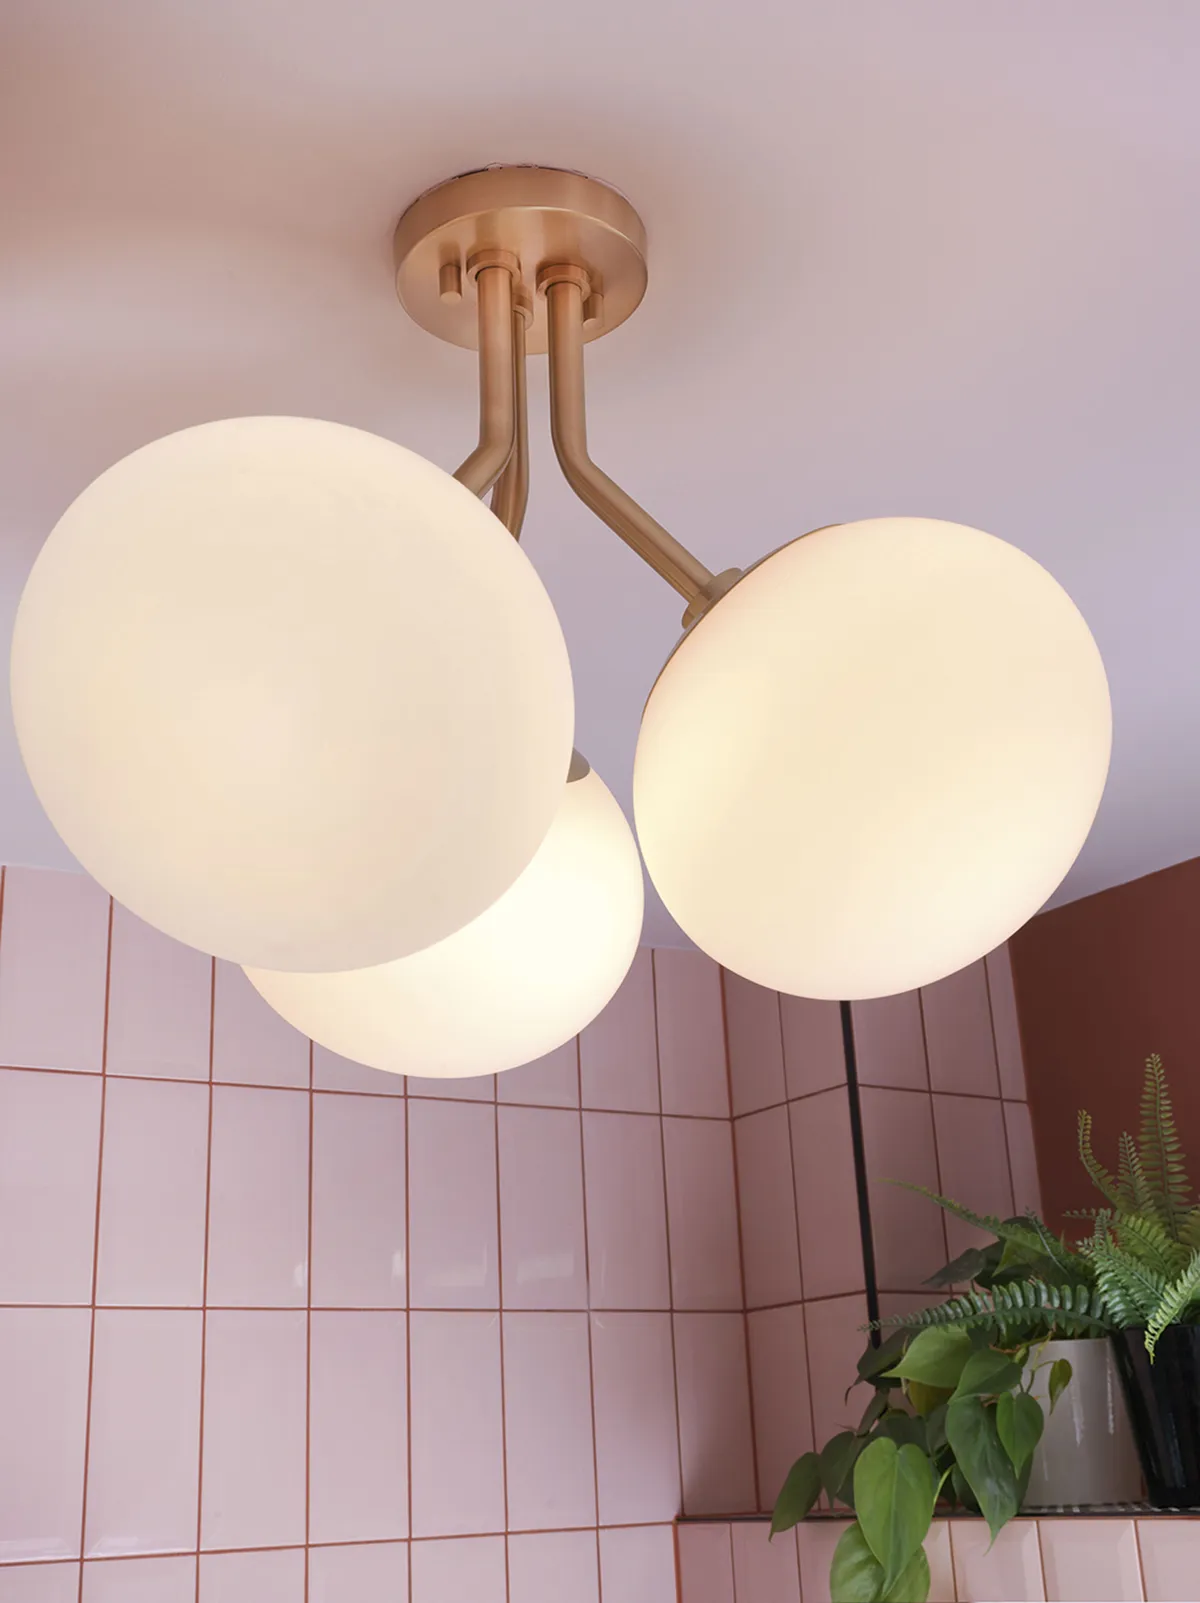
I decided against having downlights installed in the ceiling and went for a luxe-looking light fitting instead, which is one of my favourite parts of the room. I love how contemporary the bathroom looks now. The terracotta walls and pink tiles balance out against the strong fittings and patterned floor perfectly.
My style advice
Plan everything out beforehand
Measure and mark furniture and fittings on the floor or walls so you can get a feel for how the space will eventually look. ‘Small bathrooms are difficult because they do limit what you can get in, like the size of the bathtub,’ says Riannon.
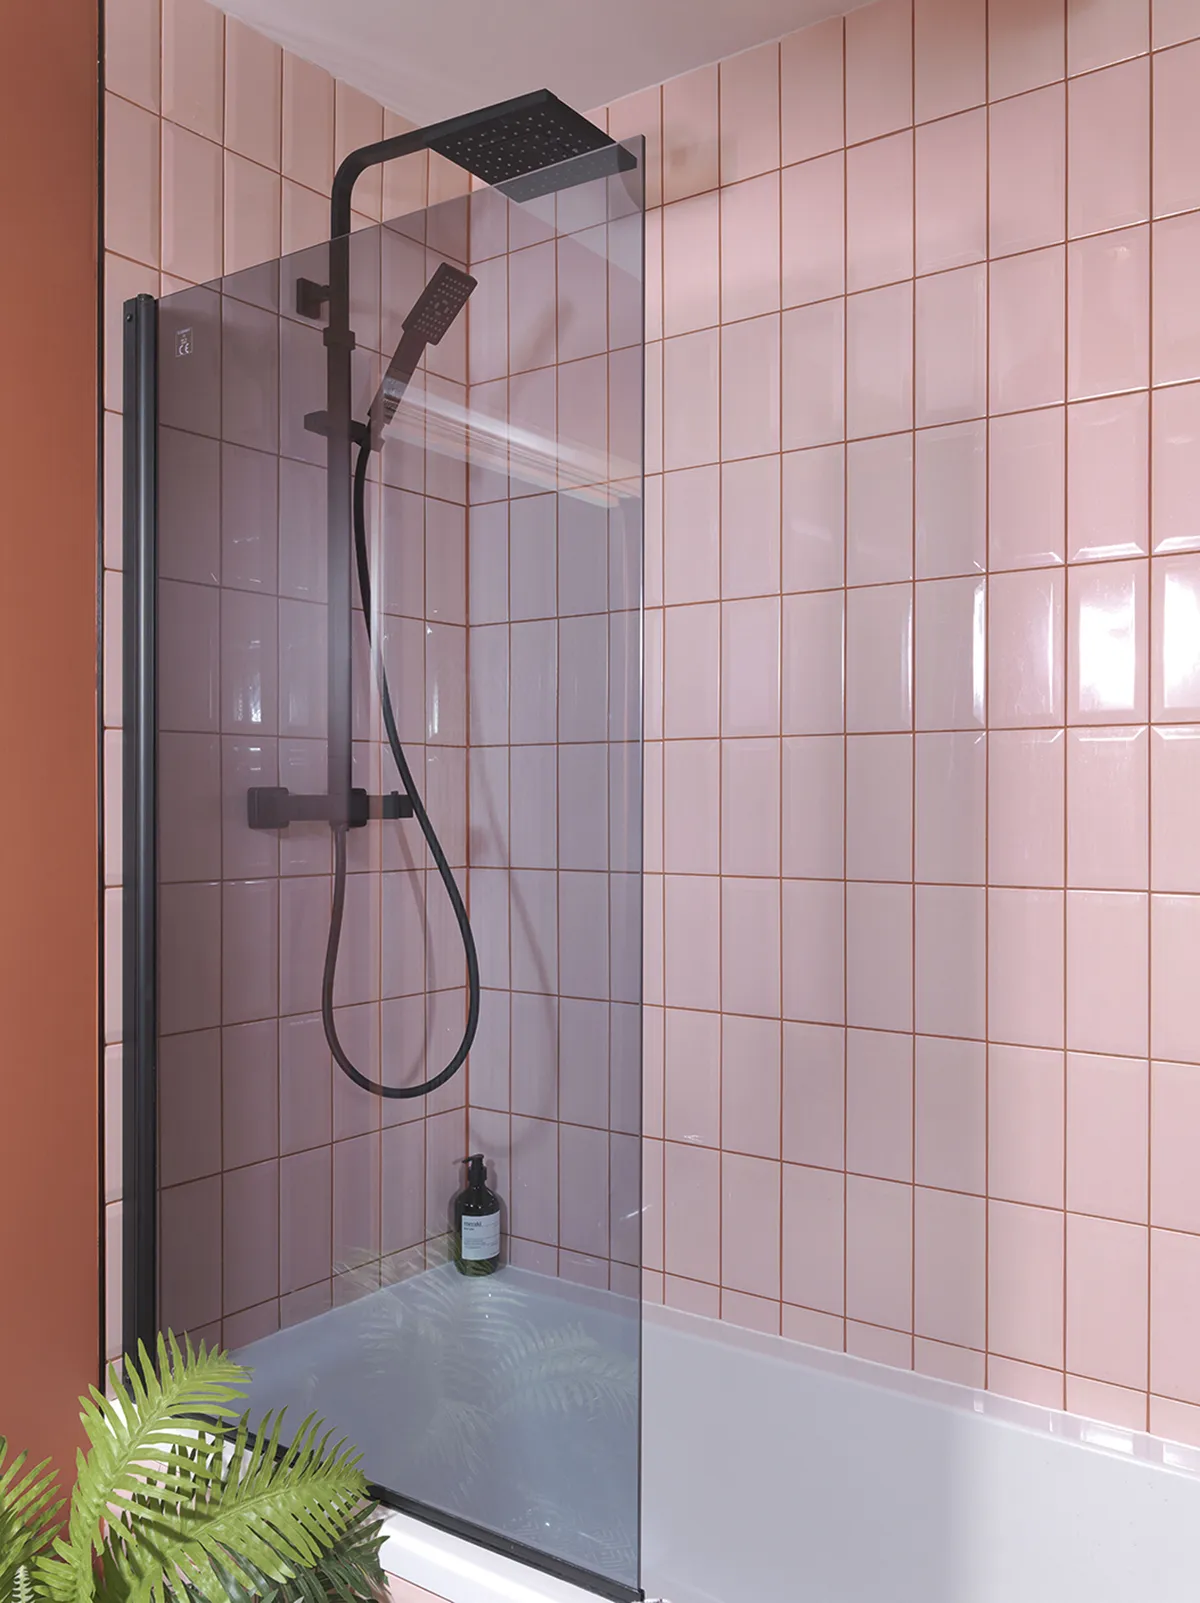
‘I found mine at Bathroom Takeaway – they do a smaller design for more compact rooms.’
Add alcoves for storage
In a small bathroom, keep the walls as clear as possible – the less you have fixed to the wall, the more spacious your room will feel.
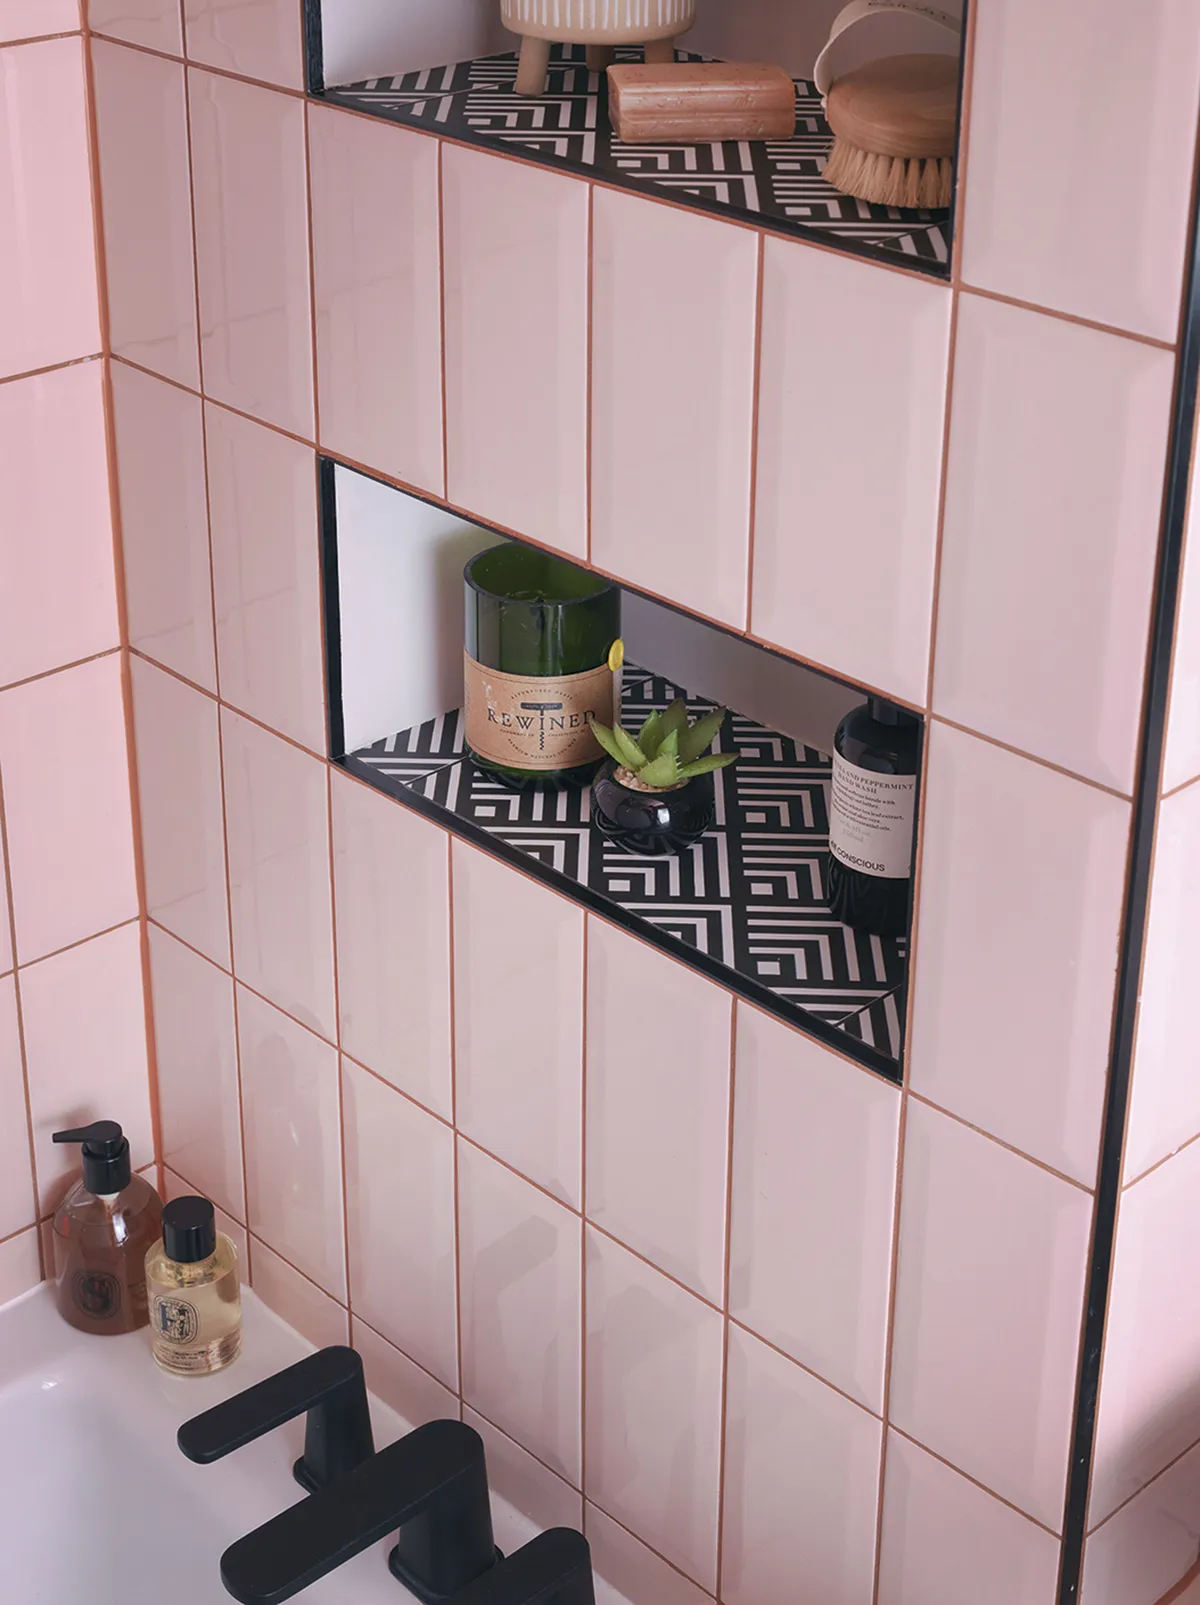
‘I had alcoves built in at the end of the bath as storage for some toiletries,’ says Riannon, ‘but you could have them in your shower or under a sink unit too.’
Experiment with colour and pattern
The beauty of having a bathroom with a small footprint is that if you change your mind in the future, it can easily be updated and won’t be as costly – or as big a job – as if you have a larger room.
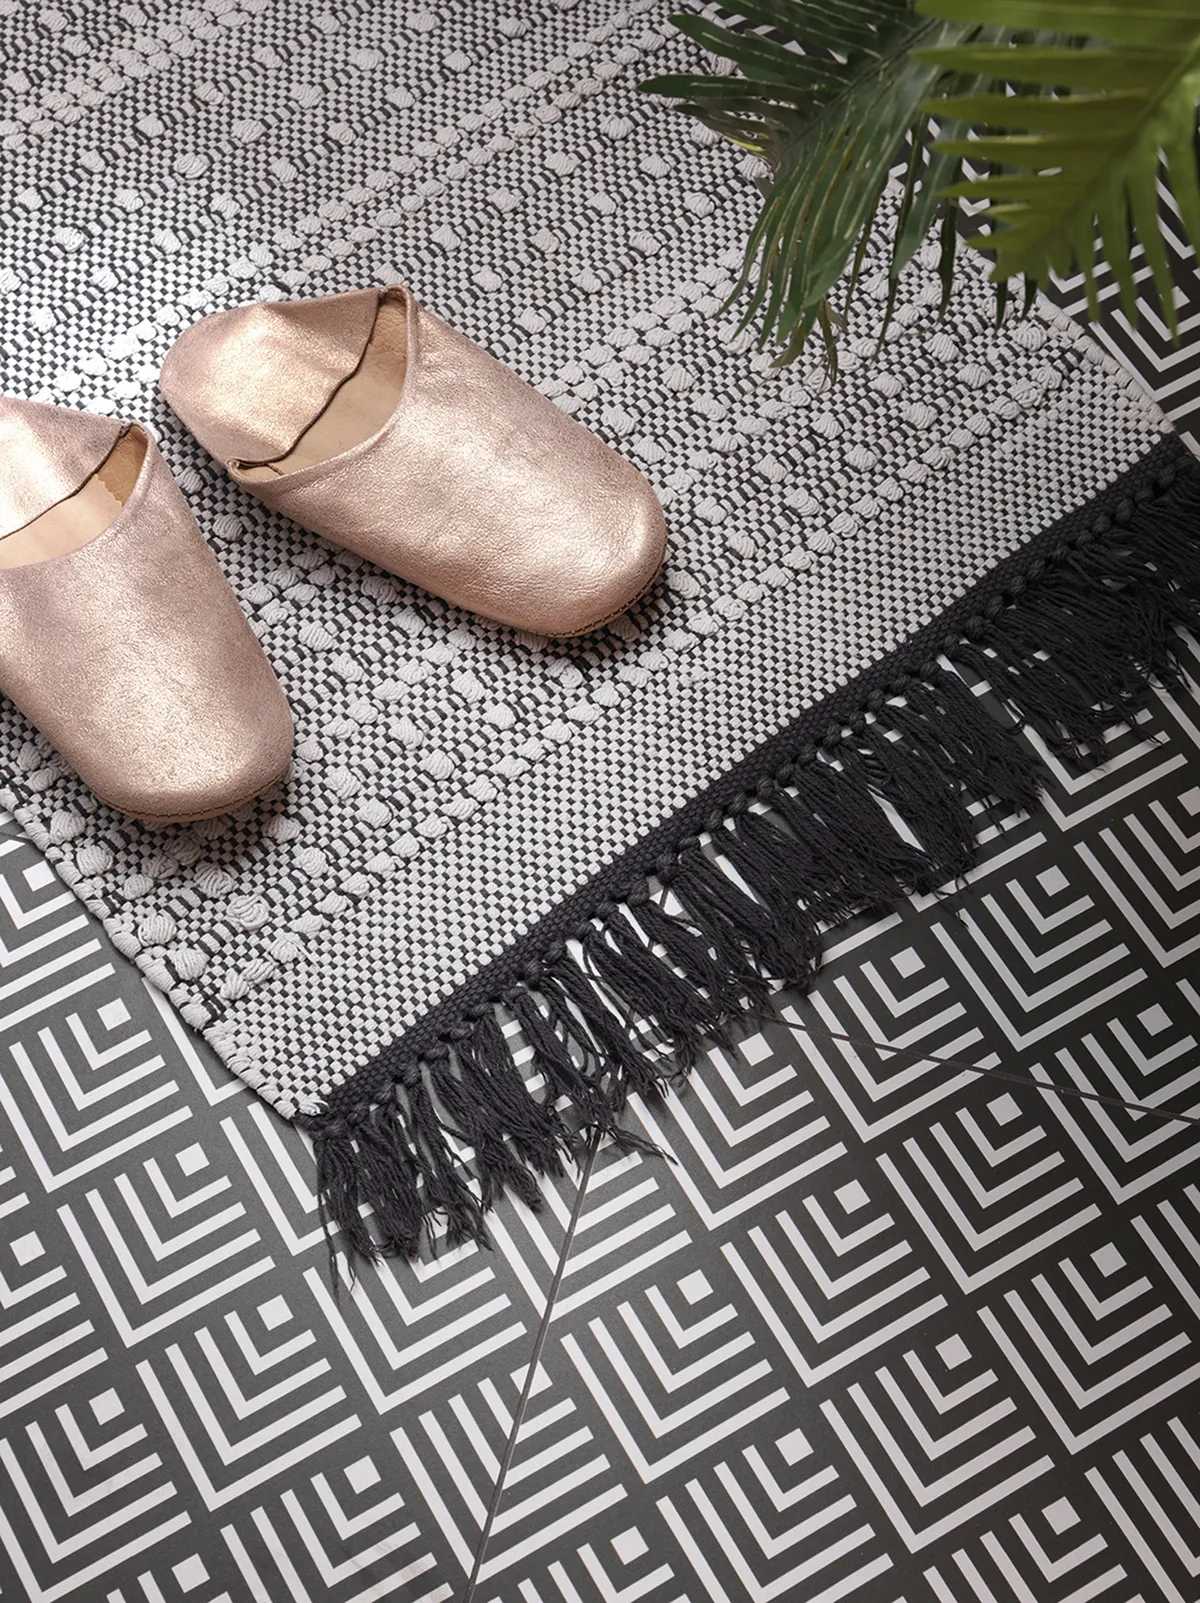
‘I went for quite a bold floor tile from Fired Earth,’ says Riannon. ‘As it’s a small space the design isn’t too overpowering.’
How to box in pipework
Conceal ugly pipes with this simple DIY hack
1. Measure the distance between the back of each pipe and the wall, taking measurements throughout the length of the pipework. Note the largest measurement – adding a few extra mm on top – and cut a batten equal to or larger in size.
2. Next, measure the length of the area you want to box in. It should run the whole way along the pipework in one continuous section. Cut battens to the size of the measurements taken. You will need two identical lengths of battens as these will be fitted either side of the pipework. Secure the battens to either side of the pipework, fitting your battens as close to the pipework as possible.
3. Now you need to fix a board on top. Measure the space between the two battens at either side of the pipes and cut the board to size. Secure the board in place, fixing along the length of the battens.
4. Apply filler over the top of the screw heads or nails, and once dry, sand back smooth. For a seamless look, paint or tile your box so that it blends in with the rest of your bathroom scheme.
This is a digital version of a feature that originally appeared in Home Style magazine. For more inspirational home ideas, why not subscribe today?
