When it comes to transforming a kitchen or bathroom, nothing beats new tiles.
From stunning mosaics to fishscales to sleek metro tiles, the possibilities are endless - but with so much choice, it can be difficult to know where to start.
More kitchen ideas:

To make things easier, we've broken down everything you need to know about the different tile styles, plus some handy tips on grouting and laying metro tiles.
Read on to discover our favourite tile ideas for 2021 and, when you're suitably inspired, check out this guide on how to cut and tile your own kitchen splashback, or take a look at this handy guide to tile zoning!
The best tile ideas
Fan tiles
These tiles have various names – fan, scallop and fishscale– and they are all equally beautiful. Their aquatic associations make them ideal for bathrooms. Look for iridescent finishes to make your bathroom as magical as a mermaid’s tail.
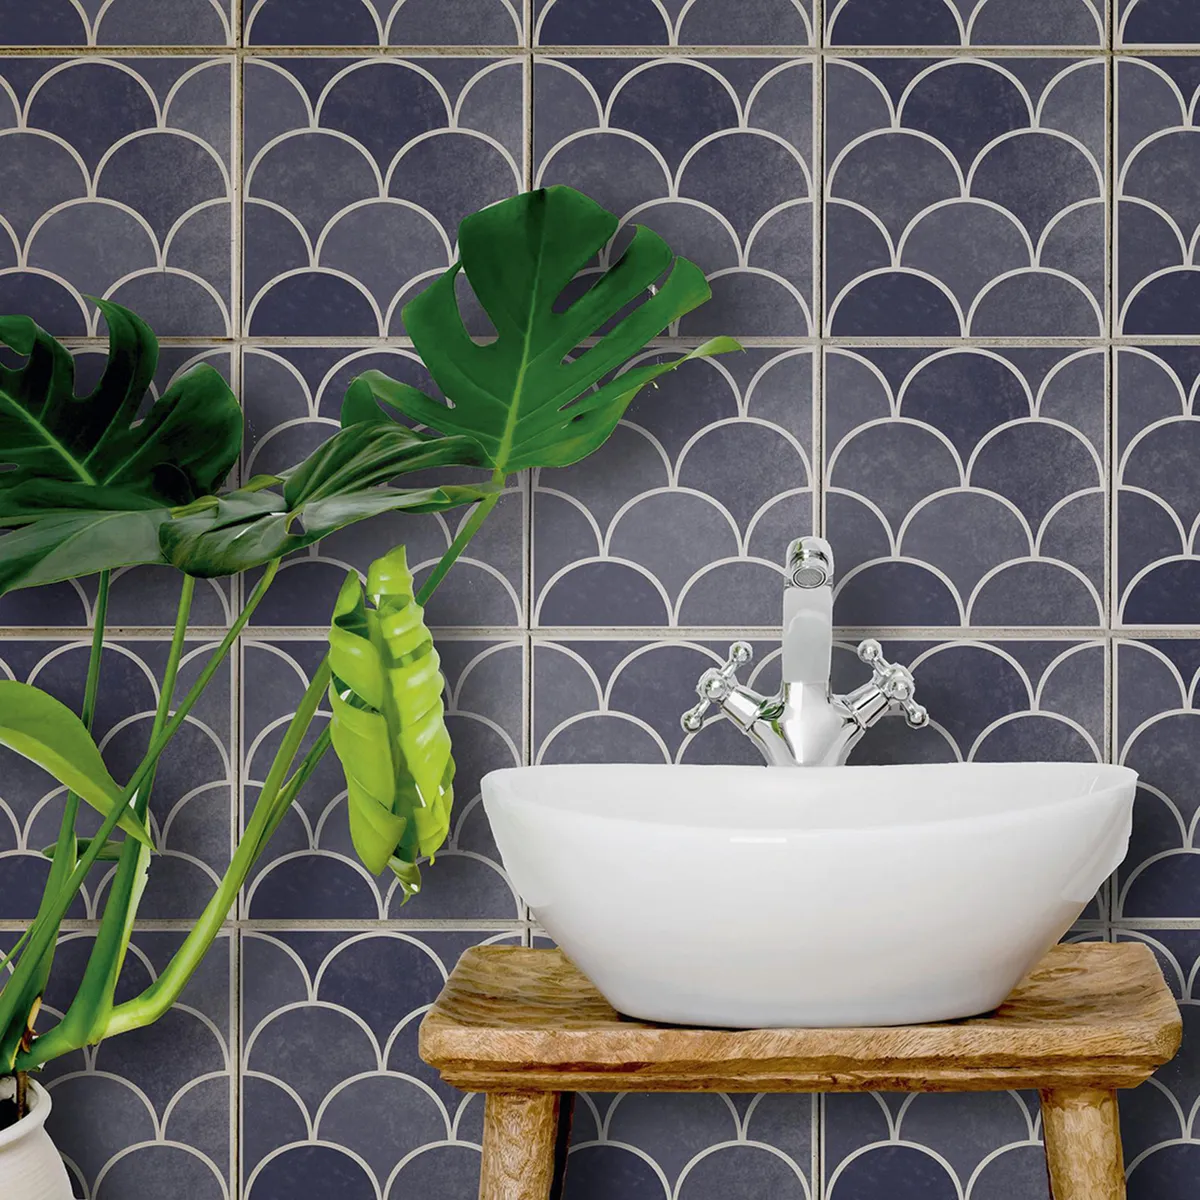
We love the way the curved shape of these tiles gives a scalloped finish to the edge of your tiled area. Lay the tiles with the scallops facing up for a cloud-like appearance or lay them facing down for an elegant raindrop effect.
Picket tiles
Picket tiles have an elongated shape that’s similar to metro tiles, but with sleek pointed ends. These extra angles create a modern, geometric pattern when the tiles are laid.
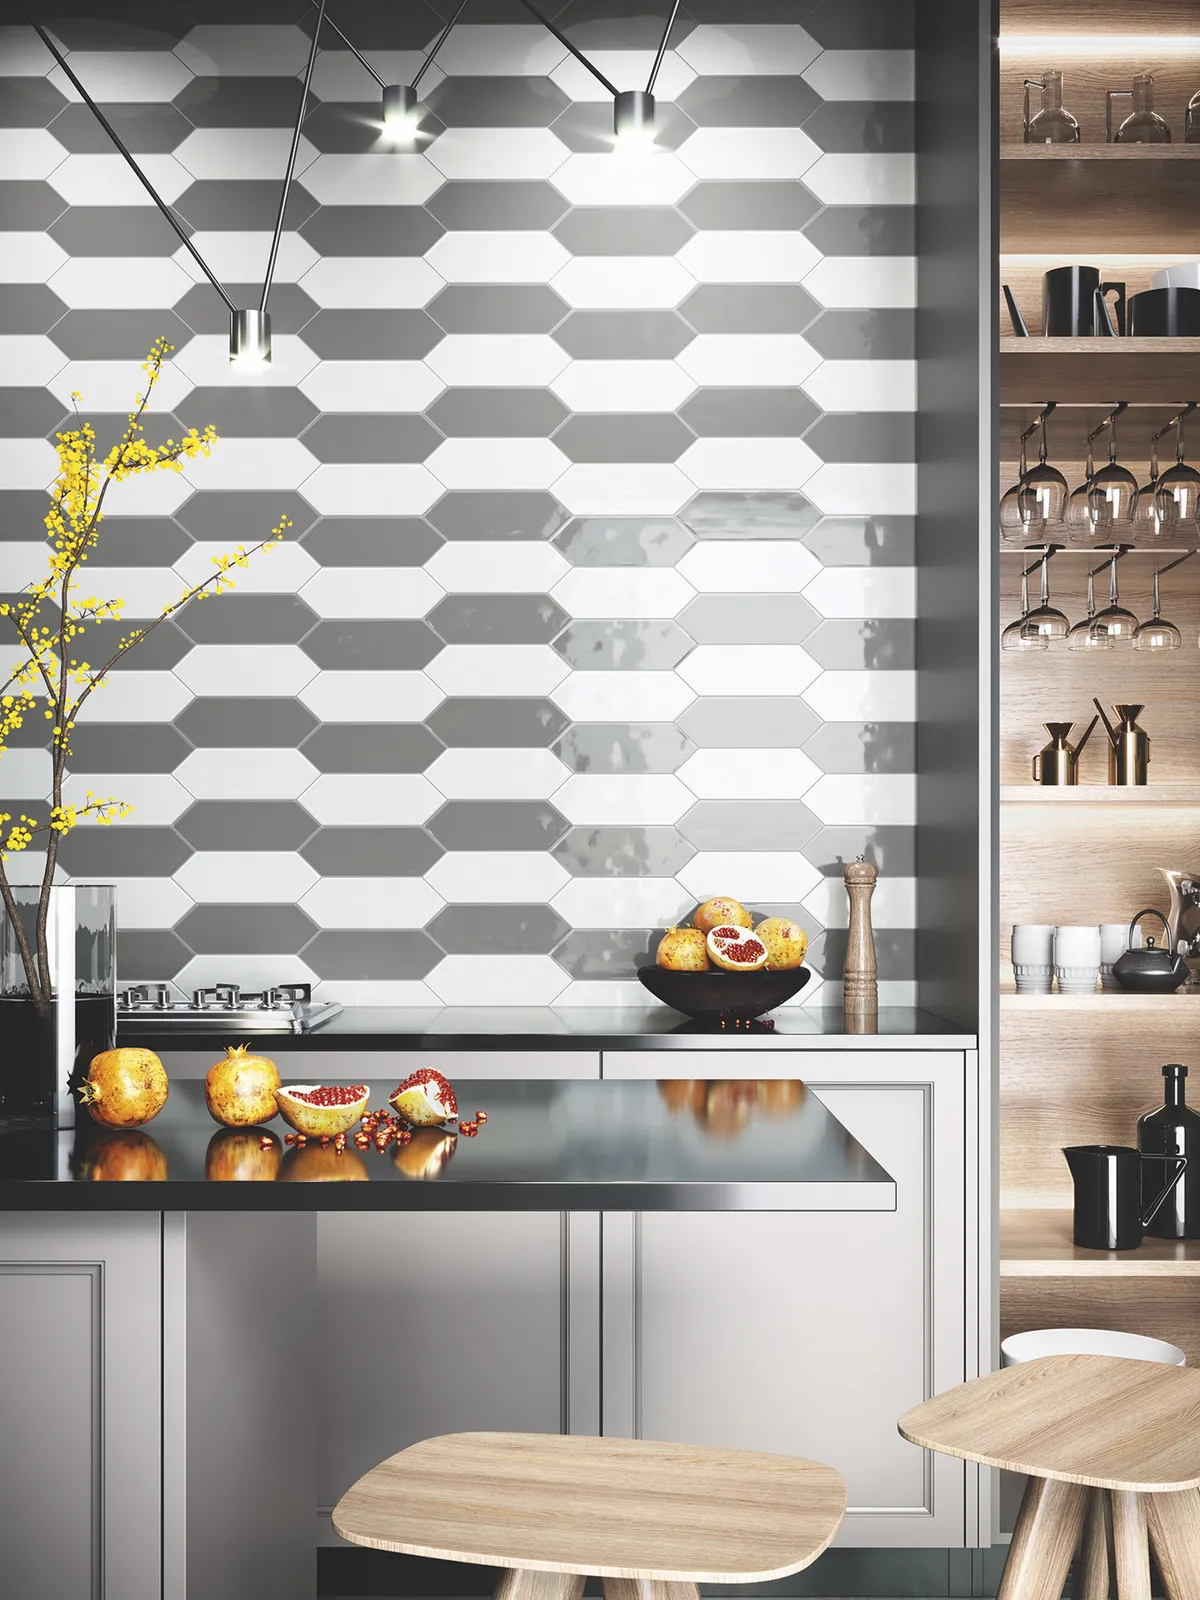
They’re ideal if you want an unfussy but unusual look that’s as simple to put up as metro tiles. You can arrange the tiles so that the zig-zag pattern runs horizontally or vertically, depending on the effect you want to create.
More tiling ideas
Arabesque tiles
Celebrate curves with the elegant shape of arabesque tiles. These traditional tiles are a staple in Arabic architecture, adding a flowing line to geometric spaces. Use arabesque tiles to give a softness to bathrooms.
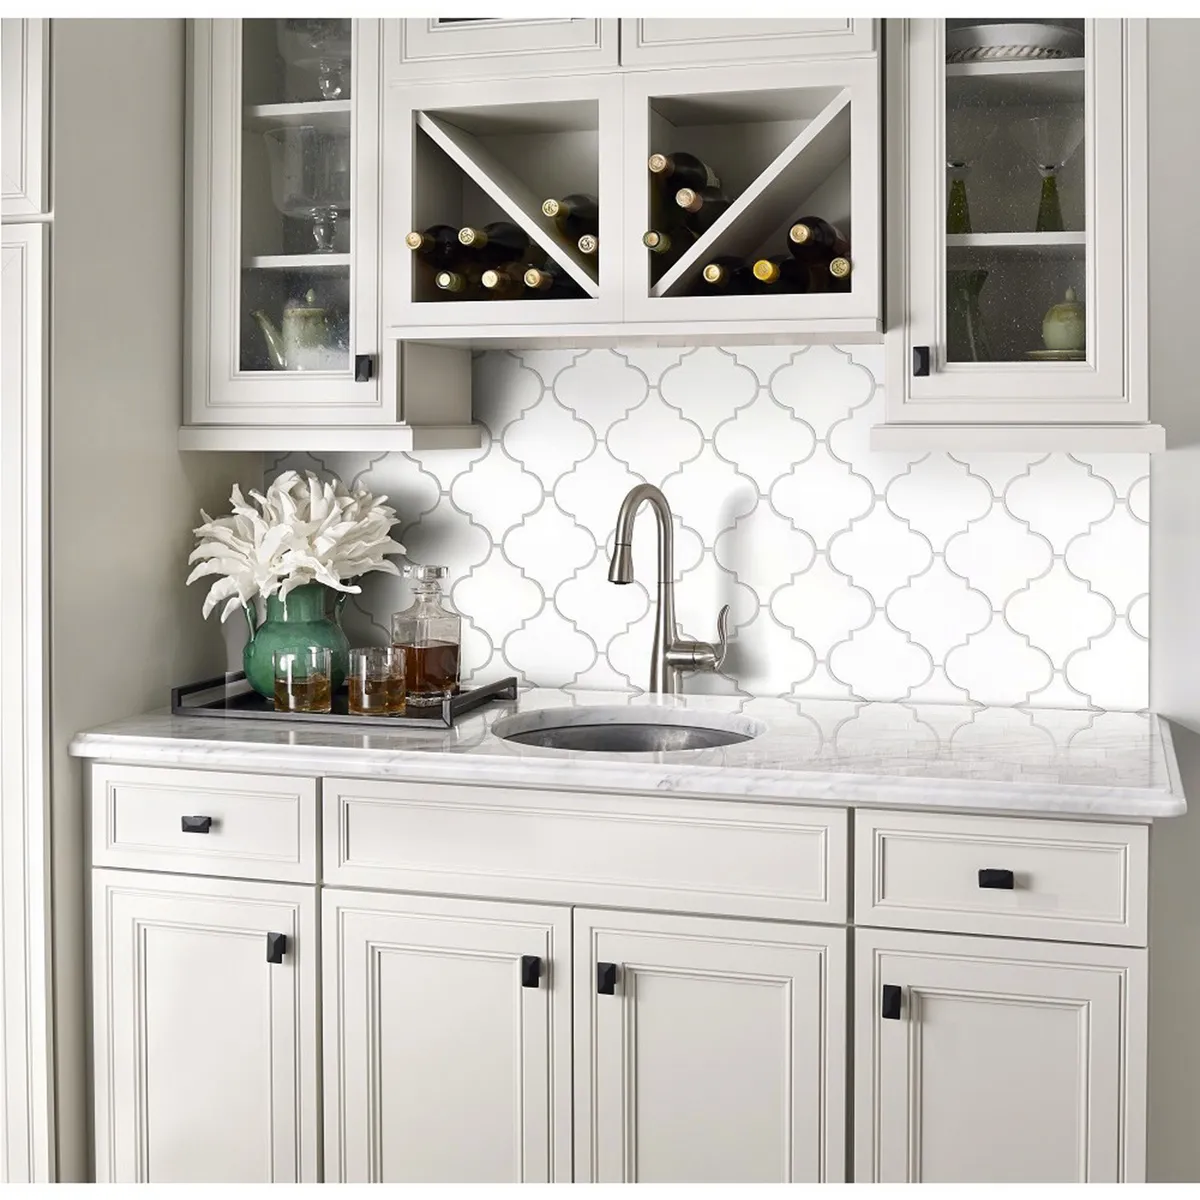
These rooms are often quite hard edged and angular, so these gently curved tiles help to balance out that geometric look. Arabesque tiles also look brilliant when used in the kitchen. These tiles bring some Middle Eastern flavour to the look of the room.
Cube tiles
To create a 3D cube look, lay diamond tiles of different colours with their middle corners touching. The effect can be made more dramatic by choosing one dark, one light and one mid tone colour and laying the tiles in the same order each time. This will make it appear as though the ‘cubes’ are lit from one side.
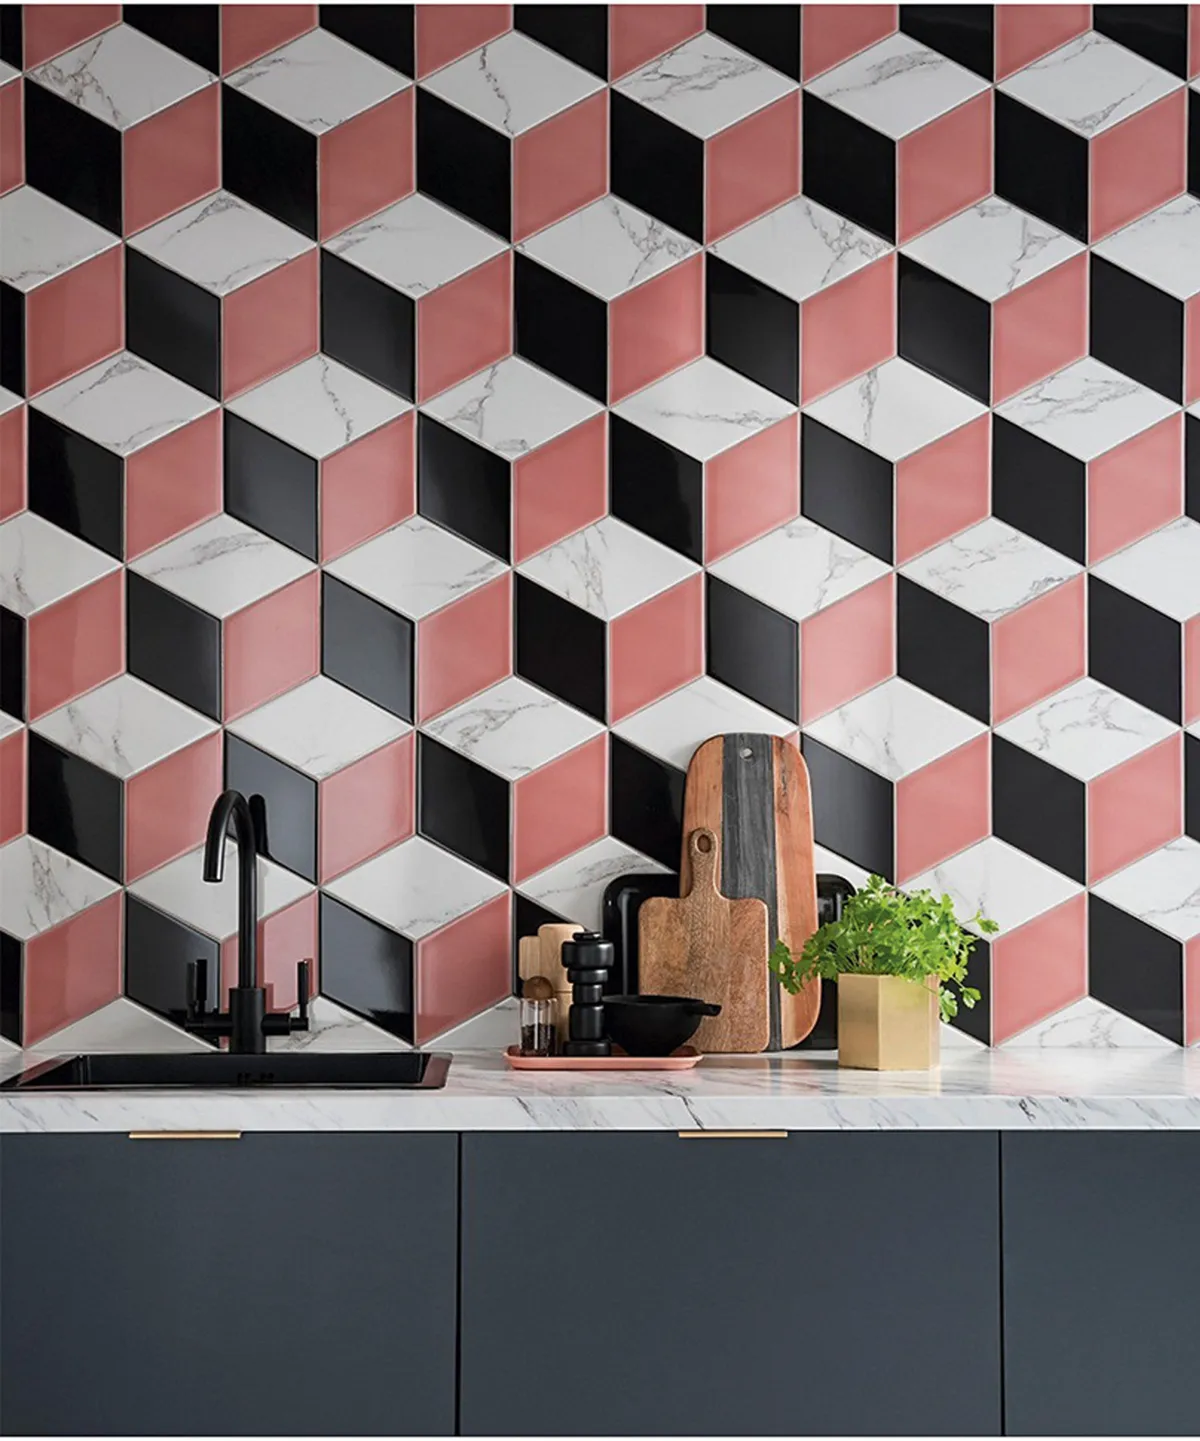
To make the effect more realistic , use the darkest colour on the side of the ‘cube’ that is facing away from the main light source in the room. If you’d like an altogether more subtle look, choose diamond tiles that are all the same colour.
Metro tiles
Metro tiles are the easiest tile to get hold of, they’re often the cheapest too, but that doesn’t mean they have to look ordinary.
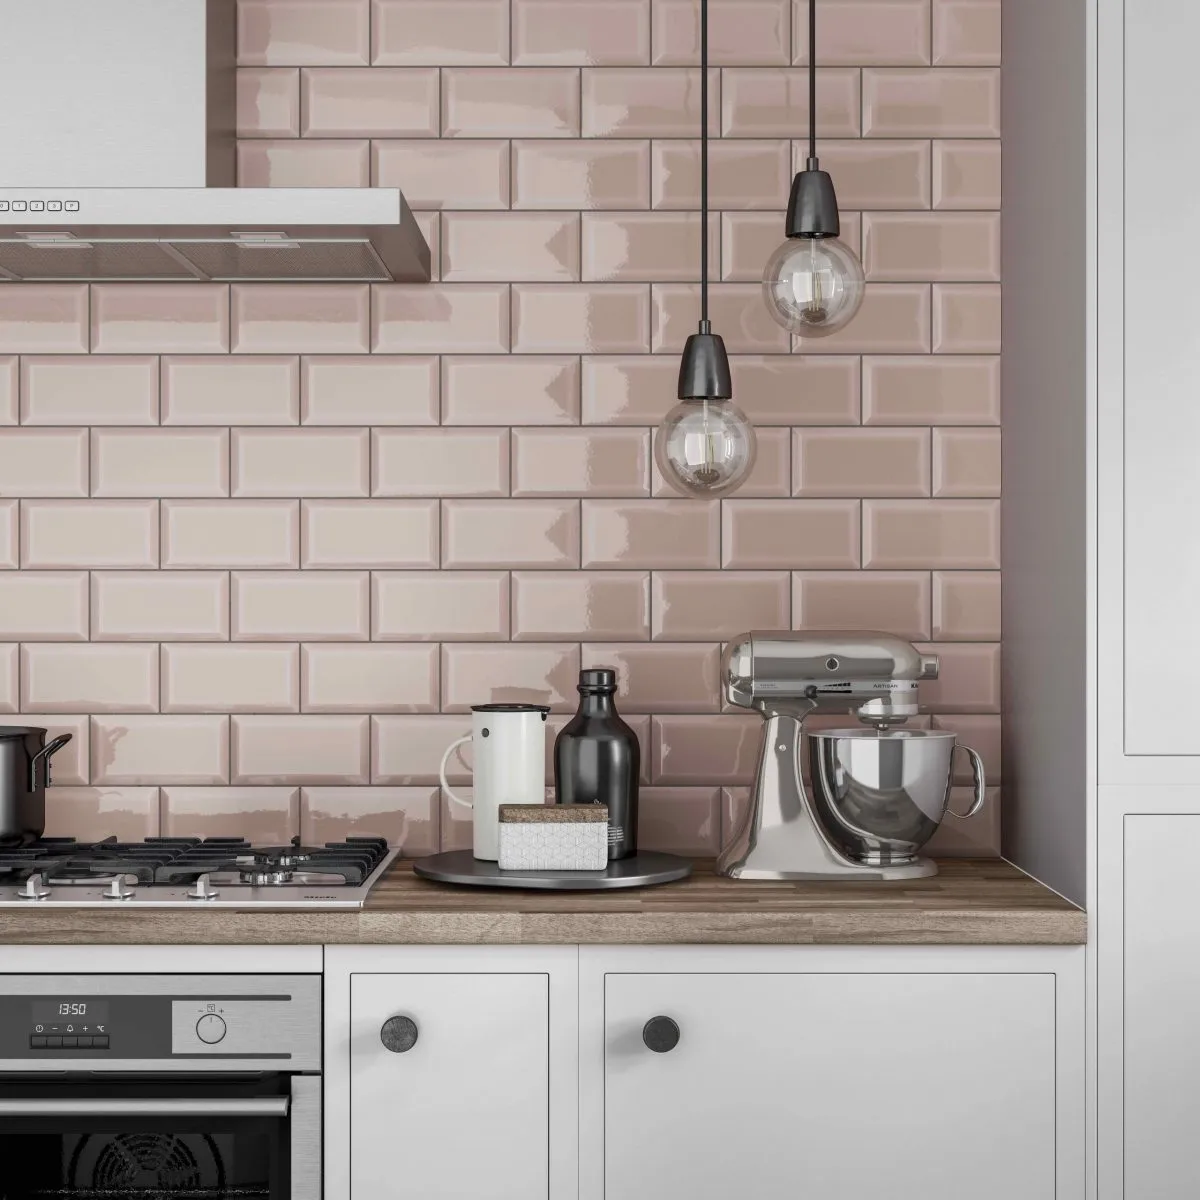
With a little bit of bravery and imagination, you can use metro tiles to create stunning effects in your kitchen and bathroom. Combine these tiling patterns with carefully considered grout and you’ll have walls that wow.
Top tiling tip!
Practise laying out your chosen pattern a few times before using any adhesive.
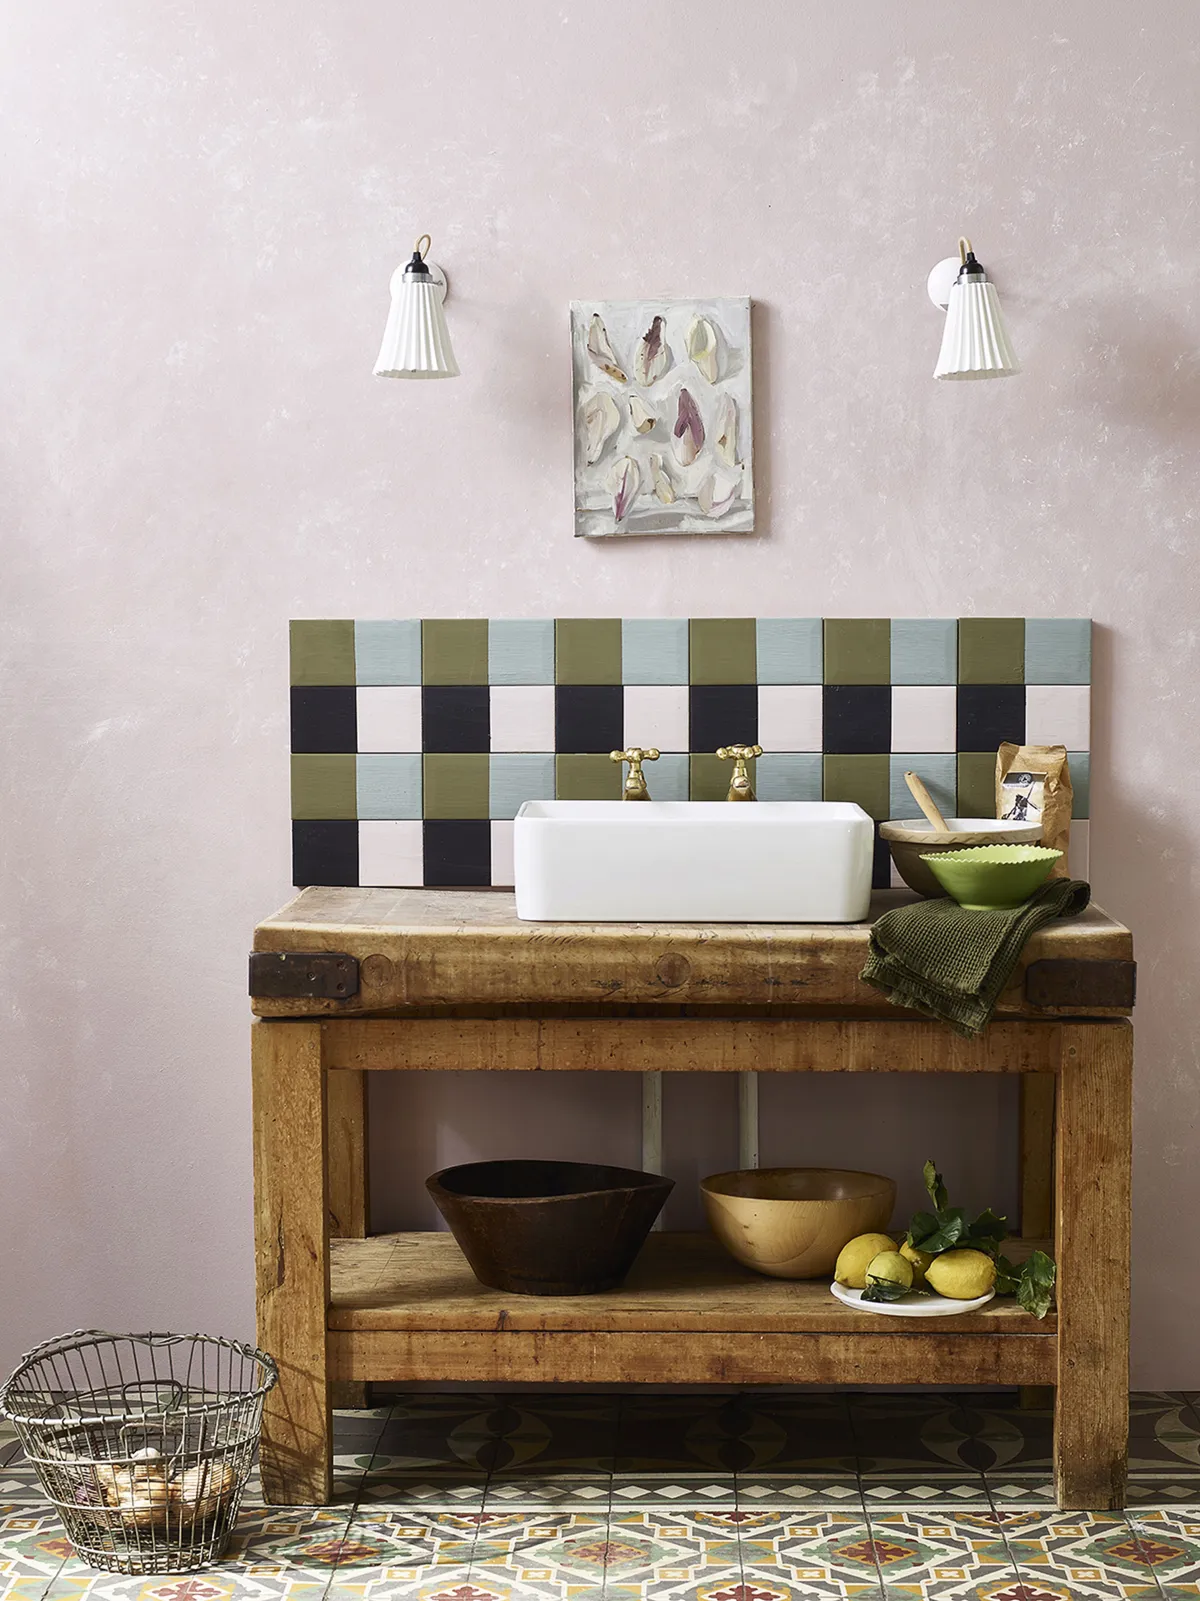
The best metro tiles
Mid Grey metro tile, £12 per sq m, Homebase

Gamma Pink brick tile, £18.28, Direct Tile Warehouse
Deep metro bevelled Red gloss wall tile, £31.57 per sq m, Victoria Plum
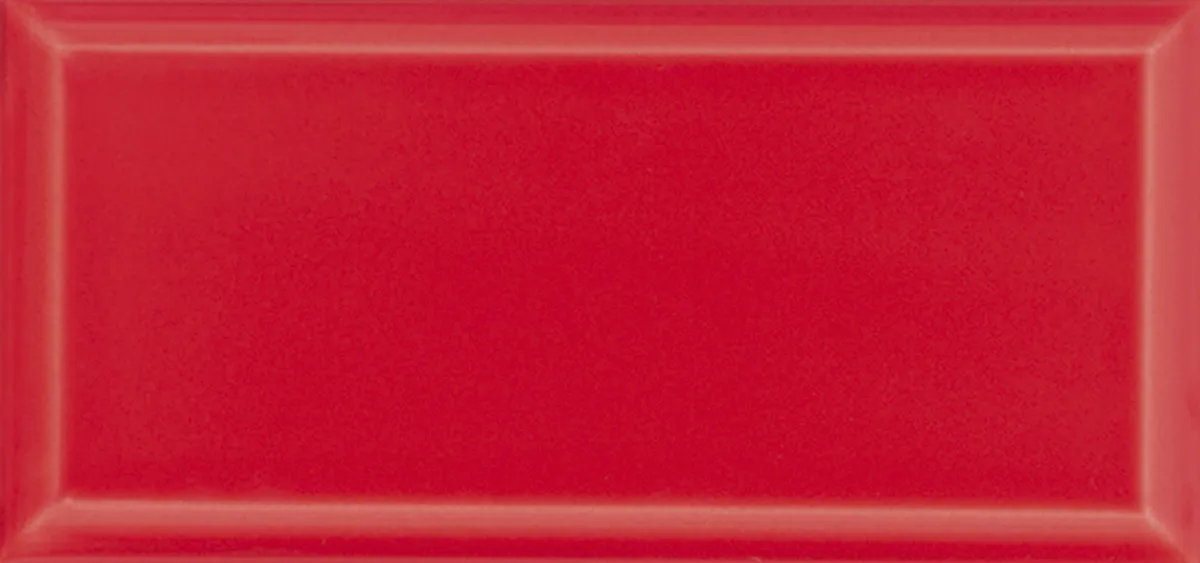
Metro Orange wall tile, £19.49 per sq m, Walls & Floors
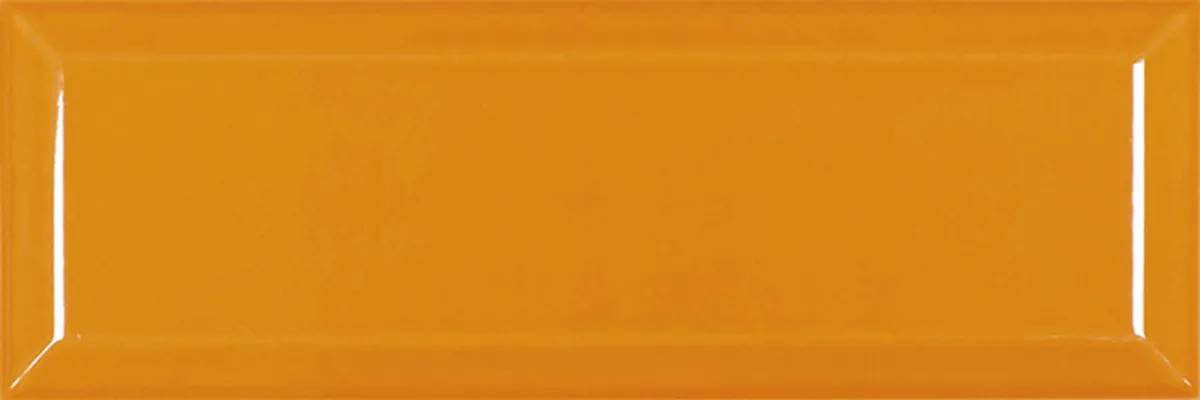
Sol gloss metro tile, £34.95 per sq m, Luxury Tiles UK
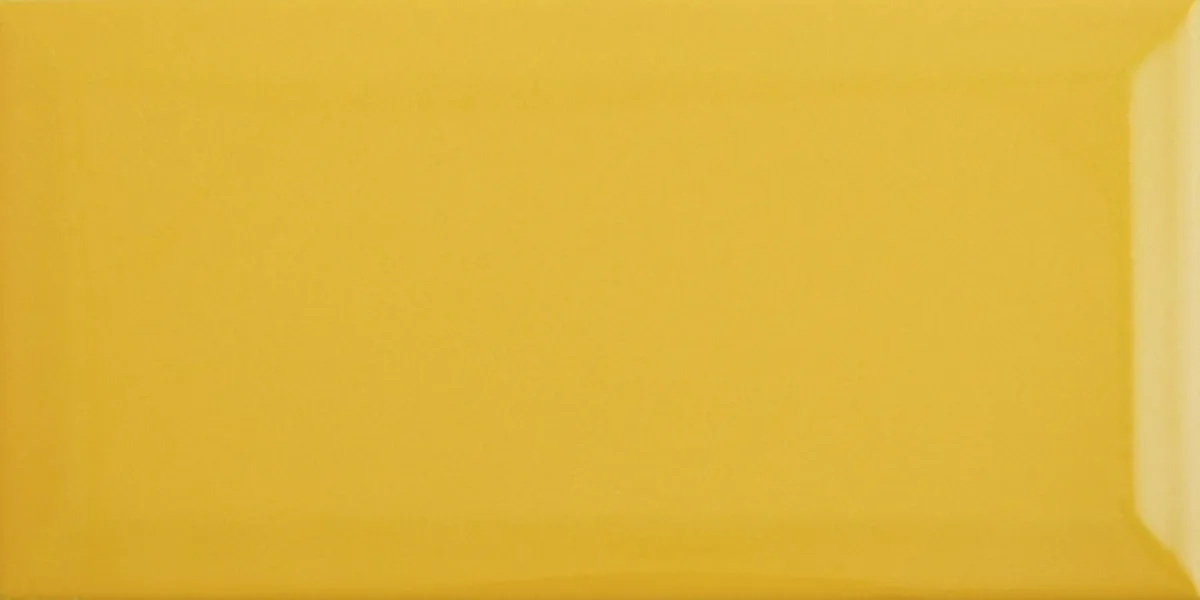
Trentie Dark Green gloss metro tile, £12 per sq m, B&Q
Metro Light Blue ceramic wall tile, £11.99 per sq m, Wickes
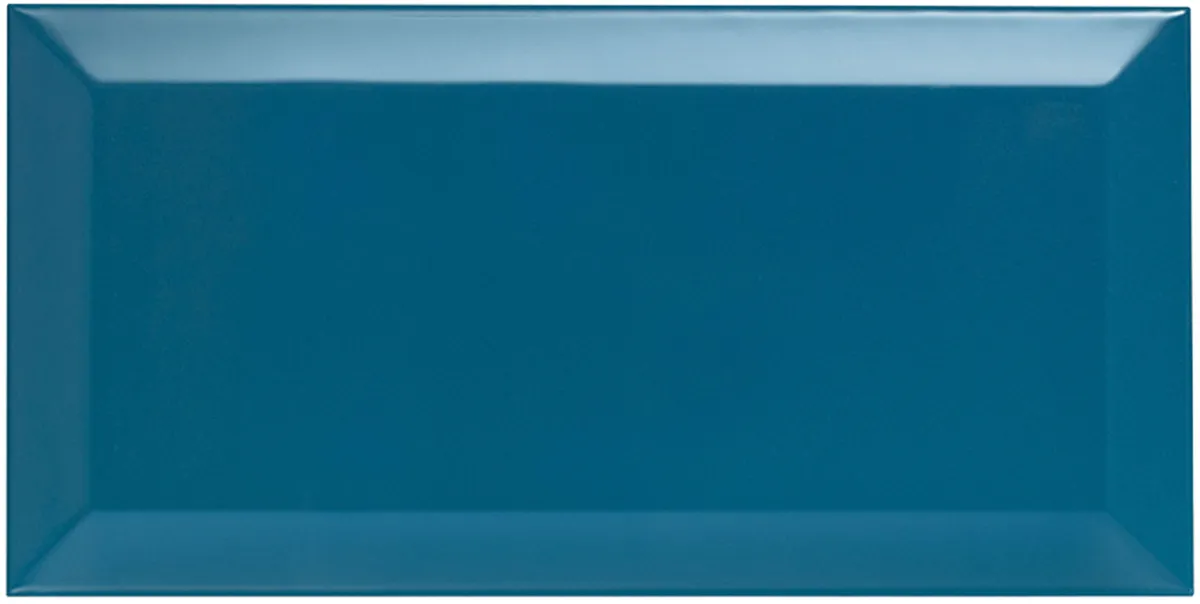
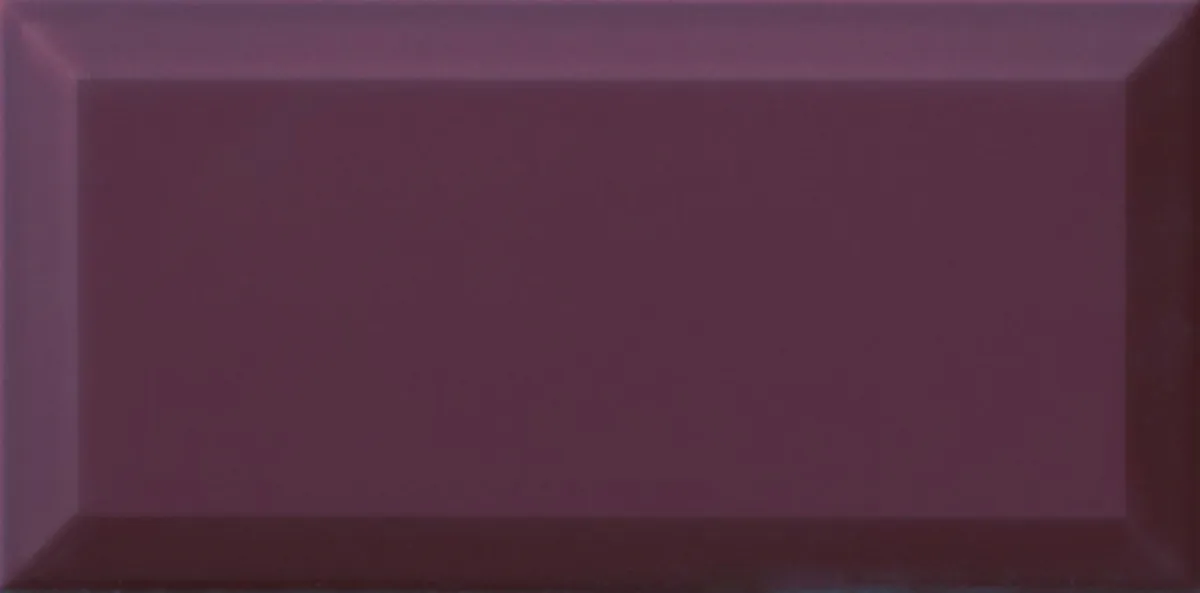
Metro bevel gloss Purple wall tile, £24.15 per sq m, Choose Tiles
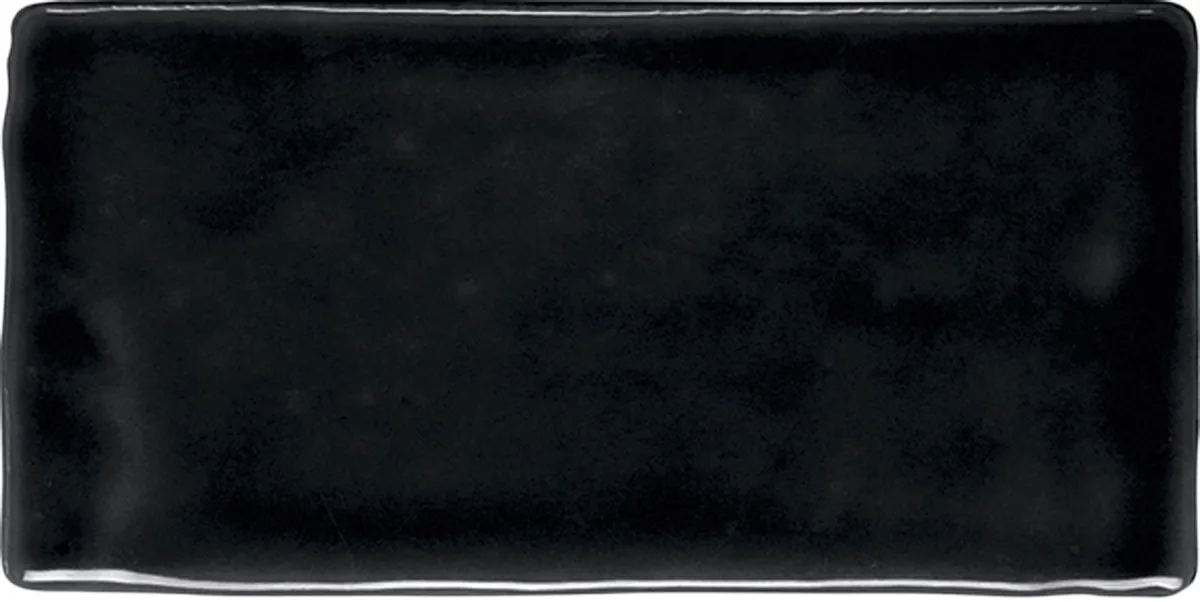
Vernon Rustic Black gloss ceramic wall tile, £32.22 per sq m, Victorian Plumbing
Metro tile patterns
Vertical Stack

This pattern is also known as ‘soldier course’ as all the tiles look like they’re standing to attention! It gives a sleek, modern look to metro tiles, and the strong vertical lines will make your ceilings look taller. Use a pared-back colour scheme to create instant Japandi style simplicity.
It’s also a super simple pattern to lay. Arrange all your tiles with the short edges parallel to the bottom of the area you want to cover. Then keep building up the lines until the whole area is complete. The most important thing is to make all the tiles straight, so use a spirit level to keep an eye on those lines.
Right angle
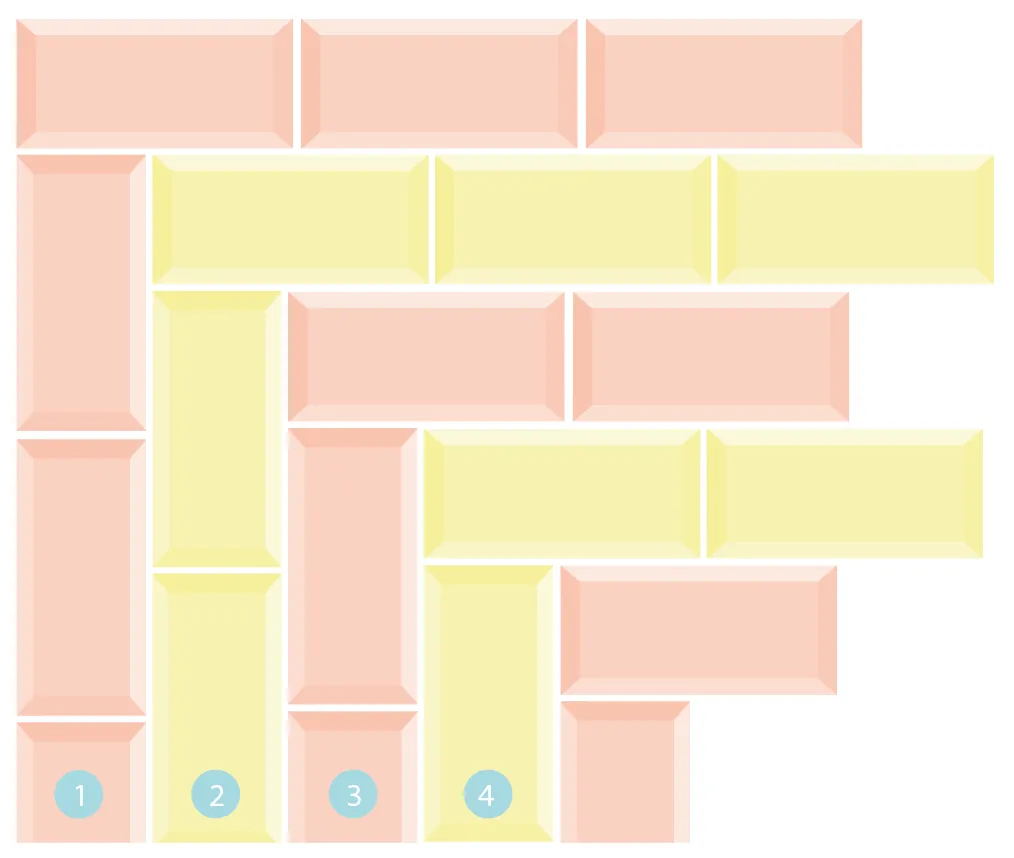
This pattern is a great hack if you love the look of chevrons but don’t want to have to cut tiles at an angle. The edges of the tiles are butted up against each other at a 90° angle. To create this design you’ll need tiles that are twice as long as they are wide.
Cut some tiles in half widthways and lay these with the cut side parallel to the bottom. Alternate these half tiles with complete tiles along the bottom row. Then, starting at the bottom right-hand corner, start building up the joints. Lay one tile horizontally on top of the last tile on the bottom row. The next joint will be above your last one, then keep adding tiles.
Herringbone
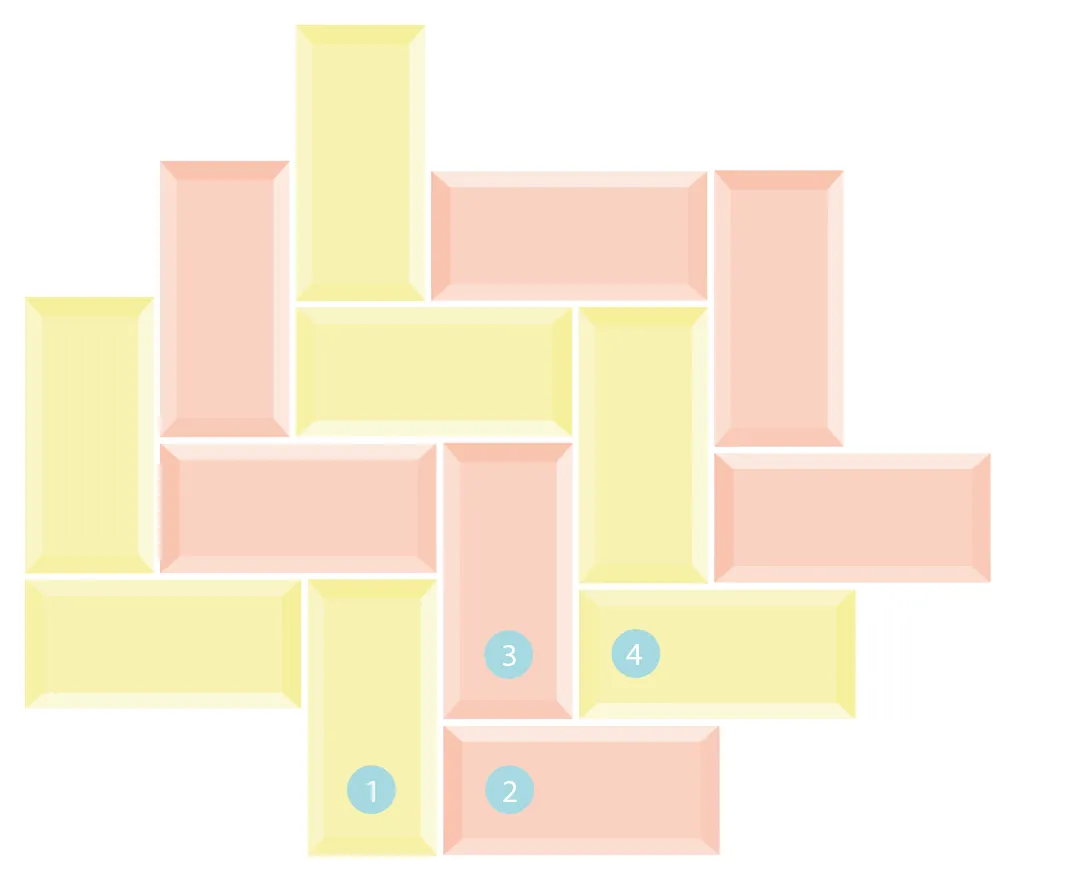
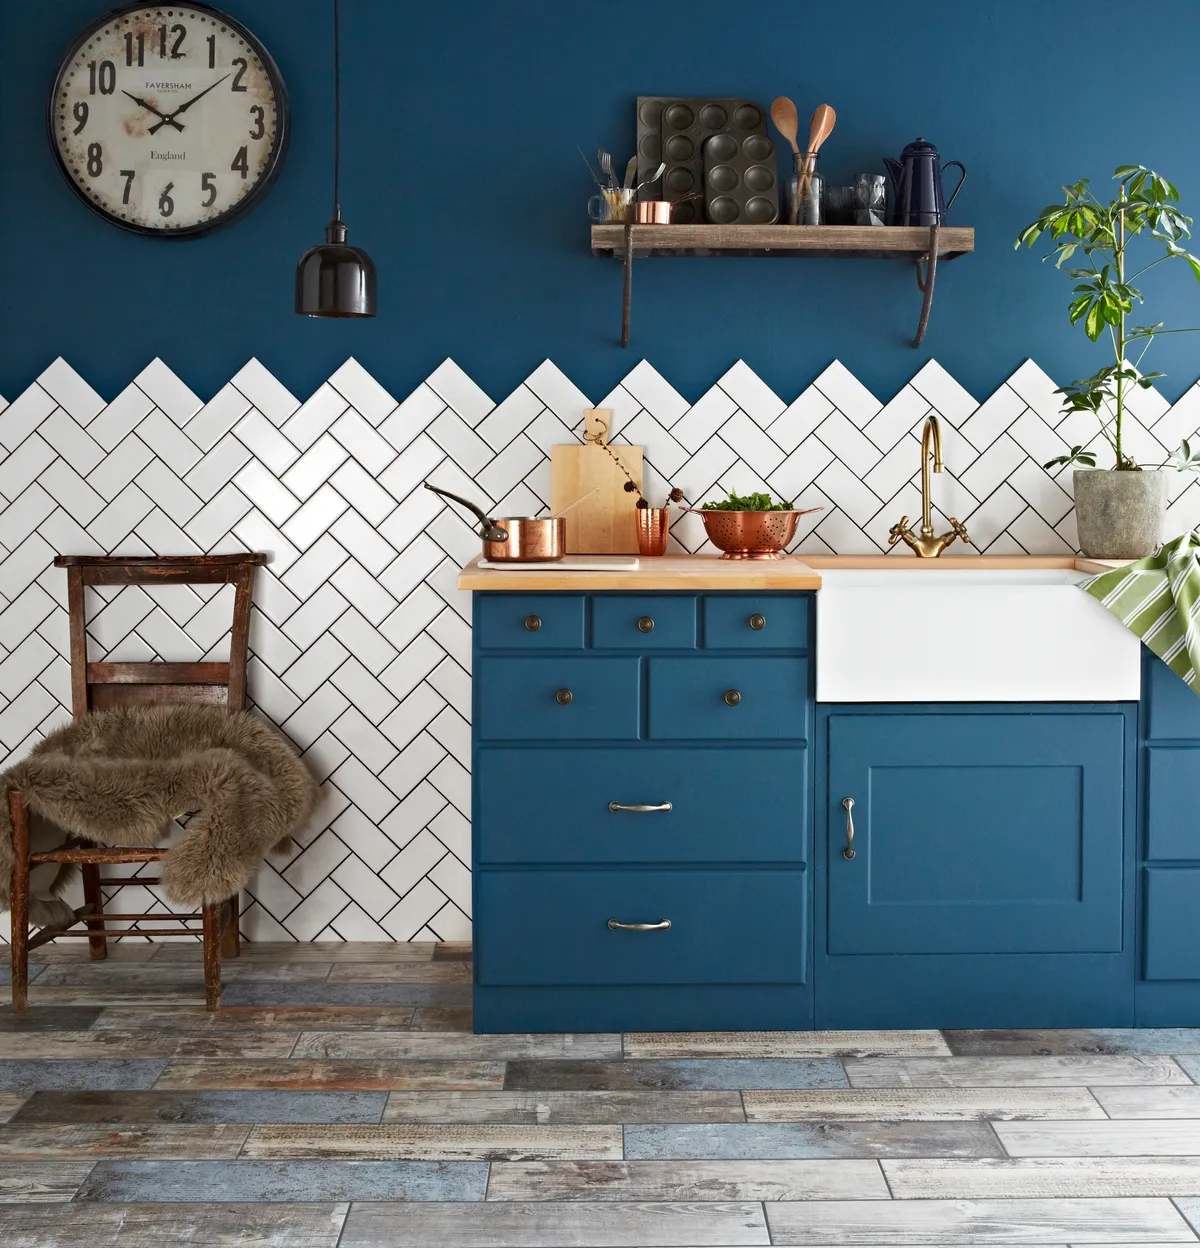
To create a herringbone pattern, the width of your tile must be half, or less than half, of its length. Position your first tile so that the short edge is parallel to the bottom edge of your tiled area. Then place your second tile with the long edge parallel to the bottom instead. This will create the angle that will help you lay the rest of the tiles, so make sure it’s perfectly 90°.
The third tile fits into that corner, with its long edge snug to the first tile you laid, and its short edge on top of the second tile. Place the fourth tile next to the third. Keep following this pattern until you have a line of interlocking ‘L’ shapes across the area.
Half Offset Horizontal Stack
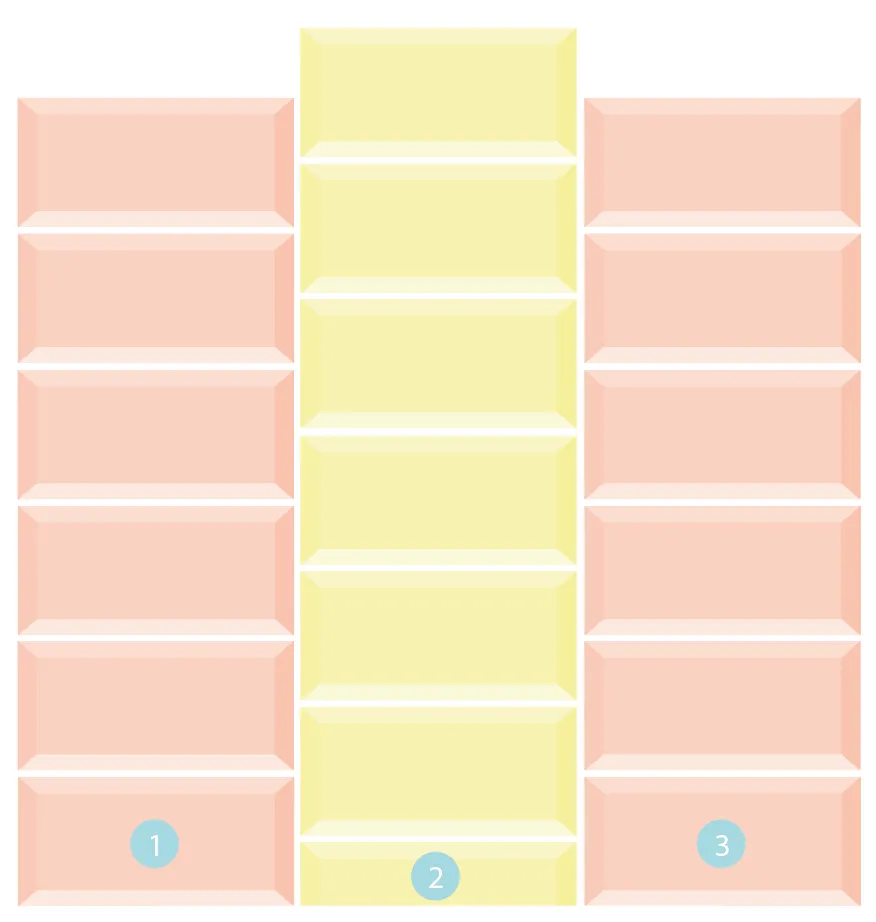
The horizontal stack is similar to the vertical stack, but adding a half offset gives it a stunning geometric effect. You’ll need to start by using a tile cutter to cut some of the tiles in half lengthways. Lay one half tile with the cut edge parallel to the bottom of the area you want to tile, then follow it with a complete tile.
Keep alternating the tiles all the way along the bottom edge. The next row is made of complete tiles, placed on top of the row you just laid. Keep an eye on your stacks to make sure they stay straight all the way to the top.
Basketweave
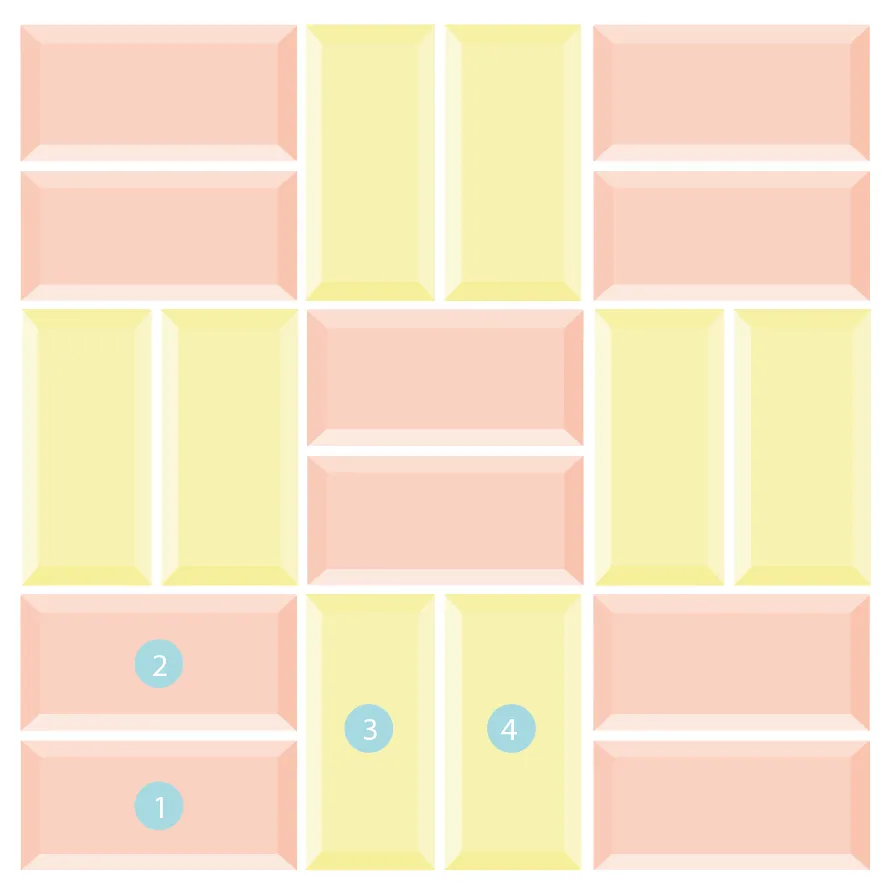
We love this simple retro design that borrows its pattern from parquet floors. To lay this pattern you’ll need tiles that are half,
or a third, as wide as their length. These measurements need to be exact otherwise you’ll have gaps in your design.
Lay two (or three) tiles on top of each other, laying on their long edge, then lay another two (or three) tiles on their short edges right next to them. You should have created two squares that are exactly the same size. Continue this pattern all the way along the bottom. Alternate the pattern when creating your second line.
Diagonal Running Bond
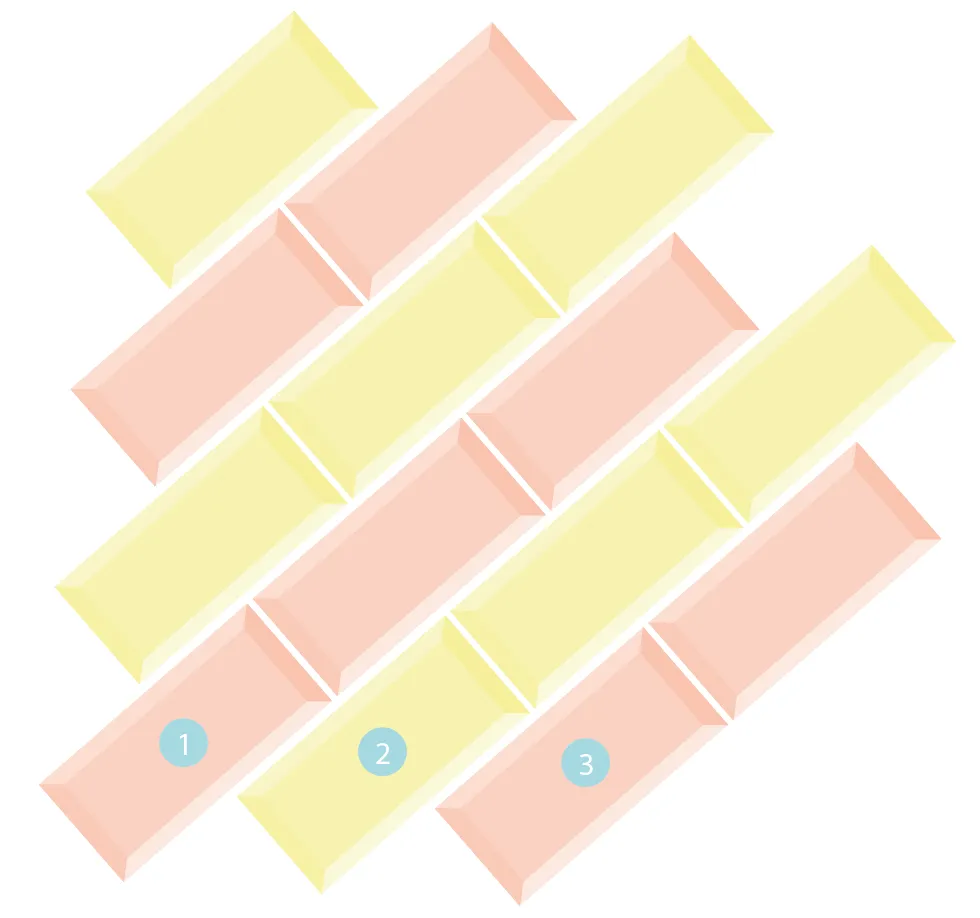
Turn the traditional running bond, brickwork-style pattern on its head by giving it a diagonal twist. This striking design is great for small areas like splashbacks. It’s really easy to keep clean too as there are no horizonal edges for the dust to gather on. It’s the fiddliest design on this page to lay, but it’s worth the extra effort.
Lay your first row of tiles at a 45° angle, making sure to support the last tile in the row as it dries. This will help to maintain the 45° angle along the whole row. The next row of tiles is laid on top of the first row, matching short edges to short edges.
Best tile grout
It might not be the sexiest design feature, but grout has a huge impact on the overall look of your tiles. Using grout that is a similar colour to your tiles will make the tiled area seem larger.
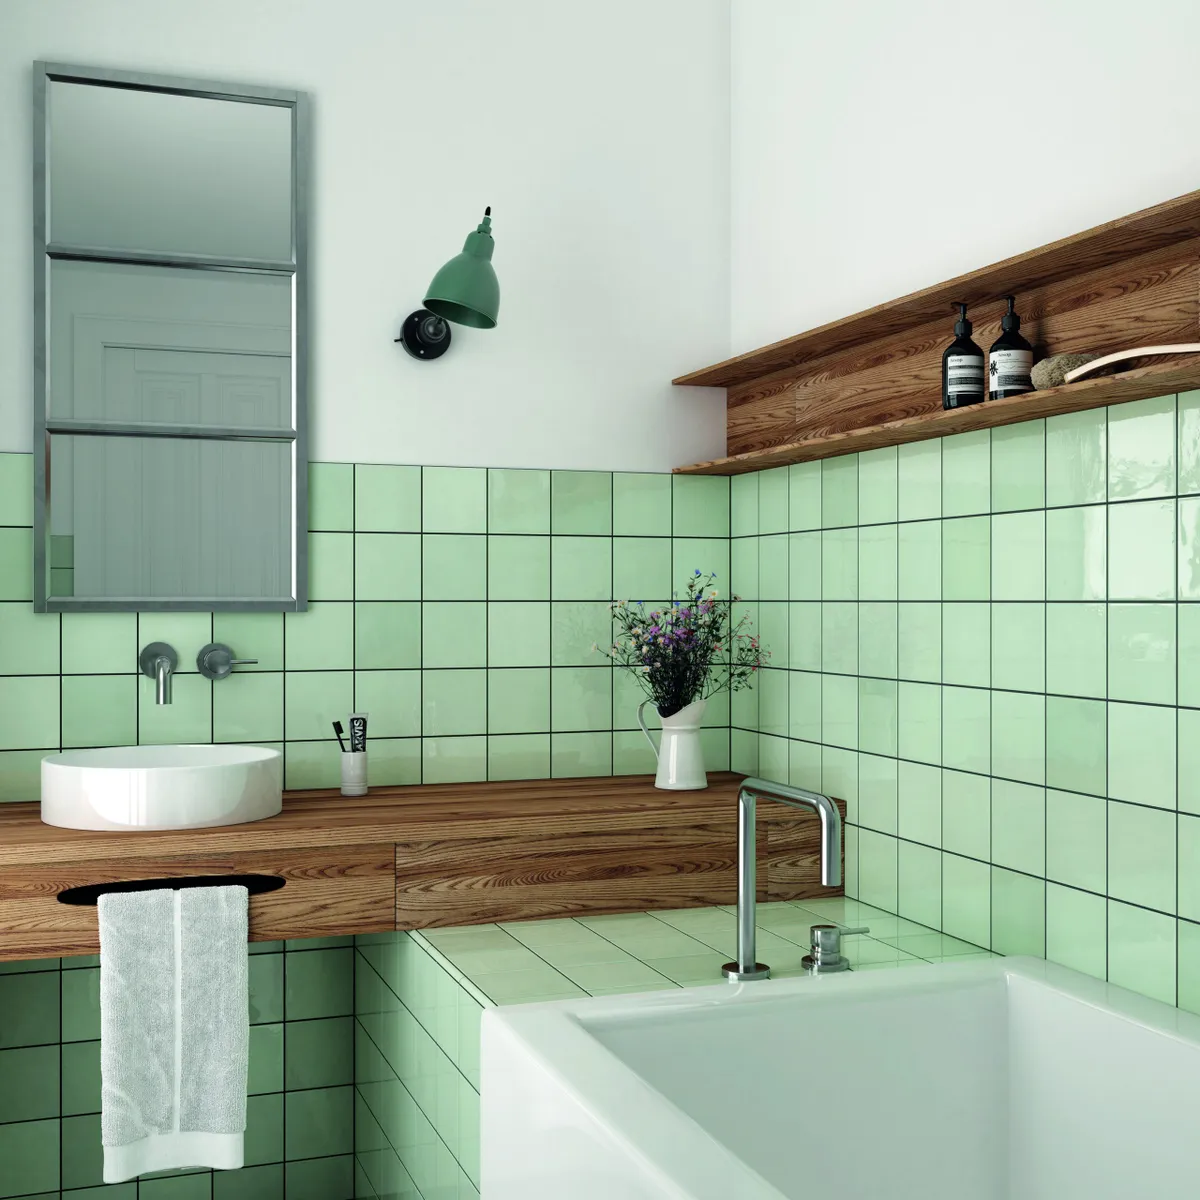
The grout blends in to create a seamless look, with little definition between the tiles. Using grout in a colour that contrasts with the tiles will create a more defined pattern. It will pick out all the edges of the tiles and make them into a style statement.
Glitter grout
Glam up your choice of grout with a glitter additive. Glitter grout can turn ordinary tiles into something really special, so it’s great for creating a stylish look on a budget.
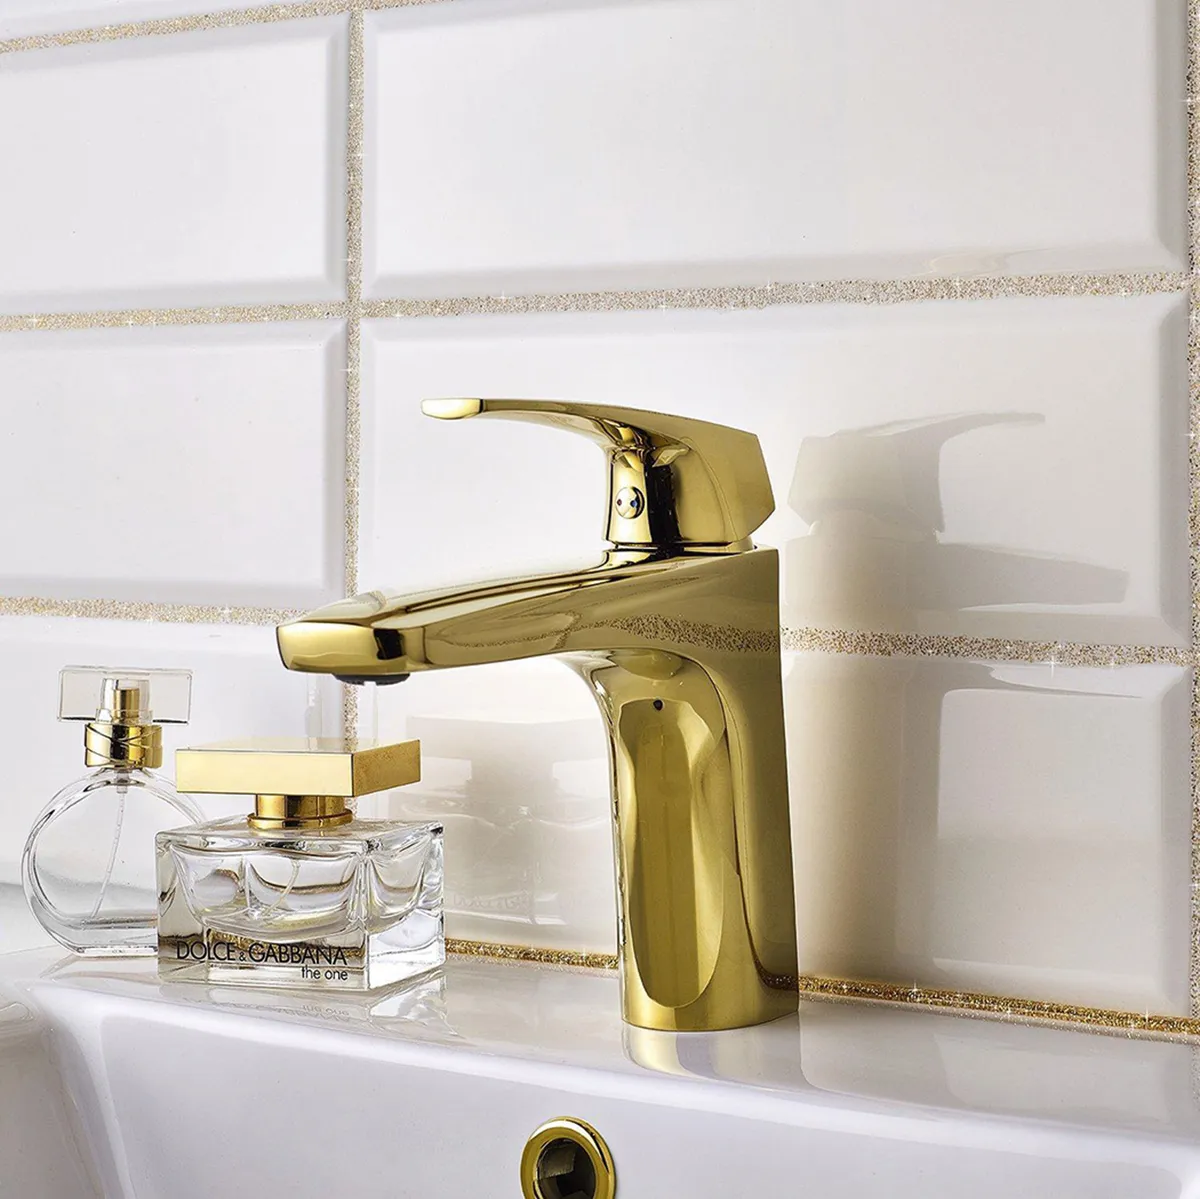
The twinkling effect is brilliant for brightening up small spaces too. If you’re using foil-backed glass mosaic tiles, glitter grout will pump up that sparkle. Try adding gold glitter to cream grout for a subtle, gilded look in a traditional bathroom. Chunky glitter makes an unashamedly fun addition to plain tiles – these silver stars are irresistible!
Coloured grout
This perfectly pink scheme is an example of carefully considered grout. The grout gently blends into the colour of the tiles for a smooth and ordered look. The warm tone makes for a cosy bathroom and is an on-trend alternative to blue.
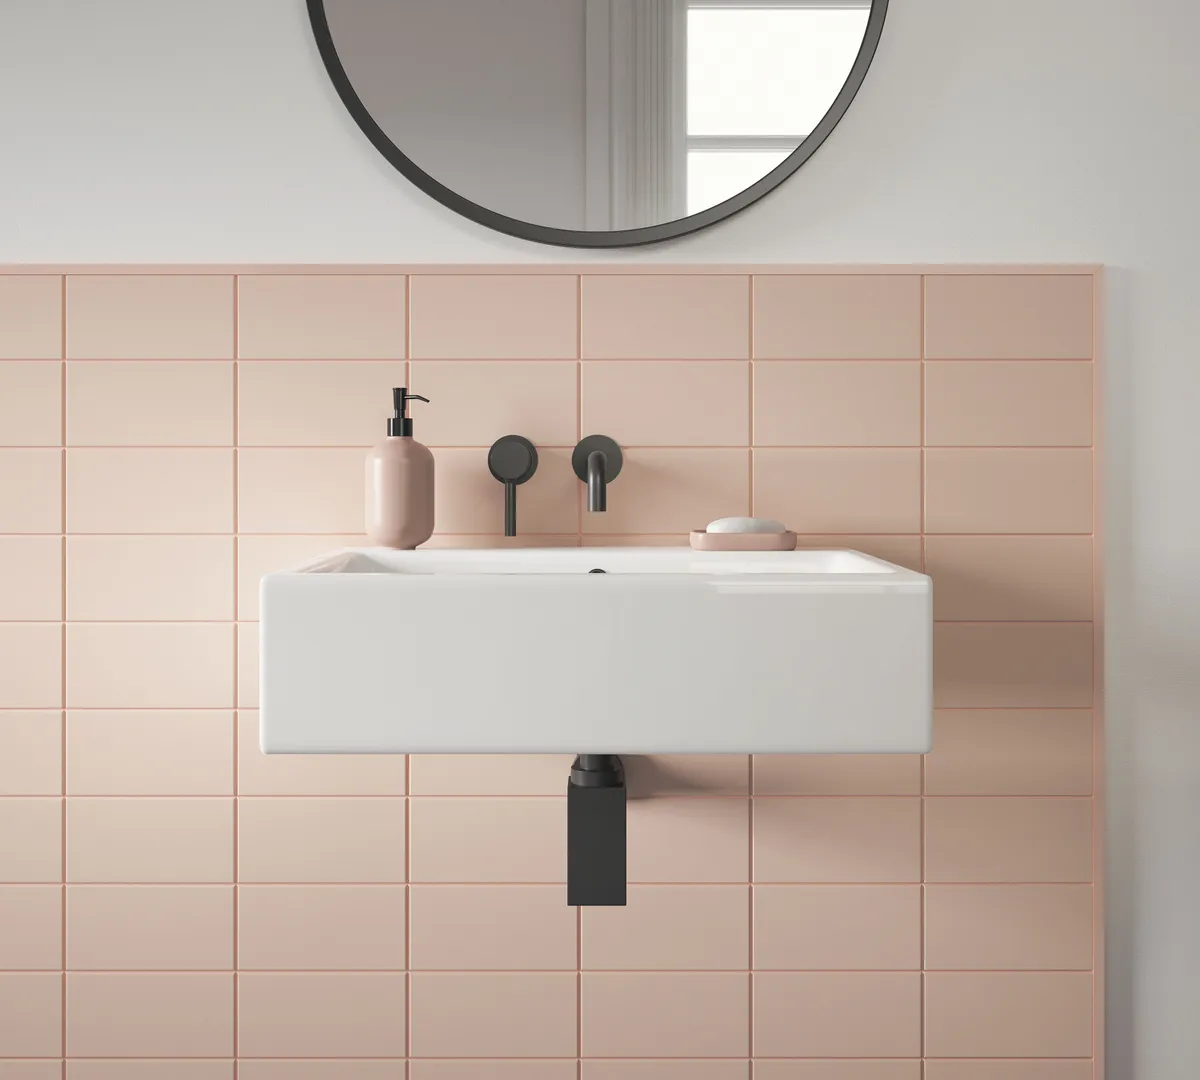
There are endless ways to mix and match the colours of tiles and grout. Combine pastel tones for a delicate scheme or create a stunning look with contrasting hues.
Grout pens
You can transform the look of old or discoloured grout with a grout pen. Use the pen to colour in the grouted lines and give them a new lease of life.
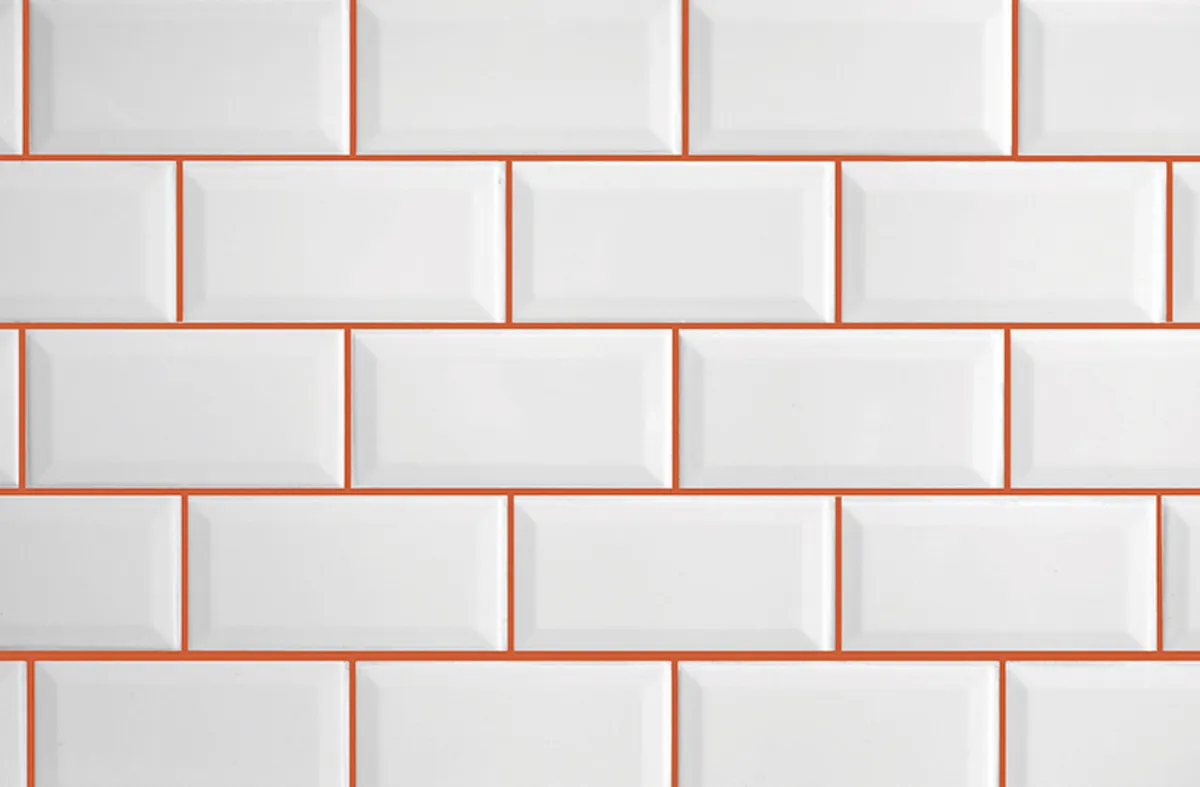
A white pen will get the grout gleaming for a fresh and clean feel, but for a dramatic look, use black or dark grey tones.

