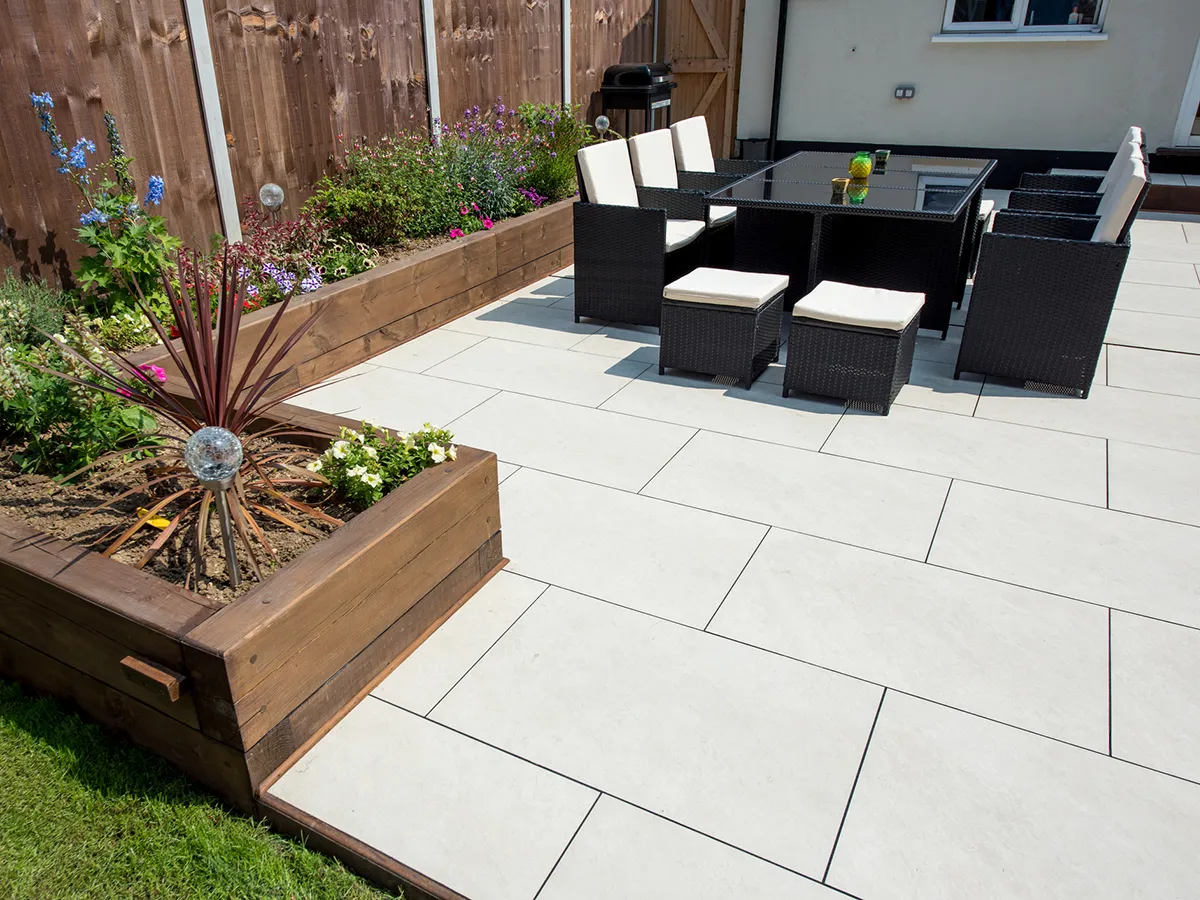
Perhaps you have a beautifully sunny spot down the end of the garden that’s rarely used, or an old patio or decking that’s seen better days. Maybe you’ve been living with paving that was there when you bought your house, but was never to your taste? Now’s the time to take action and transform your outdoor space with a patio so you can enjoy the summer to the utmost.
What's the best type of tile for a patio?
Dean Quinn, from Tile Mountain, says…
There are two main types of tiles that are suitable for outdoor use. The first are natural stone tiles such as granite, limestone and slate. These look great but will require sealing when installed and can be costly. The second are porcelain tiles, which are available in a wide choice of sizes and finishes, and can replicate the look of natural stone and wood. Porcelain tiles do not require sealing and are available in 18 to 20mm thickness variants and anti-slip finishes.
What to consider before laying your patio
■ First up, work out your budget, then do your research and decide on the style, colour and size of the slabs you’d like. Next, decide the pattern you’d like to lay them in. Check out paving websites such as bradstone.com and marshalls.co.uk for inspiration.
■ When you know the dimensions of your chosen slab and your patio area, work out how many slabs you’ll need and, once they’ve been delivered, you can lay them out in position to check that your idea will work! Try to avoid cutting slabs as much as possible. Make a note or take a photo of your preferred scheme so you can refer back to it.

■ If your patio is directly next to your house, you need to lay it so it’s 150mm below the damp-proof course, and make sure it has a very slight slope (1:60 or 16mm per m) away from the house or any outbuildings so that rainwater will run off and not cause damp problems with the buildings.
■ If your patio will adjoin your lawn, make sure it’s 10mm below ground level to make mowing easier.
■ If you have several packs of slabs, mix them up before you lay them to disguise any slight variation in colour or pattern.
■ Ideally, wear shoes with steel toe caps, and sturdy gloves.
What you will need to lay your patio
- Steel-capped boots
- dust mask
- safety goggles
- set square
- gloves
- rake
- hardcore
- Slablayer (£4.90 for 20kg, Wickes)
- tamper or whacker plate
- rubber mallet
- wood offcut of width between tiles
- spirit level
- trowel
