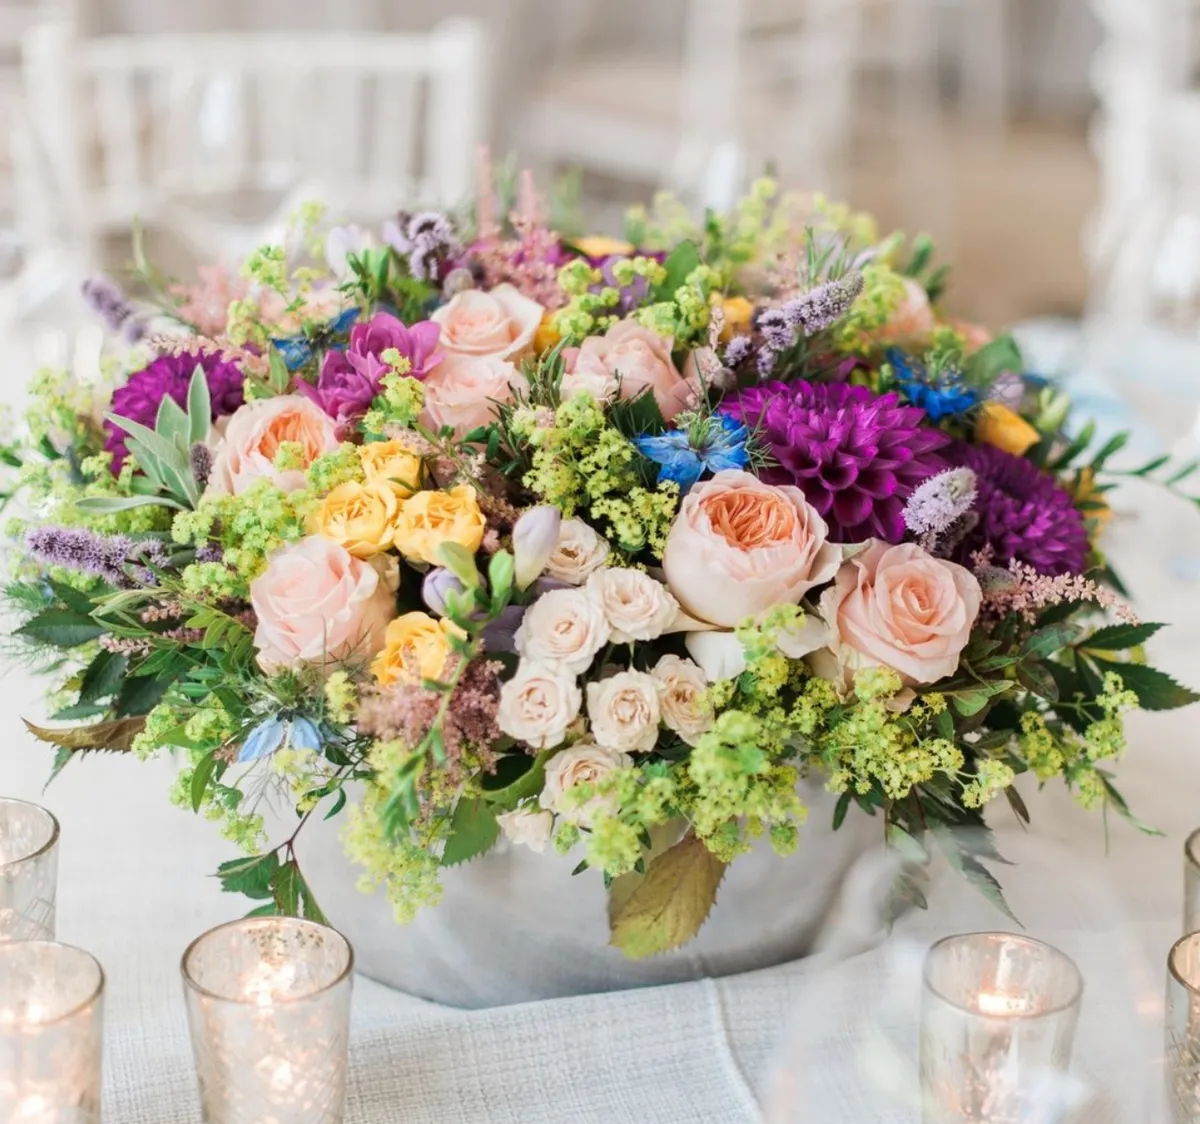
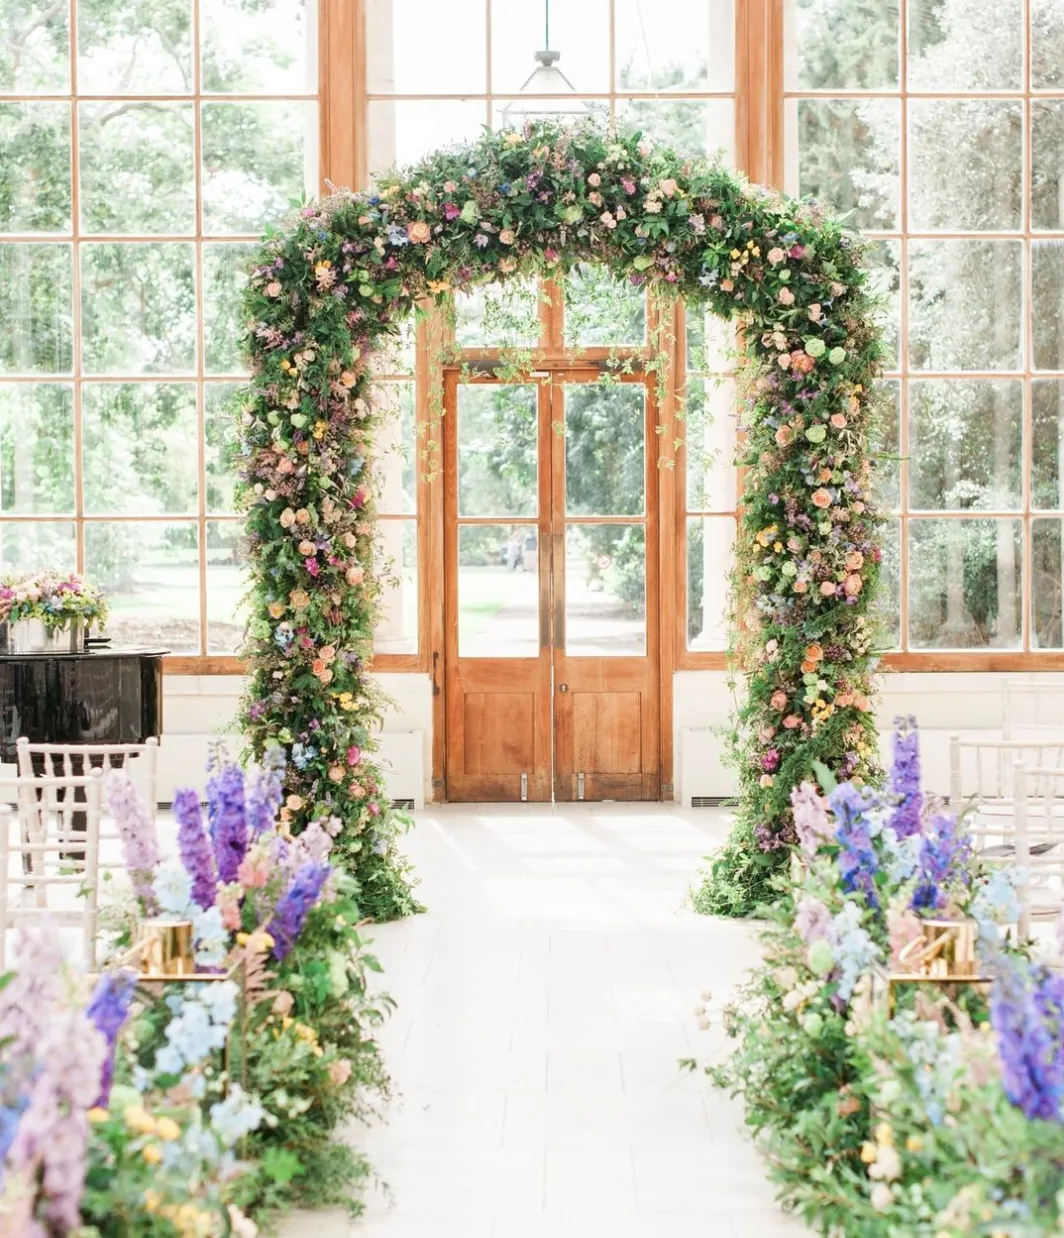
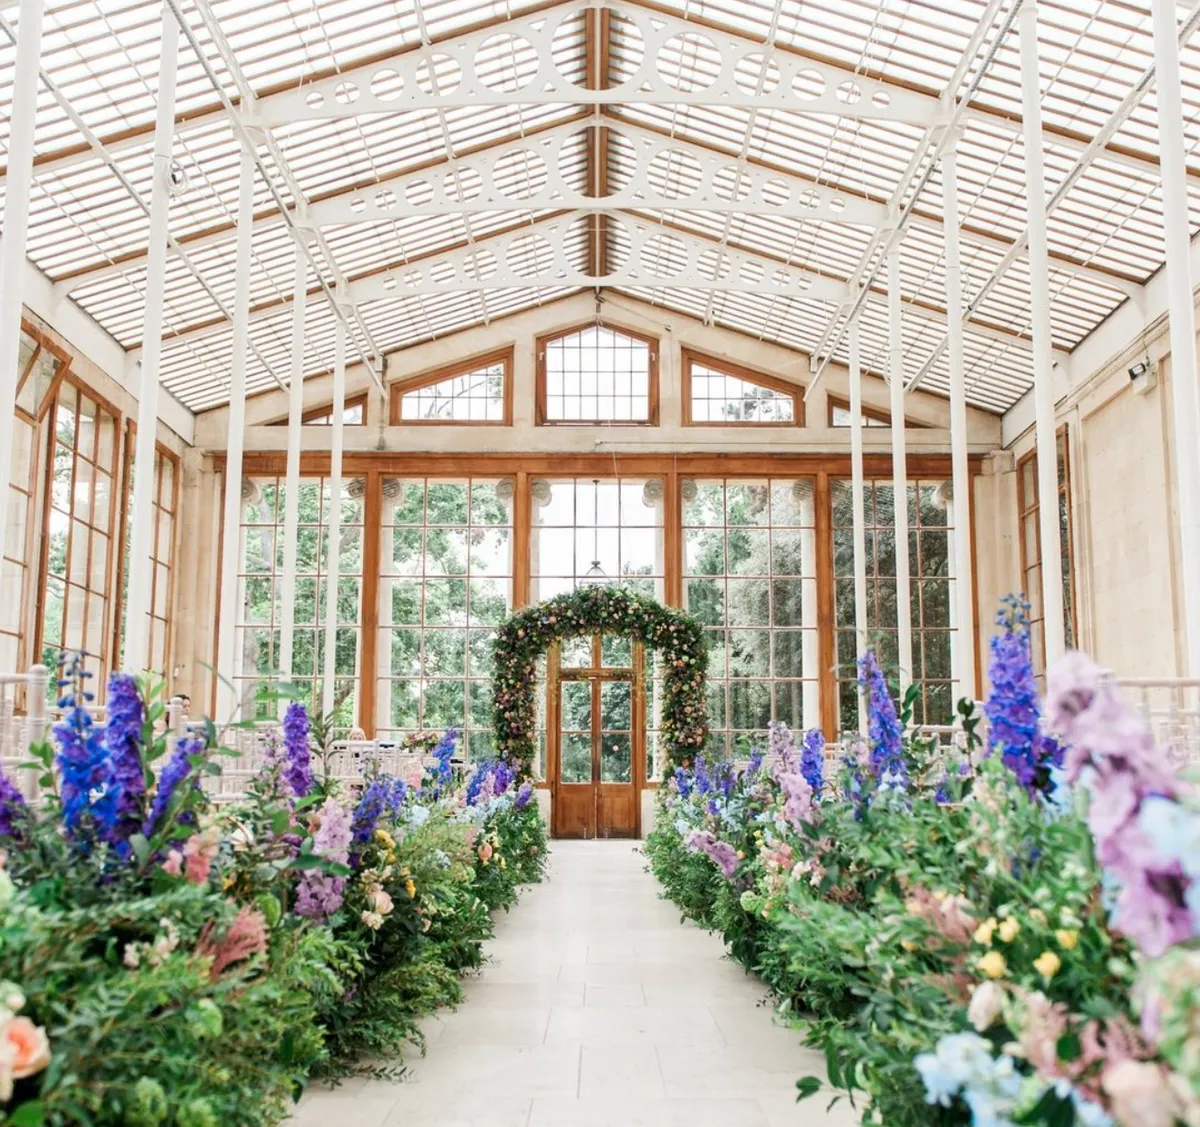
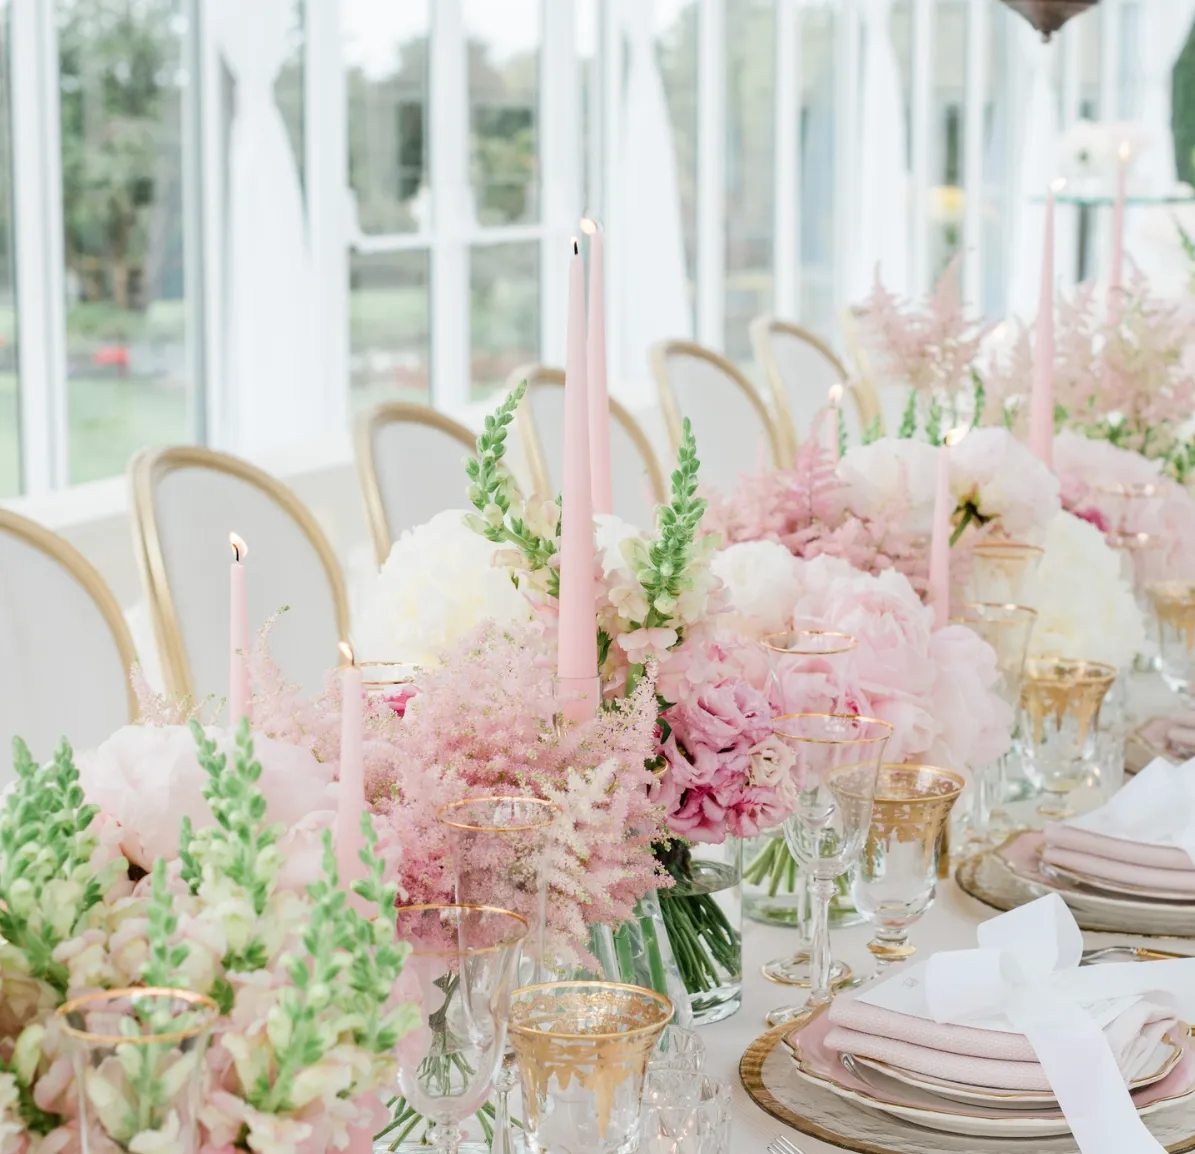
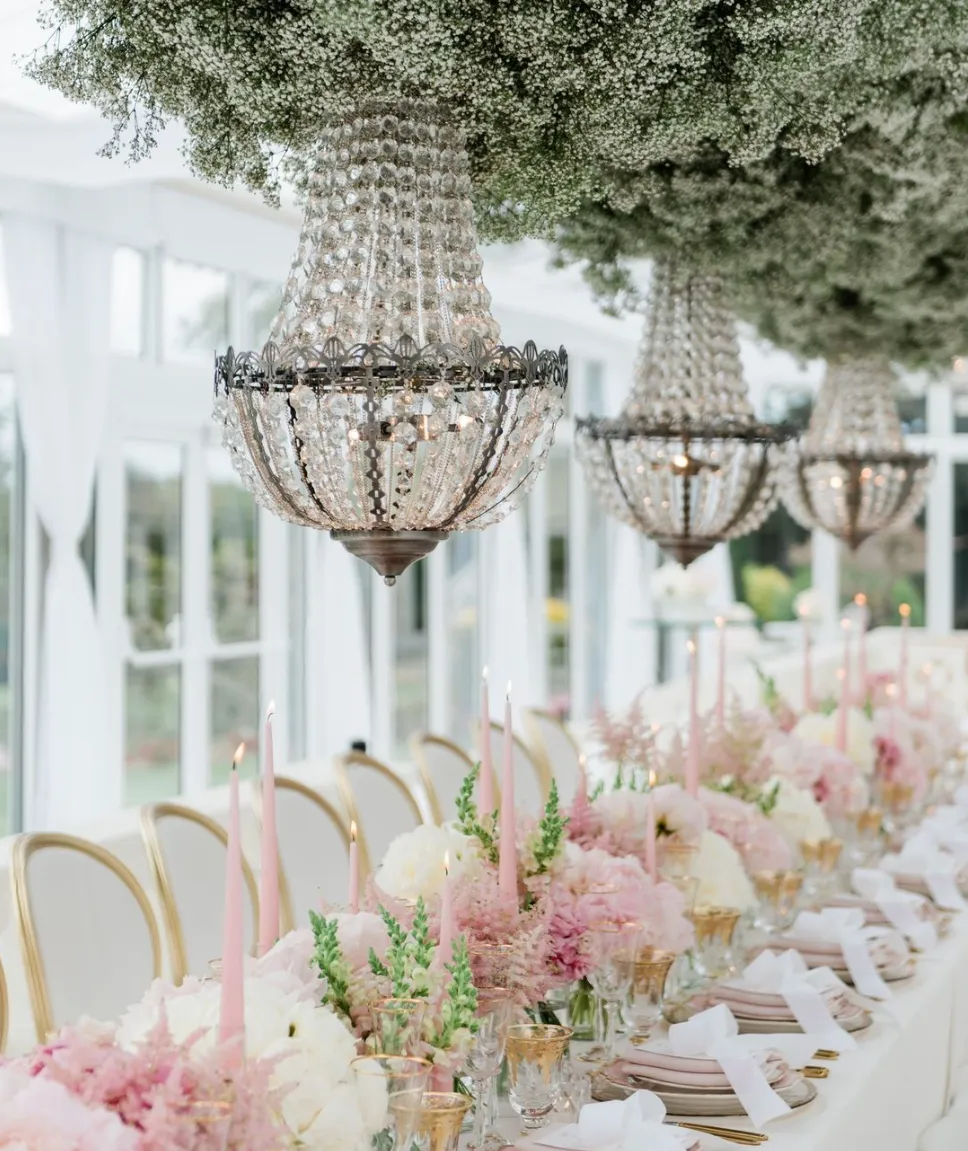
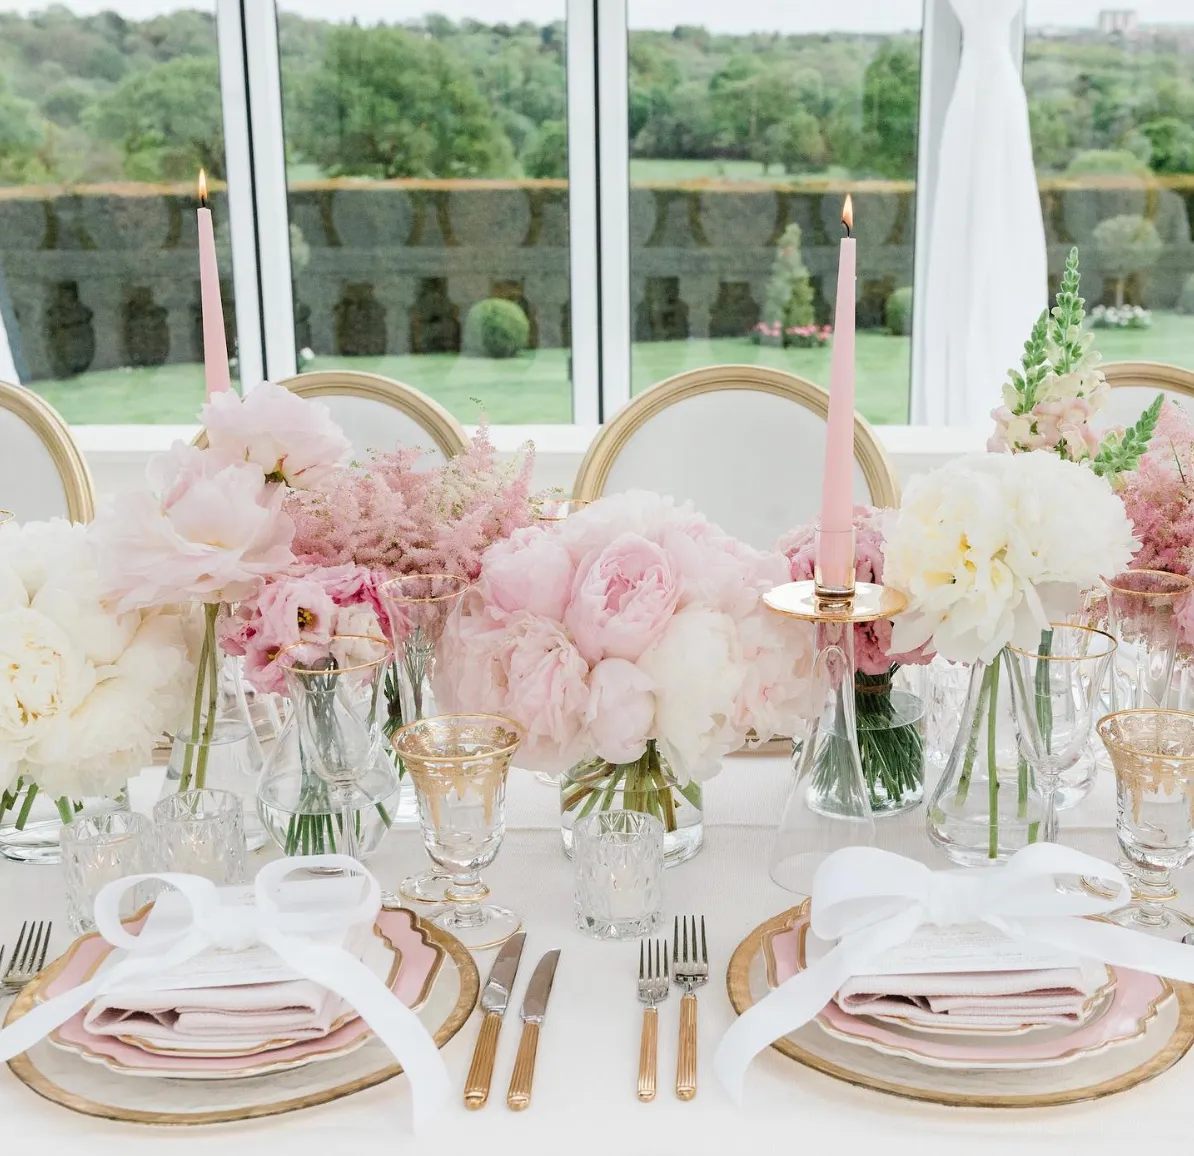
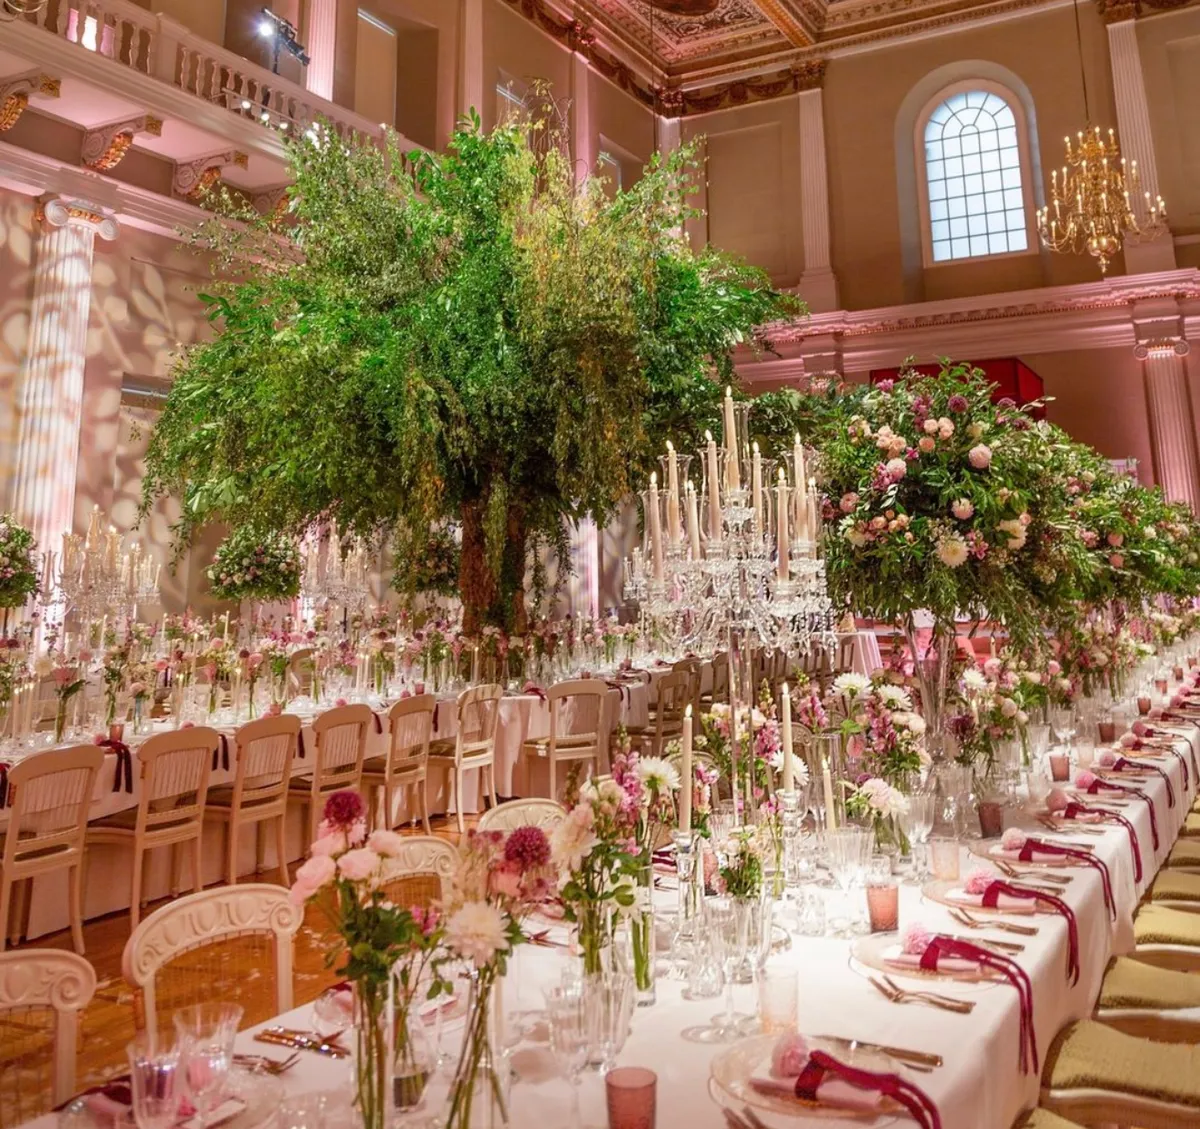
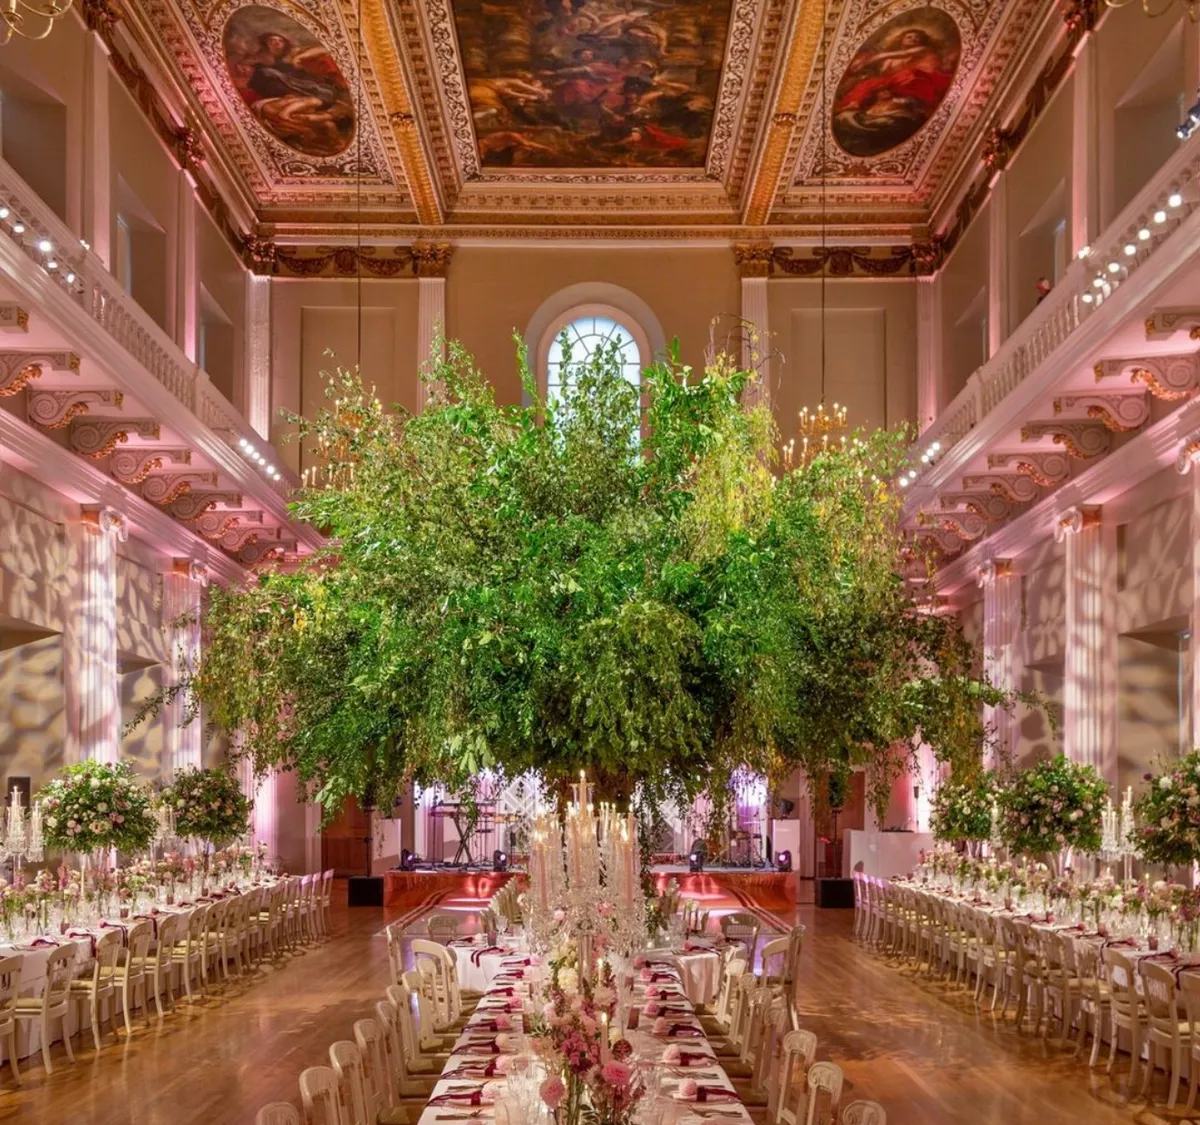
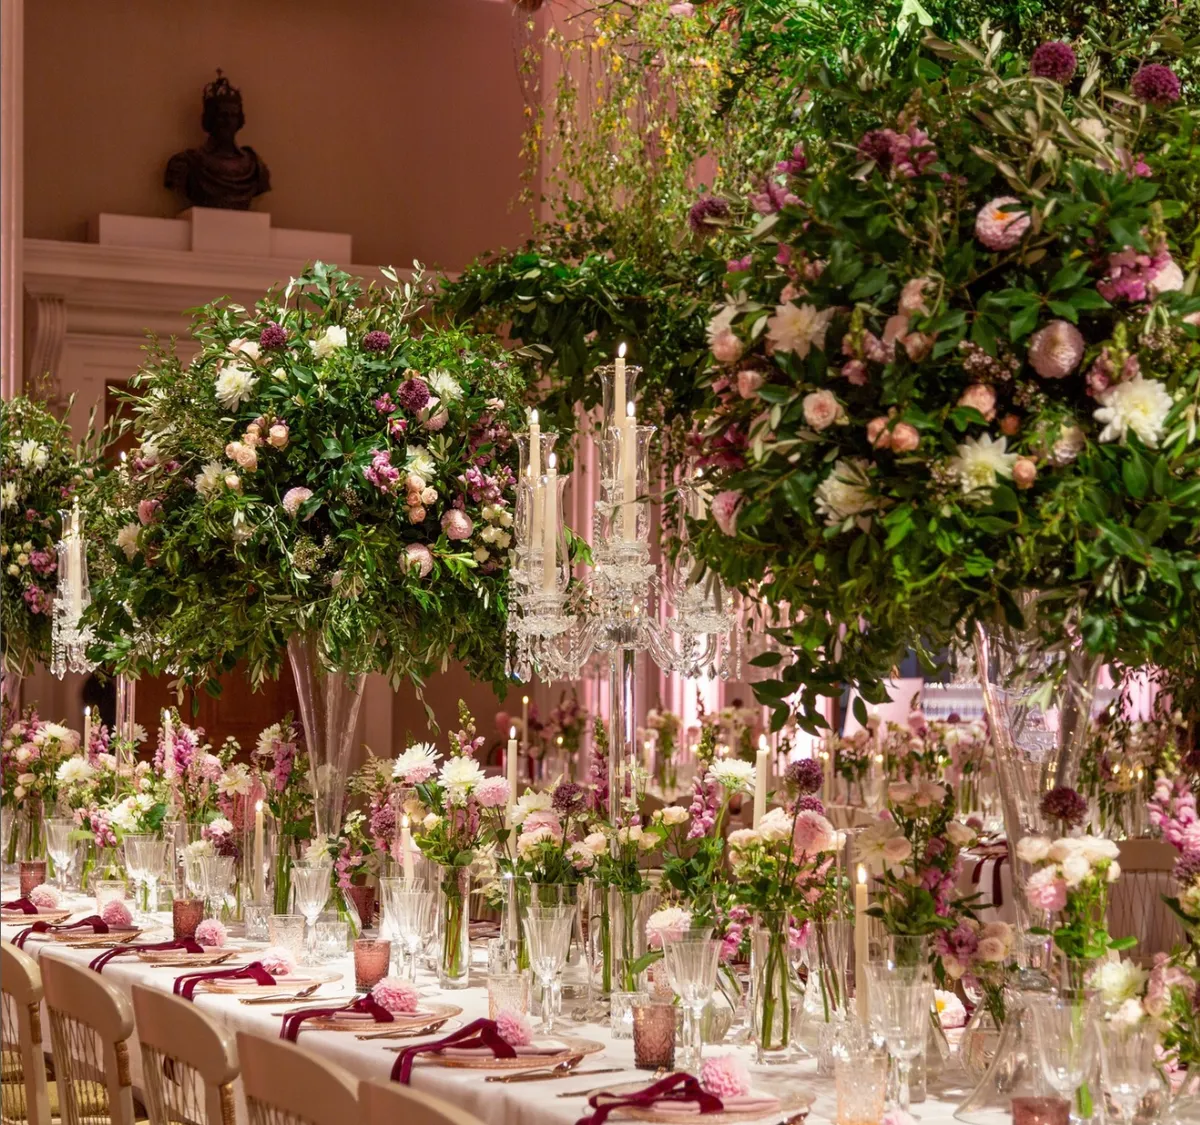
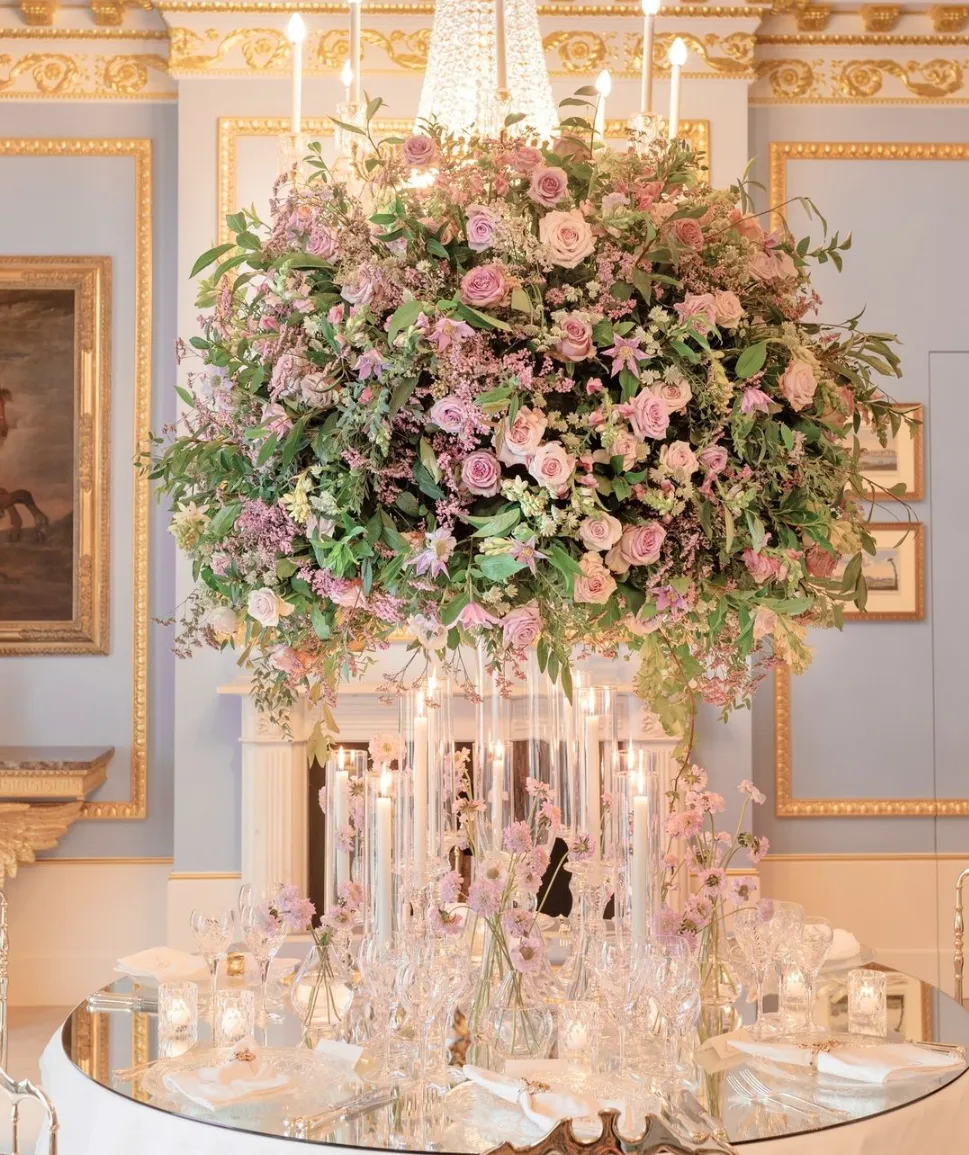
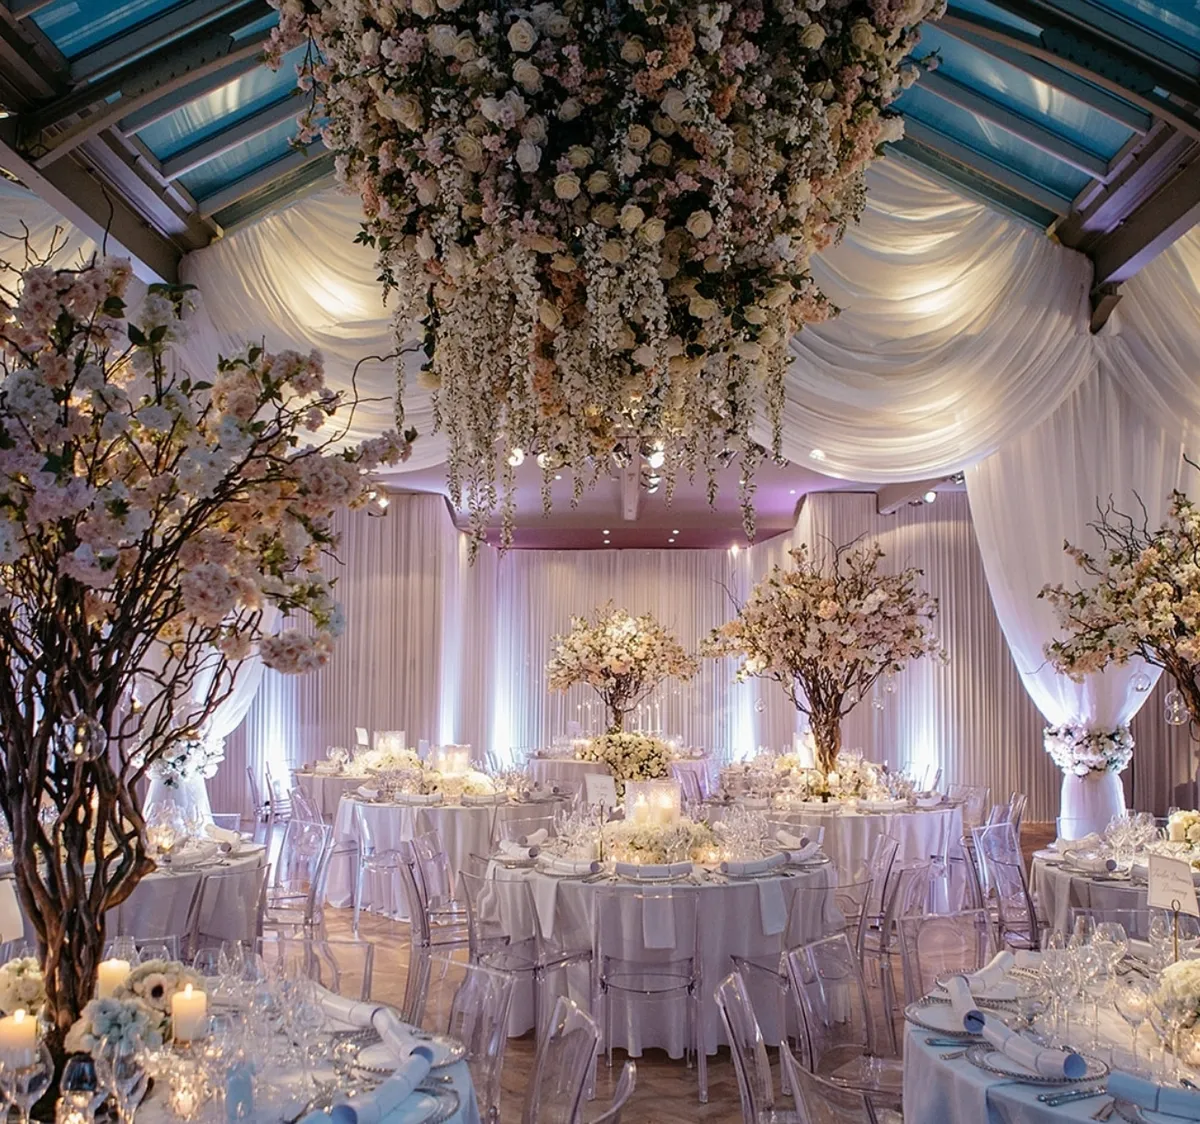
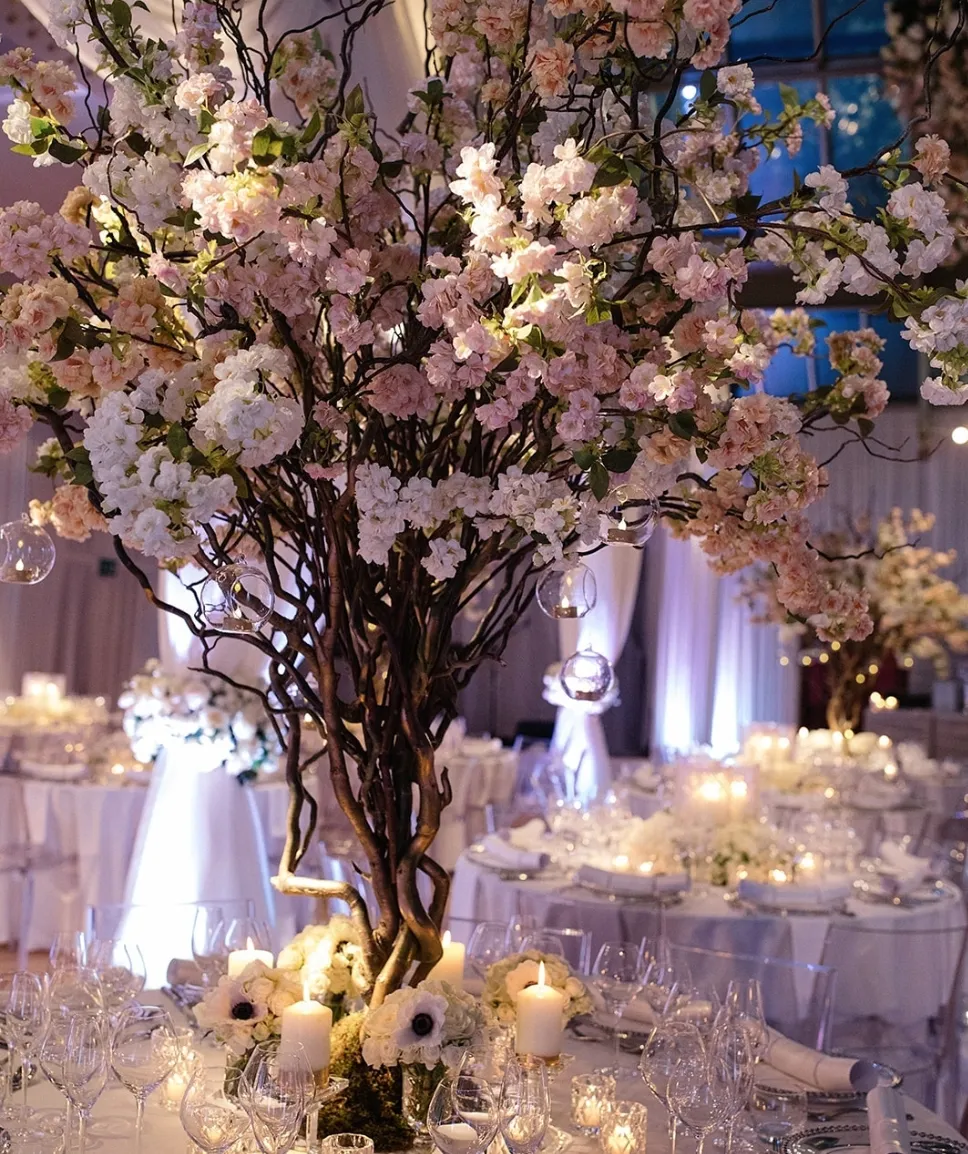
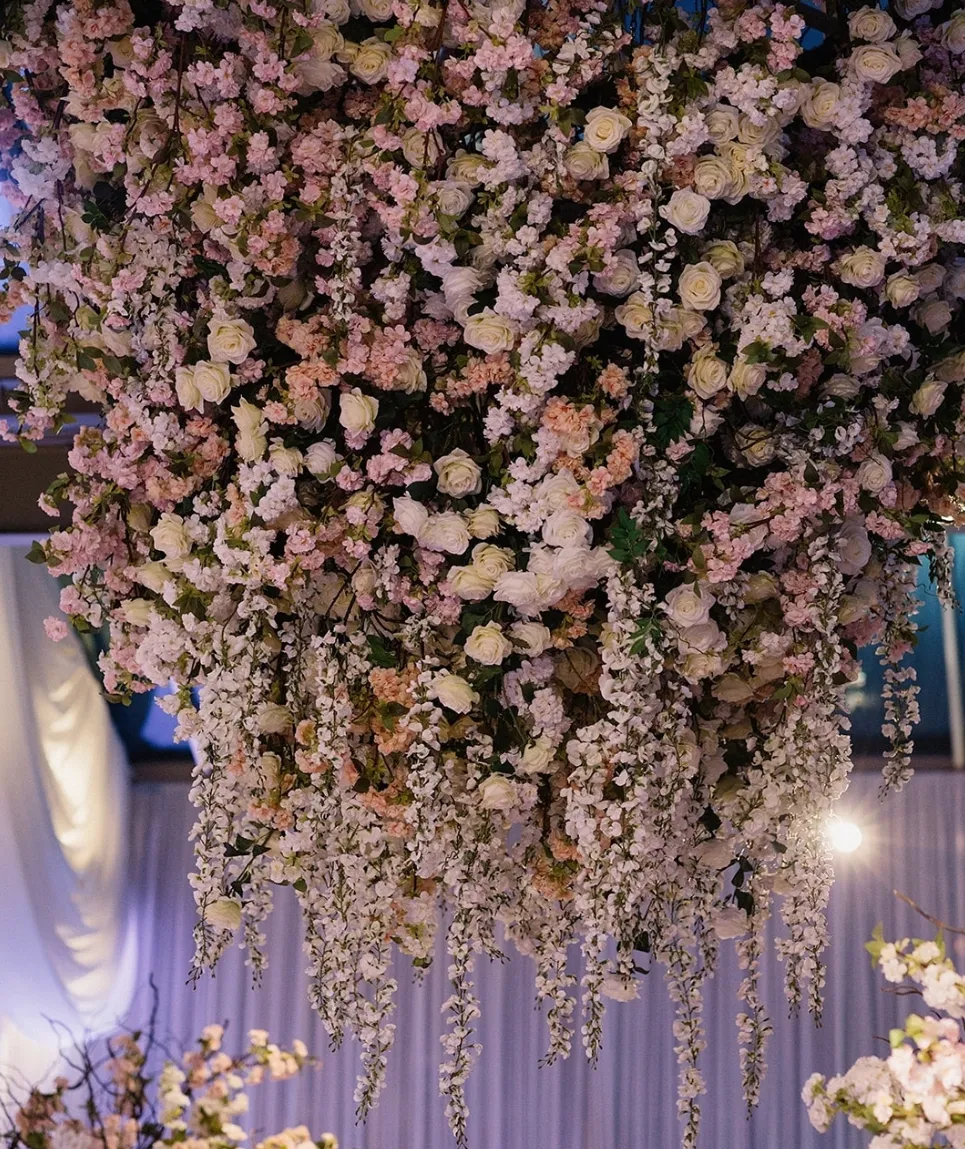
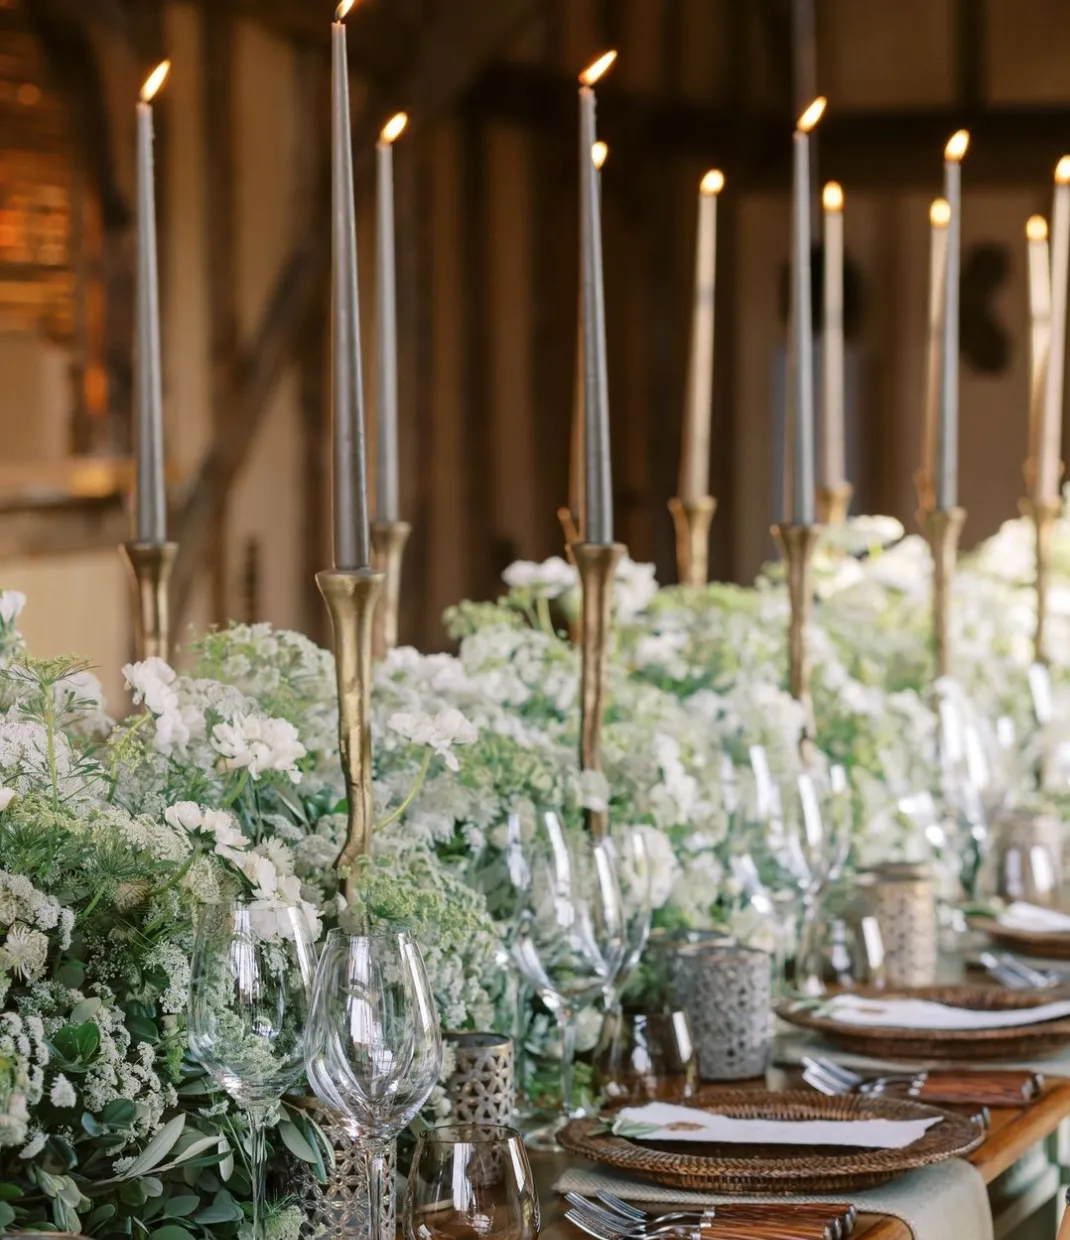
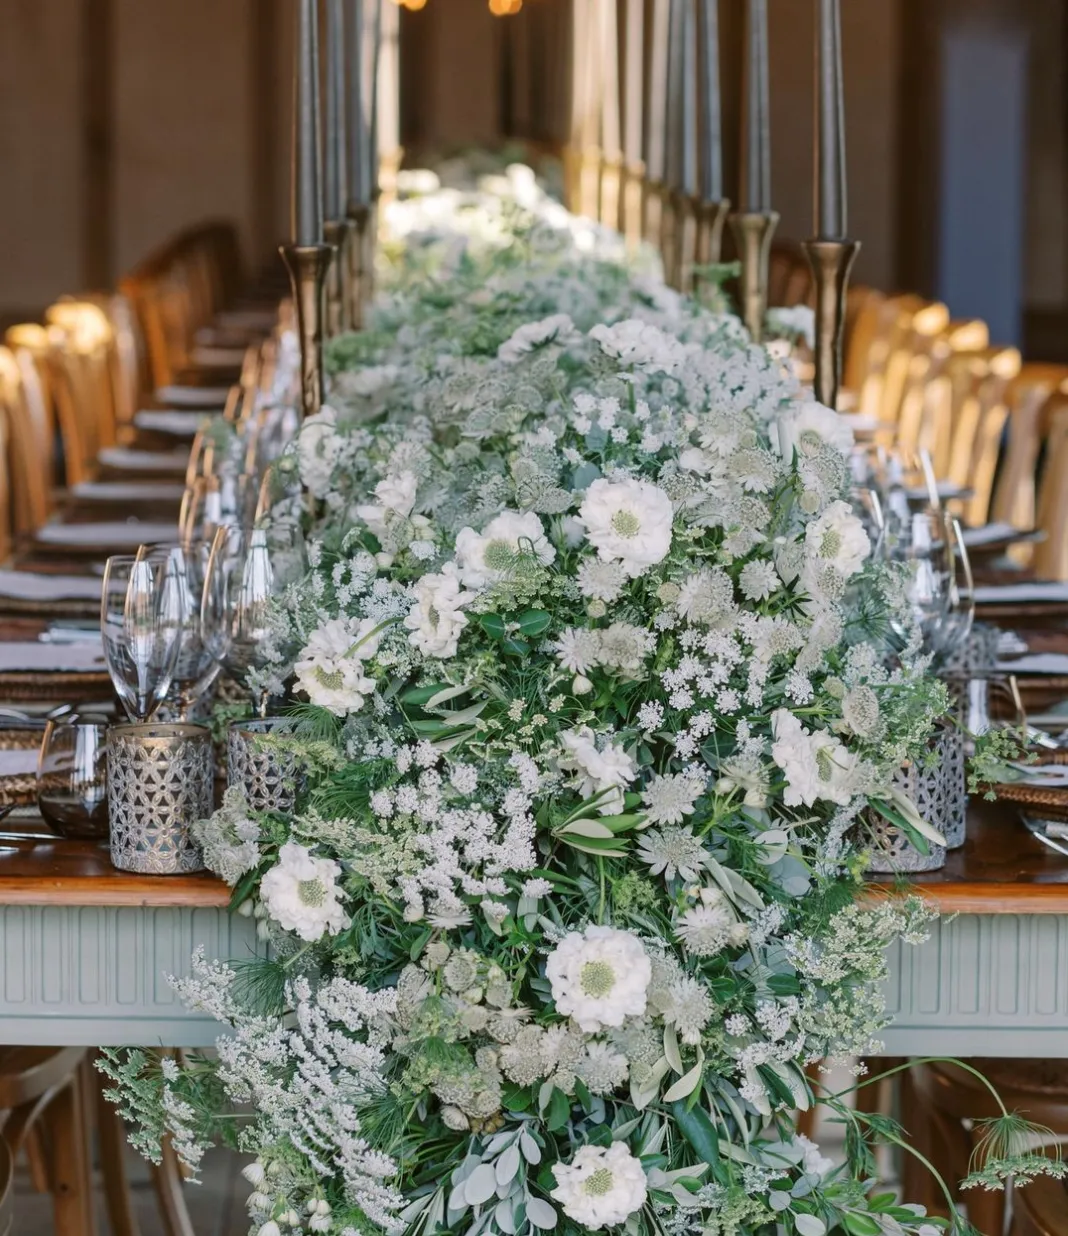
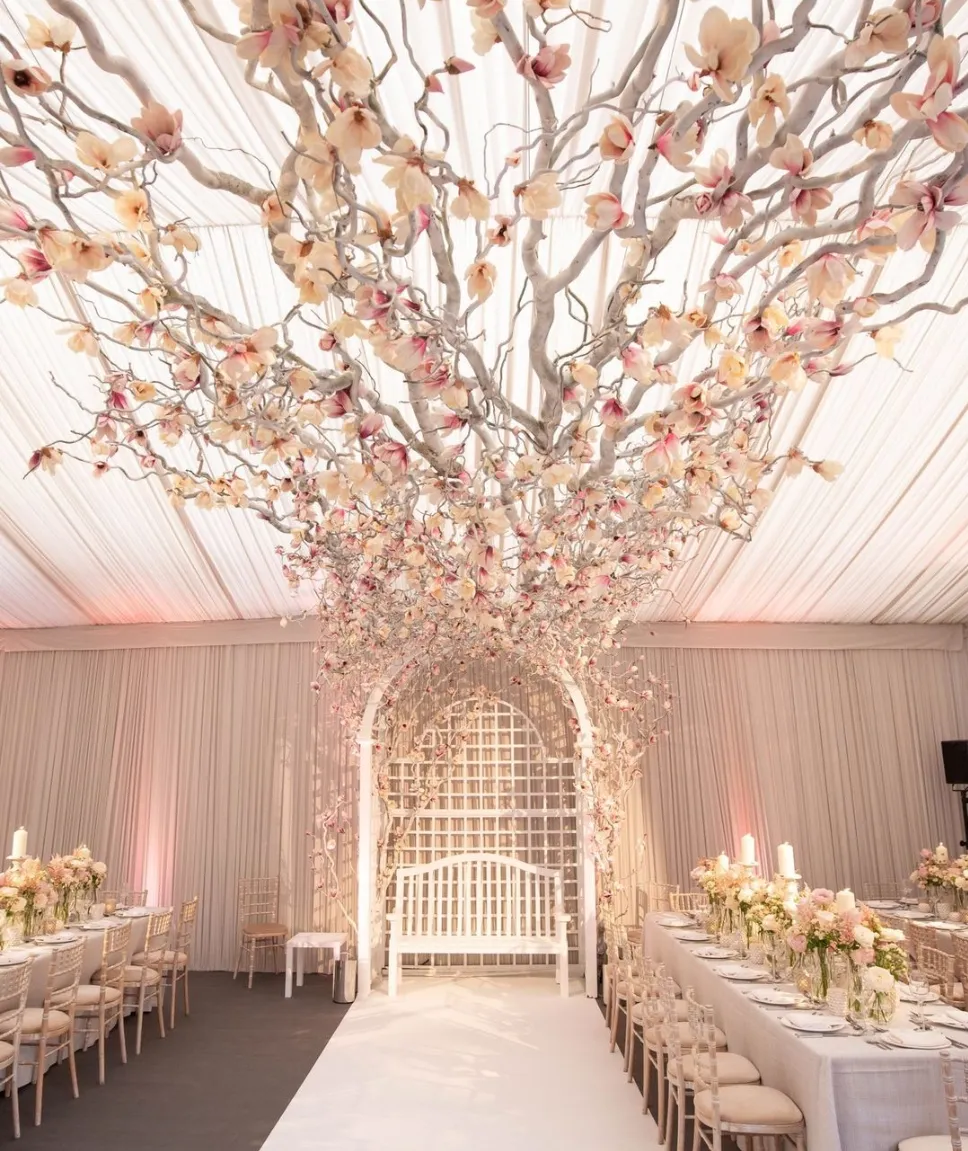
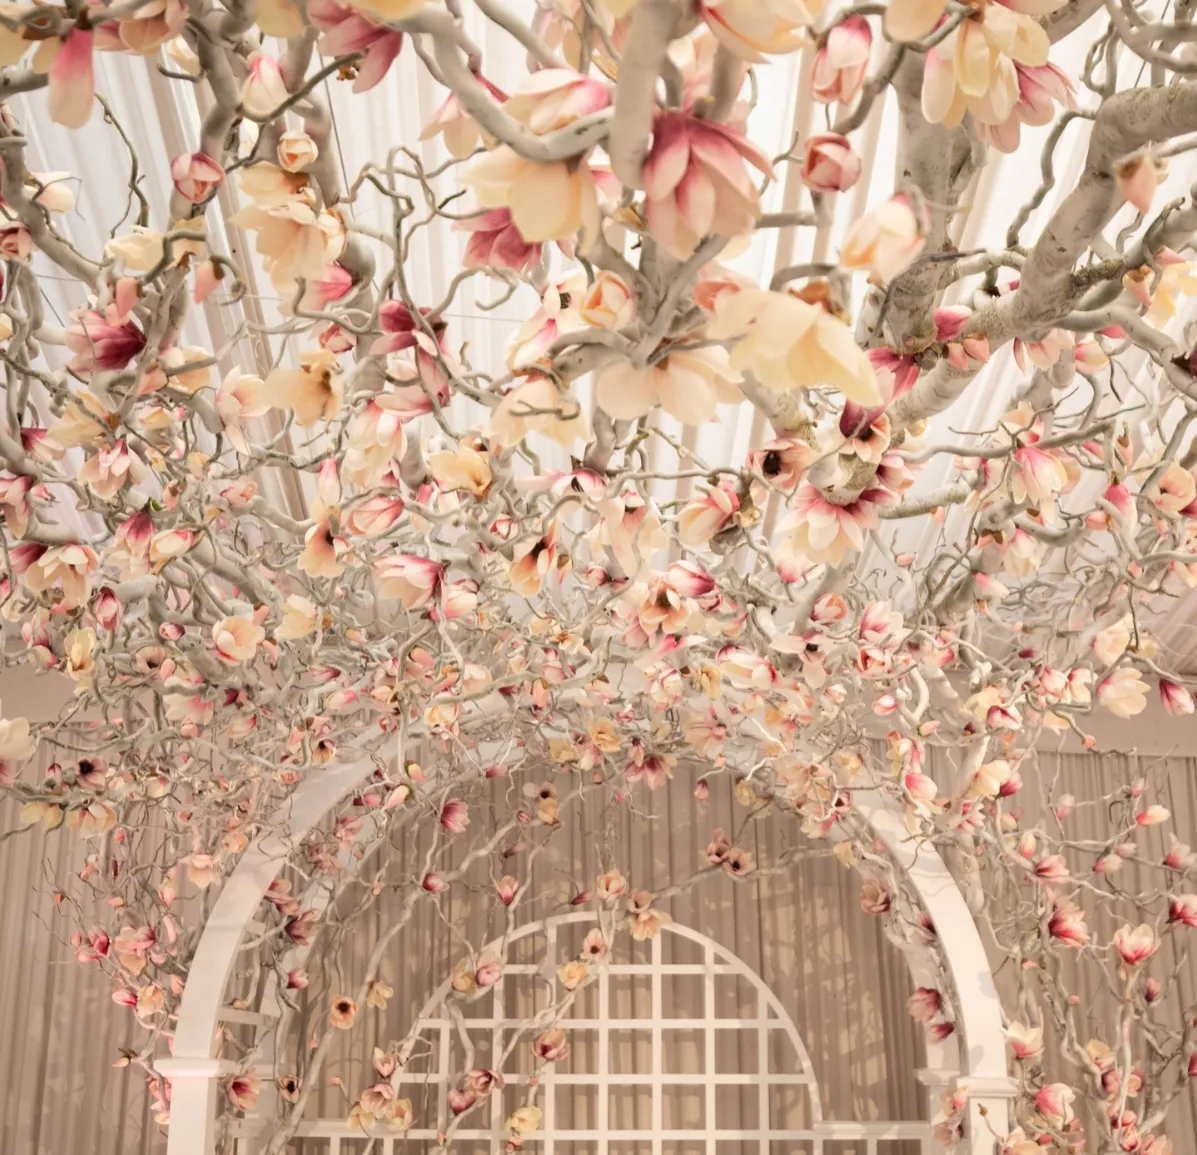
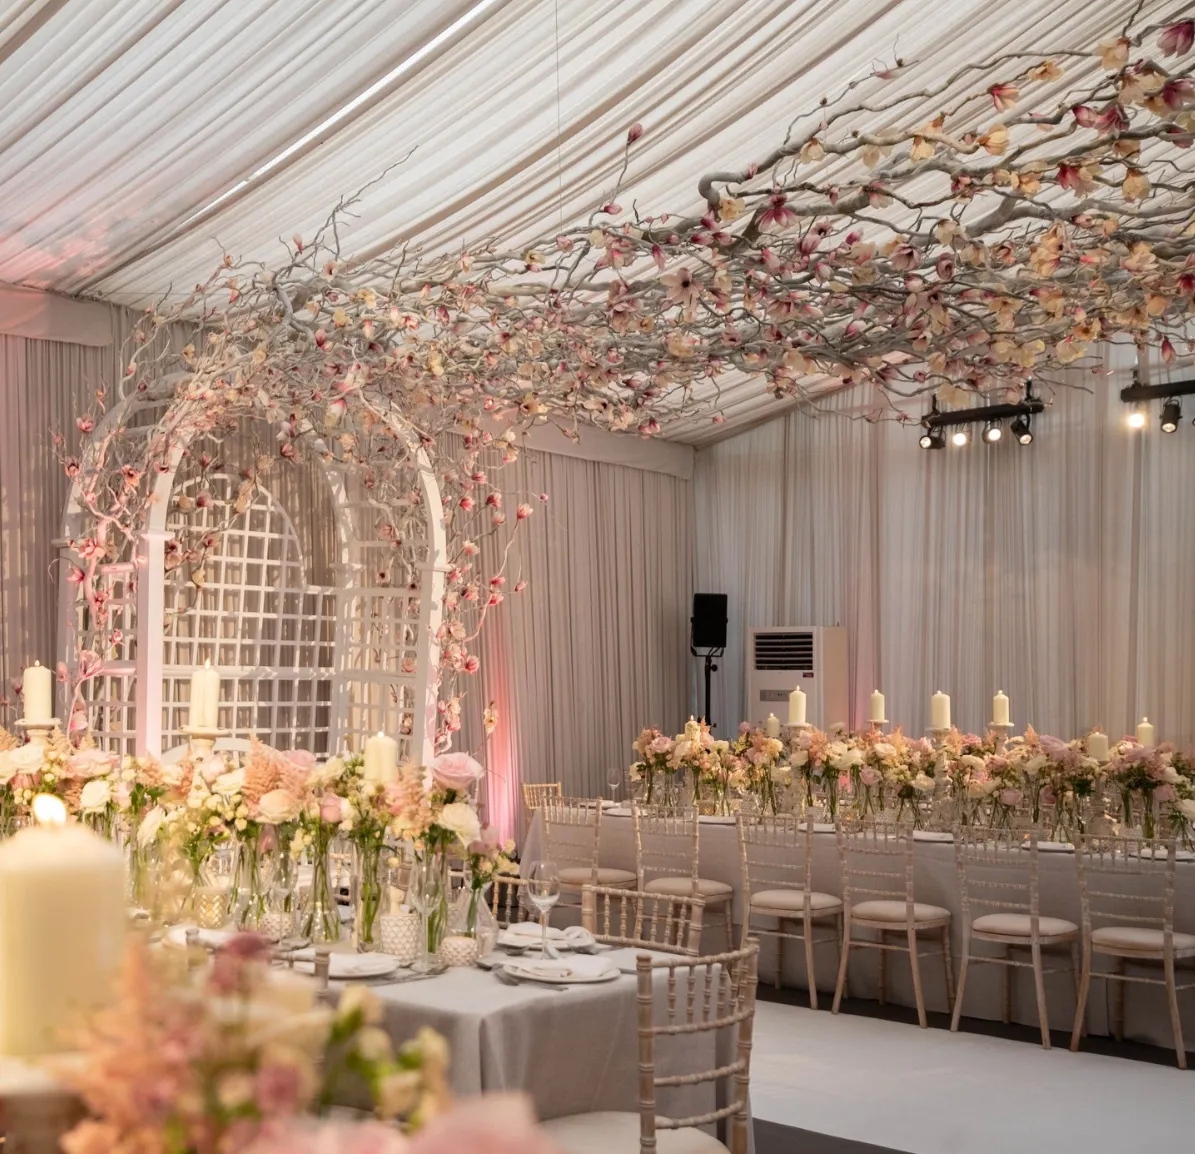
What do Rihanna, Adele, Stella McCartney and the Royal Household all have in common? They've all used the services of florist to the stars Larry Walshe!
When it comes to floristry, there’s nobody quite like Larry. Since he began his career in 2014, Larry and his team have been responsible for transforming some of the most iconic weddings, events, and venues globally. He’s worked for countless A-list celebrities, design houses such as Dior and Ellie Saab - and recently, the YourHomeStyle team were lucky enough to have a chat with him about his top tips of the trade.
More floral projects...

We spoke to the Bloom founder about all things flower arranging, professional secrets, plus how to create a seriously impressive budget friendly bouquet.
Keep reading to find out everything that florist to the stars Larry had to share, plus a roundup of his most awe-inspiring projects. When you’re feeling suitably inspired, don’t forget to check out our pick of the best statement vases and our flower drying tutorial. Happy creating!
Can you talk us through the steps you take when arranging a bouquet?
1. Choose your flowers
First, select your blooms. If you would like a design that is texturally rich, pick a variety of shapes and sizes - some taller flowers like stocks or snapdragons, some round-shaped flowers like roses or ammi, some smaller flowers like freesia or ranunculus and some foliage for interest and balance. Personally, I enjoy a selection of between five to nine types of flower so that your design looks interesting and layered.
2. Condition your flowers
Next, condition your flowers. Make neat piles of each flower variety on the table in front of you so that it is easy to assemble your bouquet. Gather twine and scissors so that these are to hand also.
3. Twist stems together
To begin making your bouquet, take your first stem and hold it between your thumb and forefinger in your left hand. Lay the next stem over the front of this one at a 45-degree angle. Pinch & twist. Add your next stem in the same manner. Now, continue doing this, laying each stem over the front of the last, twisting a half turn each time you do.
4. Tie with twine
Repeating this process over and over as you continue to add flowers will result in the spiral stem formation that you will have seen when you have bought a professionally created bouquet. When you have your design completed, take a length of twine and tie this around the stems (at the bind point where you have been holding it). Trim the ends of the flowers and place into a vase of fresh, clean water.
What are your top tips for easy flower arranging?
- Use a multitude of vases that you gather from around the house. Keep the scheme eclectic so that it makes arranging flowers relaxed and fun.
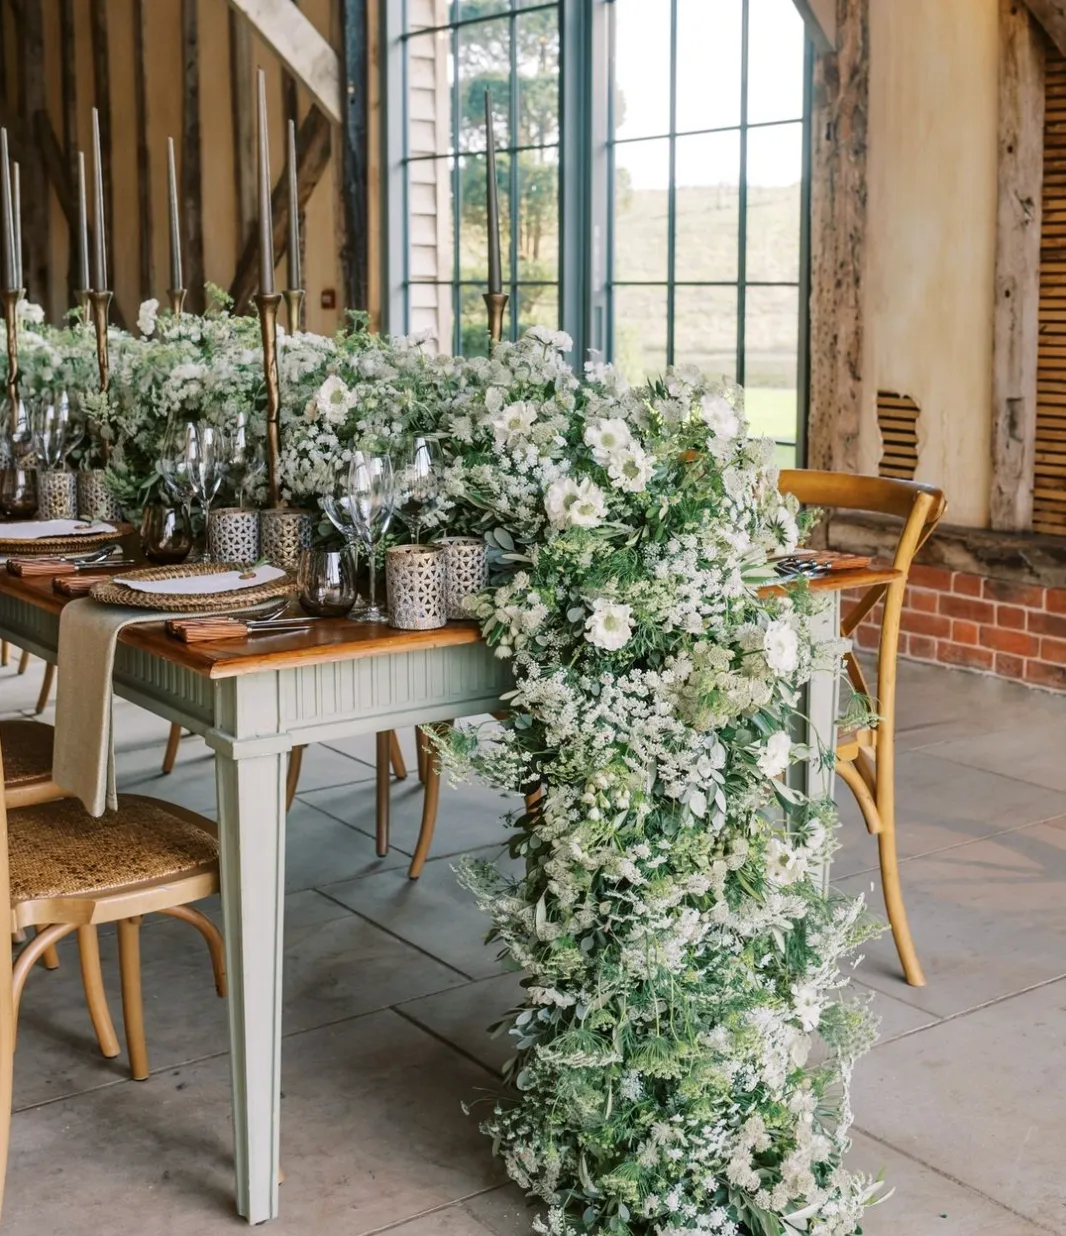
- Use a single variety of flower and display this en-masse. This is such a fast and effective way of decorating at home.
- Select flowers that complement the shape and size of the vases you have at home. Taller stemmed flowers for tall vases and chic spring blooms into low containers.
- Always add flower food – this will extend the life of your blooms by several days and ensure you get the most out of your purchase.
- Make sure to change the water every two to three days, each time snipping the ends of your stem so that they can continue to drink water. This will ensure you get the most of out of your blooms.
What are your favourite budget-friendly blooms?
Alstroemeria are a wonderful flower that is super long lasting and budget friendly. It will often last beyond a week and comes in a rainbow of colours. To create an affordable display, focus on one flower type and buy lots of it to make it appear super generous and effortless.
What are your essential flower arranging tools?
Scissors, twine, and flower food! You can achieve so much with only a couple of tools.
The best tip when flower arranging is to decide what you are going to make before you begin, buy the right ingredients, condition them well and take your time to create a design that you love.
Most importantly, have fun with it – you are creating something beautiful!
Feeling inspired? Don't forget to check out our guide on how to create a faux greenery wall for your home.
