Is your solid-colour feature wall not quite hitting the mark? Perhaps what you’re really looking for is a way to add a completely unique spin to your home décor – and we’ve got just the solutions for the job.
Read on for our expert guidance, tips and techniques on how to paint geometrics, stripes, stencils, and circles onto your walls. And, on a practical note, if you need to update your painting kit, we've tried-and-tested a range of brush sets to find the best paint brushes and put together a buyer's guide of the best painting tools - you're welcome.
Prepare your walls for painting
‘Prior to painting, you must prepare and prime the walls; this is the boring bit, but the more care you take at this stage, the better the paint will look and the longer it will last. Use masking tape to cover the light switches and plug sockets, then tape around the edges of them – professional painters will always spend more time prepping than actually painting. Priming is designed to stabilise surfaces and prepare them for the paint. The primer coat may look a little patchy, but it’s not meant to conceal what it’s covering, so don’t worry too much.’ Joa Studholme, colour curator at Farrow & Ball.
Here is a more detailed guide on how to prepare walls for painting, which will take you through the process perfectly
How to stencil walls
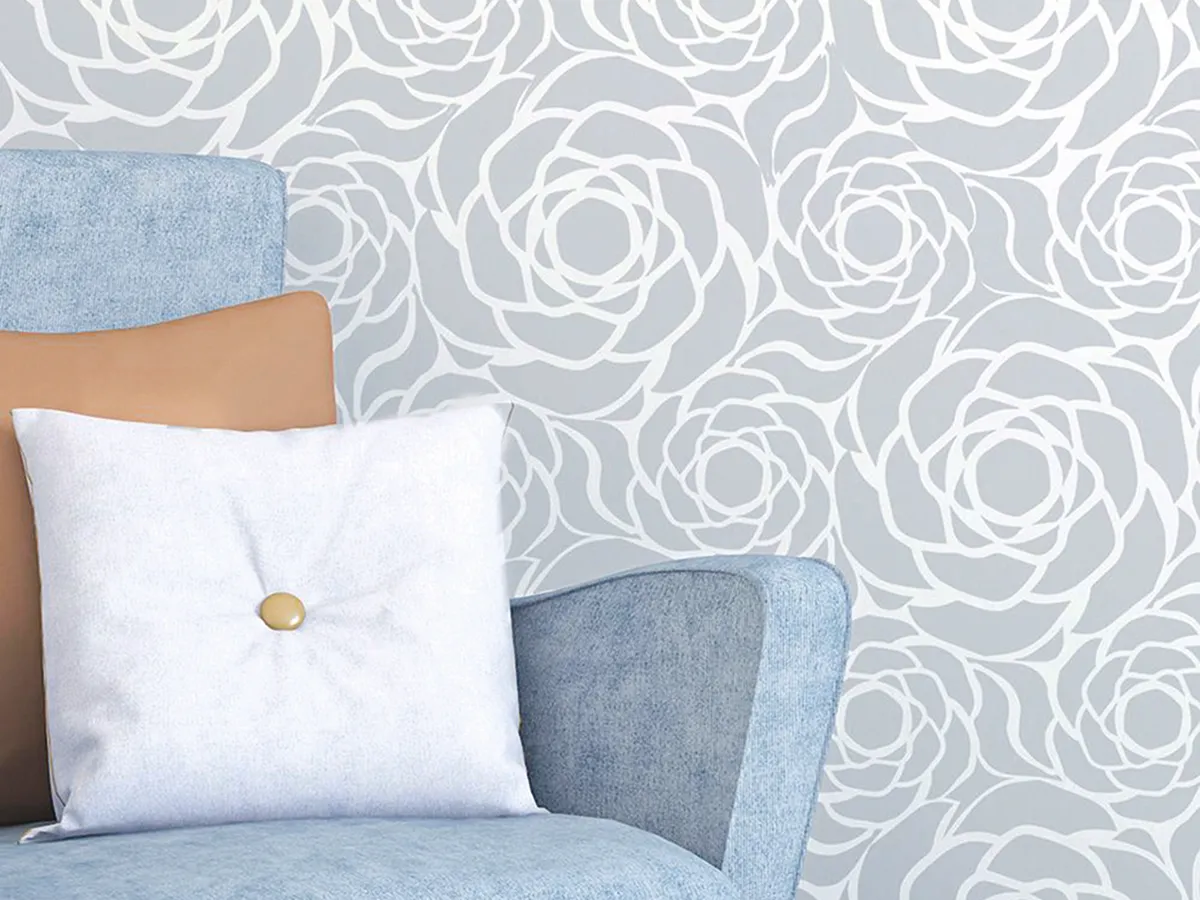
Dulux reveals its top tips for using stencils to make unique and creative paintwork
• For anything more complicated than shapes that you can create out of masking tape, look online for stencils – you can even have them made to your own design and scale.
• It’s simple to apply colour through a big stencil if you use a small foam radiator roller. Tester pots are also ideal for stencils as you only need a small amount.
• Preparation is key, so start with a clean and freshly-prepped wall that’s been sanded down and painted with the base colour more than 24 hours prior.
• When using stencils, make sure you affix them to the wall with tape so that they don’t move when painting them and hold the brush at a 90-degree angle to the wall as you fill them in – this will ensure no paint makes its way underneath and smudges the colour.
How to paint stripes onto a wall
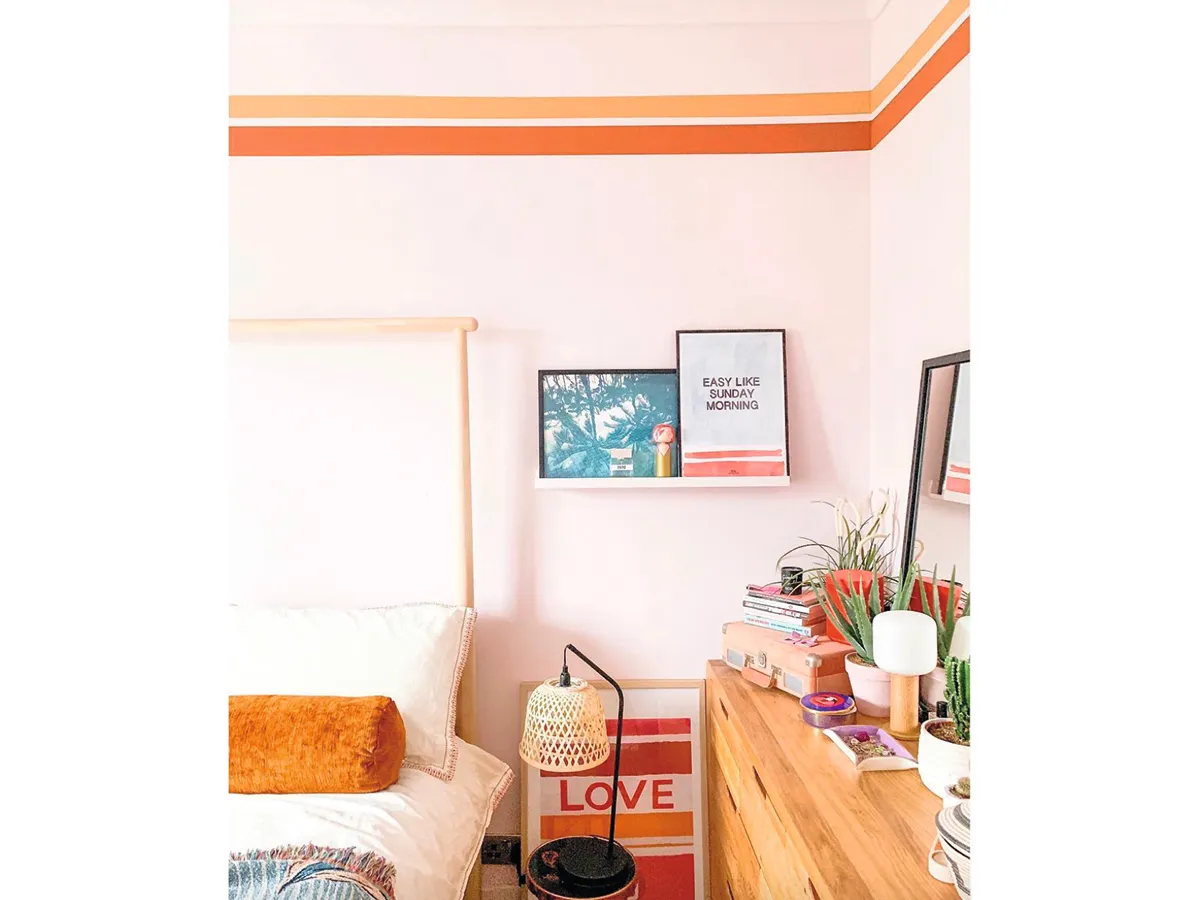
Hopeless at drawing straight lines? Aren’t we all! But not to worry, Dulux has an easy way to create the perfect stripe
You will need;
• Chalk
• Ruler
• String
• Masking tape
• Paintbrush
• Paint
Method
- Mark both ends of the planned line with chalk by measuring the same distance up from the floor at
each end. - Coat a length of string in chalk, then tape it to the wall at one of the marks. Pull it taut across the wall and tape it at the other marked end.
- Gently stretch the string outwards, then let it snap back, creating a guideline to mask off with tape.
- Use good-quality masking tape that guarantees a crisp edge and seal the edge of the tape with a quick lick of the background colour to stop the paint from creeping underneath.
How to paint circles and spots on walls
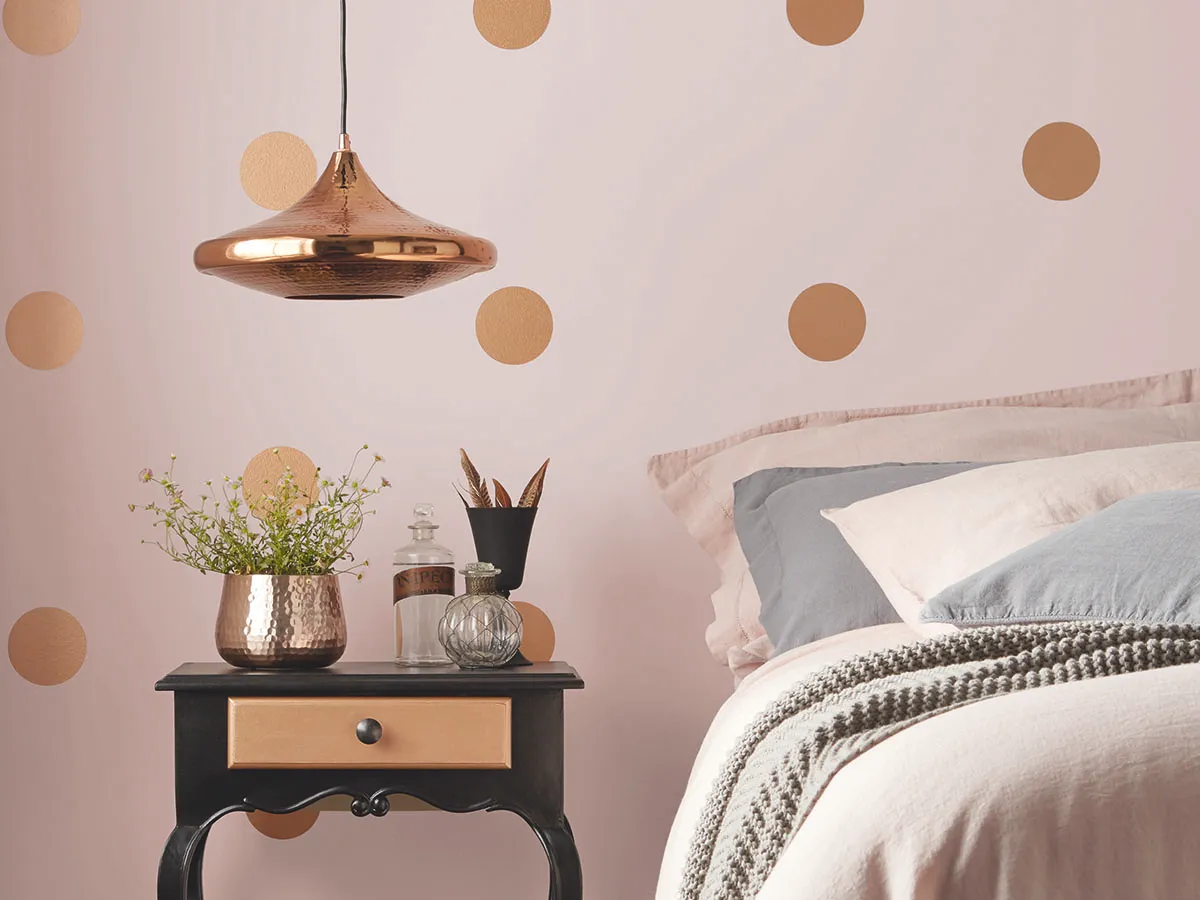
Dulux provides its expert advice on how to create spots and circles
You will need
• Two paint colours
• Foam paint roller
• String
• Pencil
• Fine paintbrush
Method
- Apply a base colour of fresh paint in a shade that will contrast well with the circle motif. For inspiration on which shades to choose, take a look at the Dulux Colour of the Year 2020 palettes. To see how the latest shades will look on your wall, download the free Dulux Visualizer app.
- Once you’ve applied the new background colour and the paint is completely dry, you’re ready to create the circle. To sketch the circle, you need to choose where you want to position it, so consider where your furniture and accessories will go first.
- Tie a piece of string to a pencil, then push and stick the other end against the wall to pin-point the centre of the circle. The length of the string will determine the outer diameter.
- Holding the string taut, draw a circle onto the wall. Next, tighten the string slightly to draw the inner edge of the outline. To fill it in, use a fine straight brush, then carefully paint in between the two pencil-drawn circles, working away from the top in both directions to avoid any smudges. Create as many circles in this way as you desire.
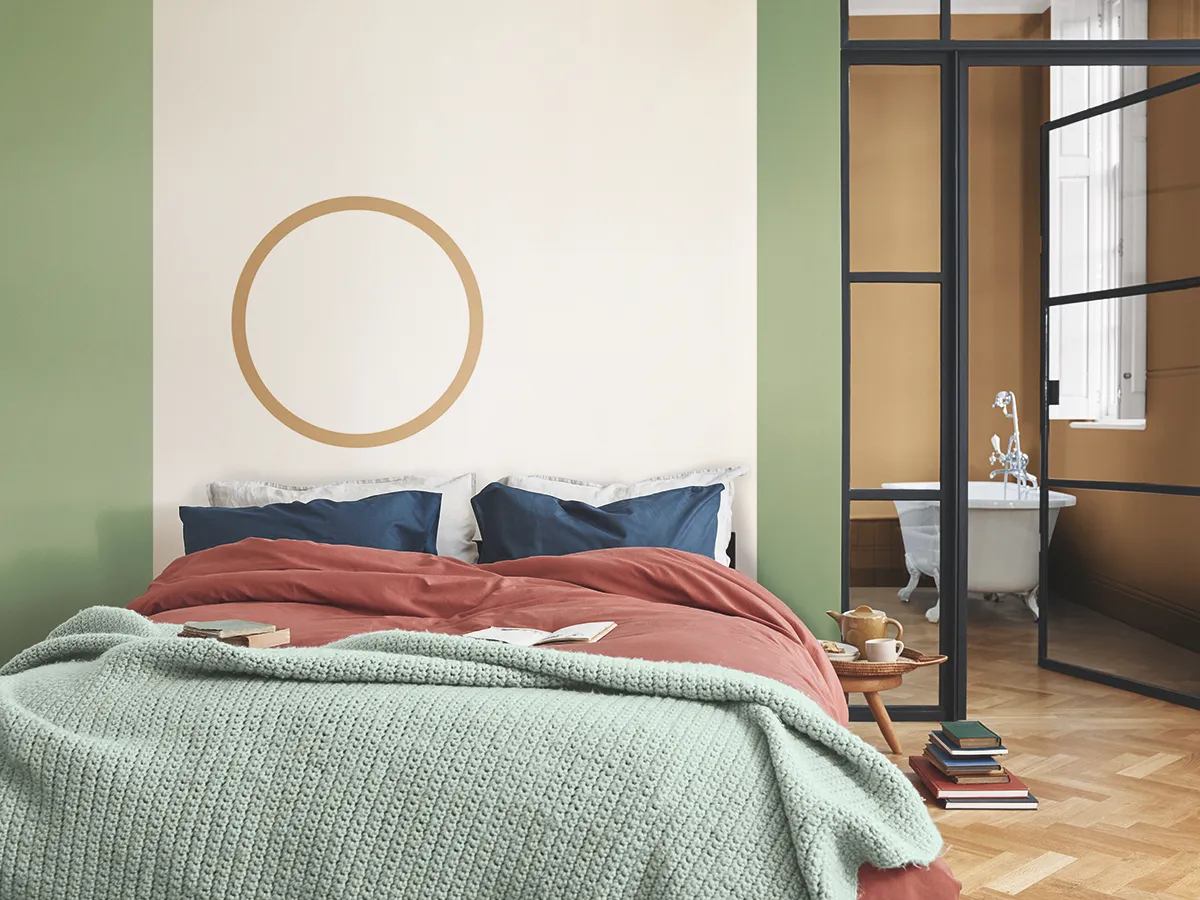
How to paint geometric shapes on your walls
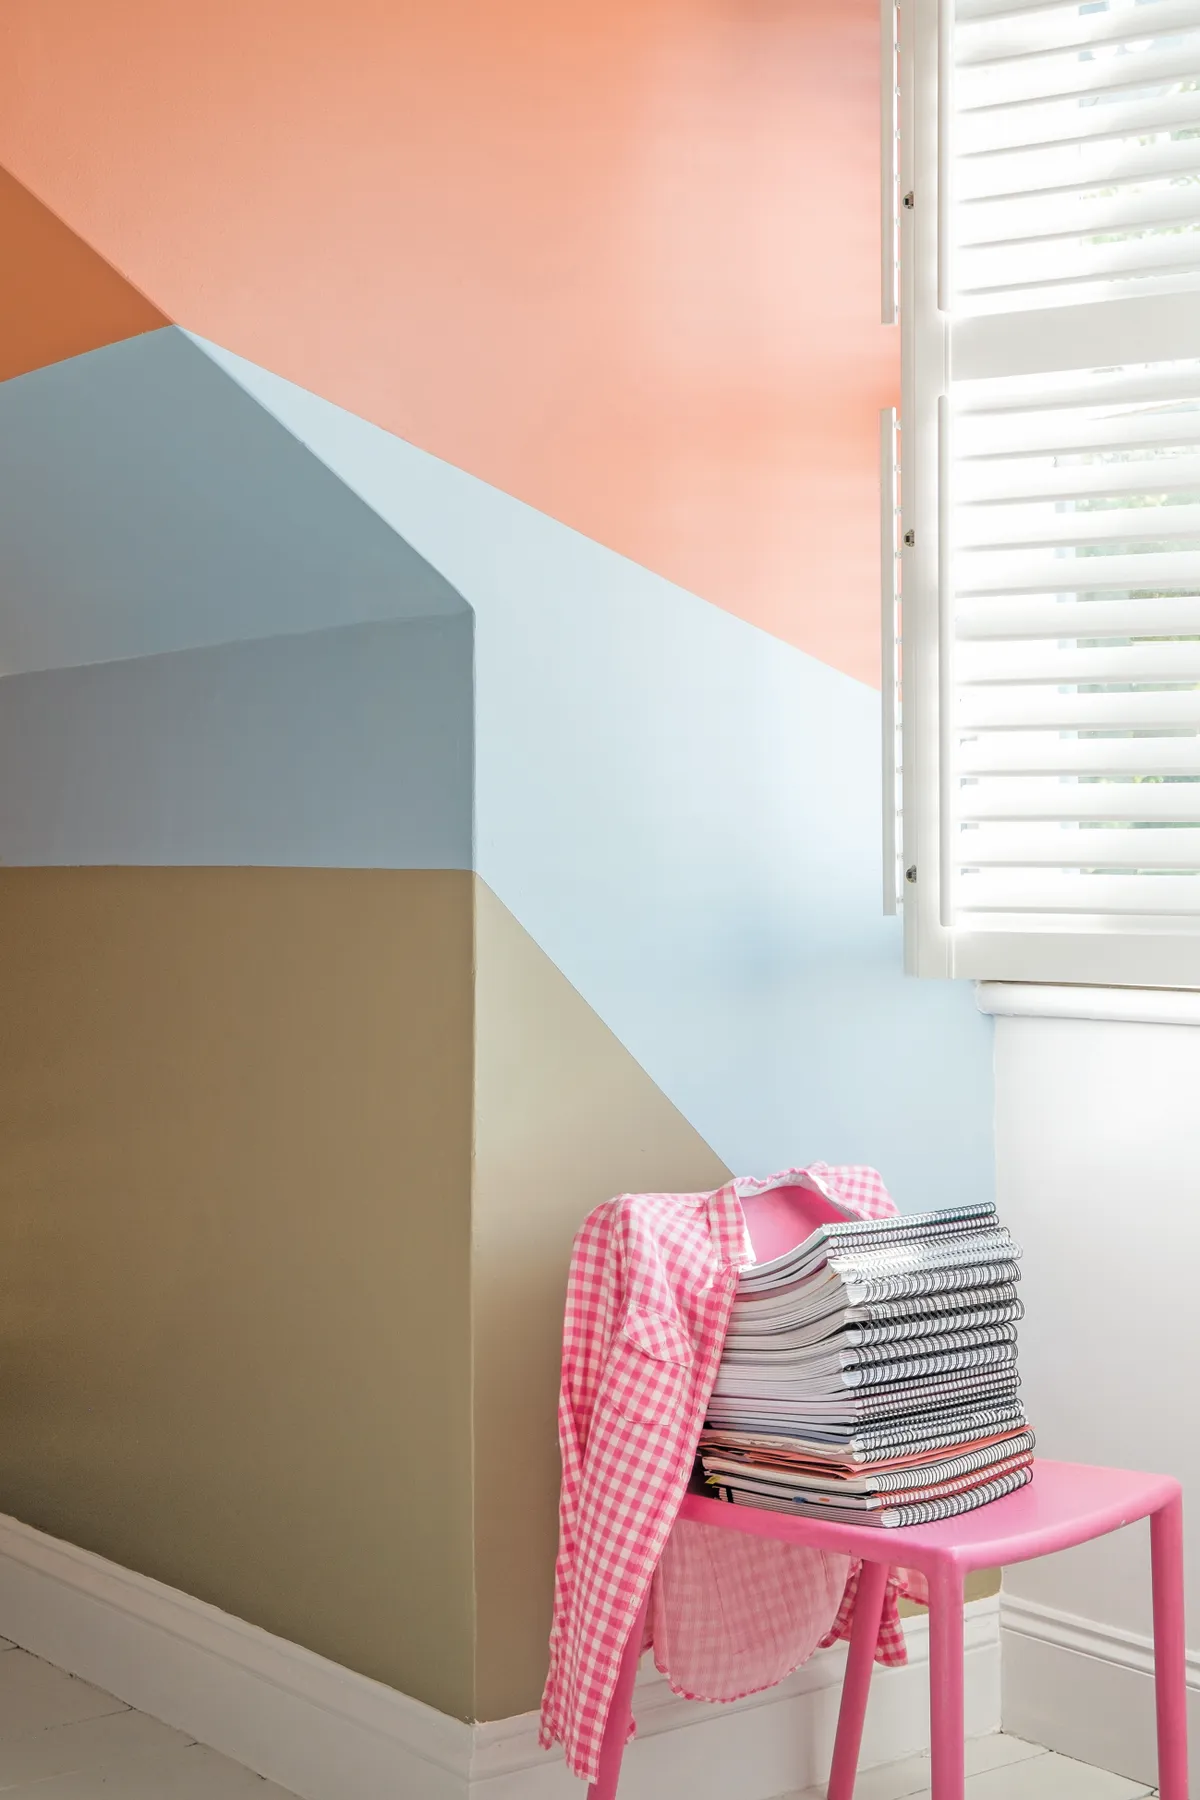
Create a bold look for your wall in just four steps with help from the Valspar paint experts
You will need;
• Three paint colours
• Two-inch paintbrush
• Foam paint roller
• Masking tape
Method
- Place masking tape along the skirting boards and door frames, then use the tape to create three sections on the wall in your own design.
- Load a two-inch brush with the first paint colour so that it’s halfway down the bristles. Paint a border inside the first section, then use a roller to fill it in.
- Repeat for the second and third sections in different colours, then apply a second coat of paint after two to four hours.
- Remove the tape when the paint is still wet. When dry, mask along the painted edges and fill in any gaps where the masking tape was.
