Okay, we’ll admit it: wallpapering can be far from a simple feat. Awkward room shapes, measuring mishaps and those pesky air bubbles can trip up even a seasoned DIY-er - but that doesn’t mean you have to throw your hands in the air and pay someone to get the job done.
In fact, with the right tips, tools and knowledge, anyone can choose, strip and hang wallpaper like a professional.
Read on for our ultimate guide to everything from choosing a wallpaper design to tackling the trickiest corners!
How to choose wallpaper
The wallpaper you choose for your home will have a big influence on your overall interior. The style you opt for will impact everything from lighting to furniture choices, so it's crucial that don't make a hasty decision which could cause regrets, and even more money, down the line.
Our list of the best wallpapers for your home should fill you with inspiration. If you're worried about making the wrong choice, these expert tips from Vanessa Arbuthnott will make sure you stay aware of the big issues prior to making a final decision:

Wallpaper samples
Finding a sample you love is all well and good, but make sure not to rush. Pin the sample up in the room you wish to makeover for a few weeks, and glance at it whenever you pass the room. Make sure to look at it at different points of the day, as the light will make it look different. If you still love it after two or three weeks, then you know you've found the right style!
Real home inspiration: ‘I made my own happy place’
With a little love and a lot of paint, Liz Levett turned a 1950s house into her family’s forever home

Consider removable wallpaper
When you're considering your options, remember think about the ease of a removable product. Removable wallpaper has come a long way in recent years - it's simple to hang and can also be removed without damaging walls, so it's ideal if you're the type of person who gets easily bored.
Room styling
Make sure you understand the different atmospheres you want your room to have and how your wallpaper choices can convey them. For instance, if you want a casual feeling, floral designs are worth considering, as they provide an organic ambience and a certain relaxed feel.
If you're after a contemporary vibe, how about going for bold geometrics? The high gloss and metallic accents provide an on-trend fashion setting.

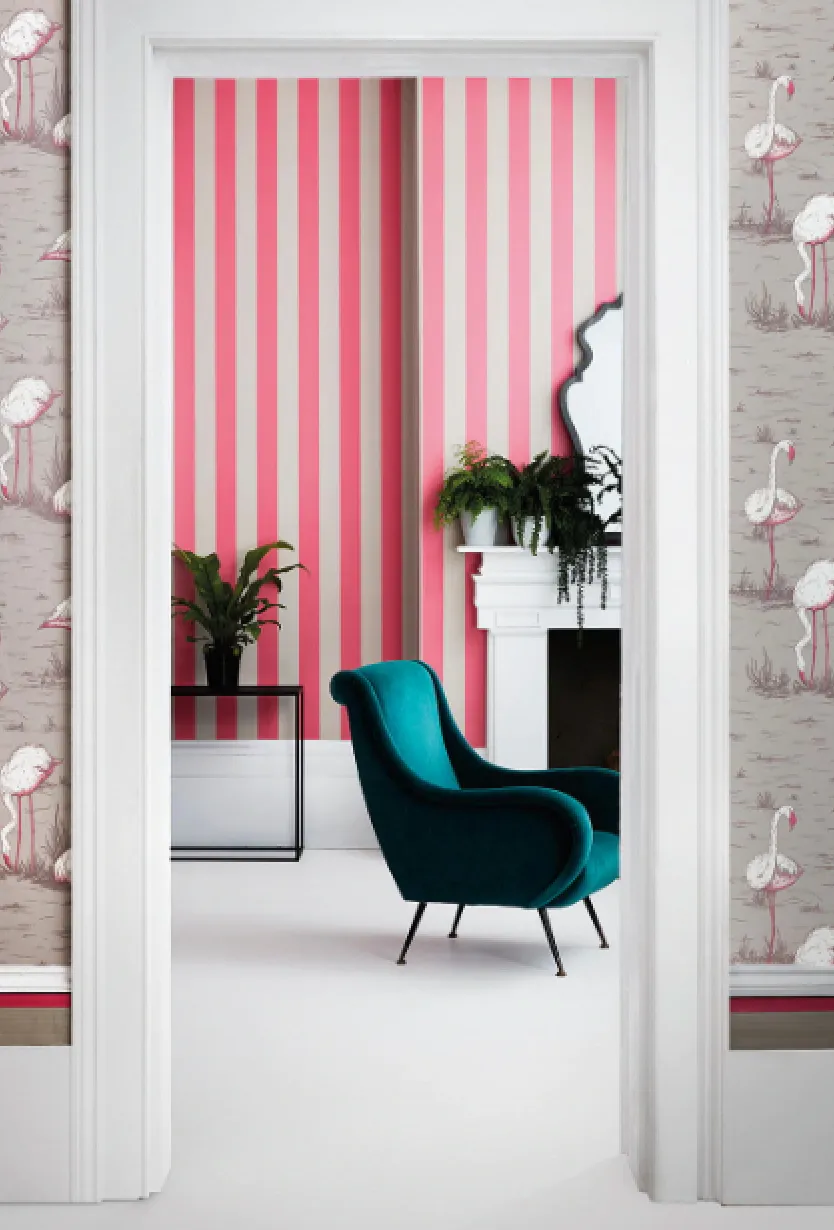
Perhaps you prefer the traditional route? In this case, stick to intricate details and stripes, which always looks perfect alongside traditional furnishings. Just remember - be consistent and find a pattern that works for you.
Feature walls
If you want to add some bold vibes but don't want to go over the top, a feature wall could be the order of the day.

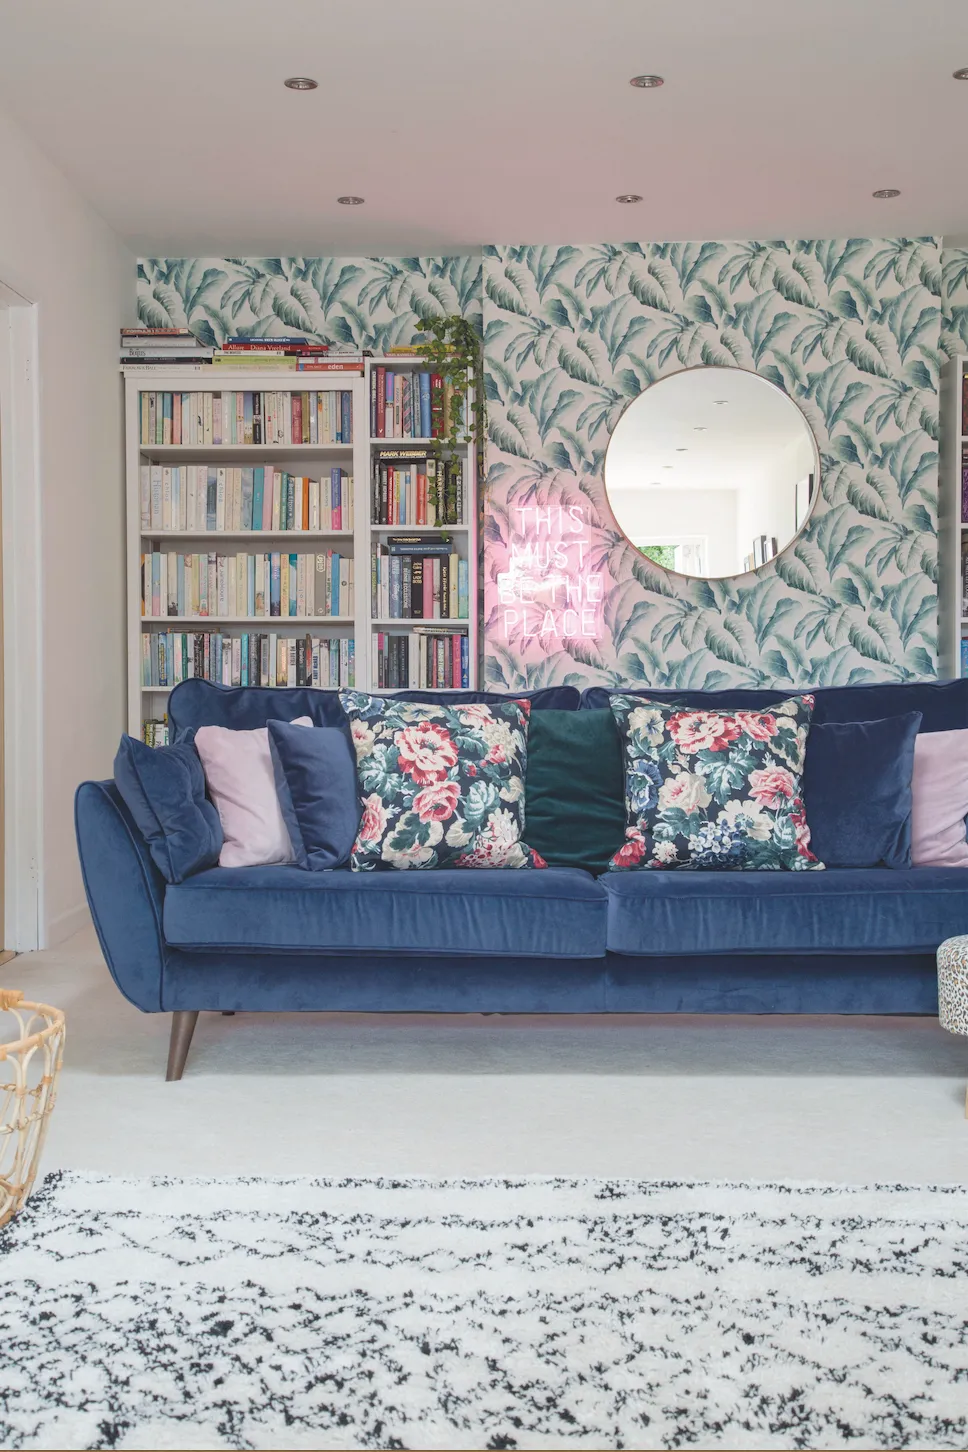
The dramatic pattern allows you to highlight areas of the room such as behind the sofa.
Kid-proofing
Having children could leave you worried about the state your wallpaper could end up in - the thought of crayon marks are particularly shudder inducing. A way around this? Well, how about wallpaper coverings? Made from a fabric and paper mix, they work by simply brushing paste onto the wall, before placing the wall covering on to it.
Should I wallpaper a room with low ceilings?
A room with low ceilings can be made to feel bigger with dip dyed wallpapers. As it stands, the design is a very popular interiors trend, with the more intense colour at the bottom fading out to beige or neutrals at the top, creating the illusion of taller walls.

Stripes could be another trick for your arsenal. Use white or a pale colour such as blue to create the impression of height.
Don't follow the crowd
Remember that trends change as quickly as they emerge. You might like a wallpaper that everyone seems to have, but don't just choose something because it's fashionable. It's more important that you choose something that really suits your personality - if you have an unusual style you are drawn towards, go for it!
Quirky wallpaper – for instance, bright and bold patterns or glistening metallics - sets you apart from the crowd, and you won't get bored of them if you choose them for you.
Decor ideas: Four ways to mix and match patterns in your home
Mix and match patterns in your home like an expert with help from our ultimate how-to guide!

Wallpapering uneven walls
Not all walls are perfect. But, there’s a way around this! A paper with a three-dimensional texture or pattern can mask the flaws of a bumpy or irregular textured wall - a heavier and more substantial paper can be chosen, but avoid reflective surfaces such as metallics. Textured wallpaper can cover bumps, but if there are any larger cracks or splits, it will need to be repaired or else will continue expanding.
Alex Whitecroft from I Want Wallpaper shares his expert advice on choosing the right wallpaper for you
"Revamping a room can sometimes seem overwhelming, but choosing a wallpaper design that you love is a great starting point and can also help you to focus your overall interior scheme, style and product choices.
"My advice is to start by thinking about the purpose and practicality of the room. Dark rooms would benefit from a light, metallic paper that can diffuse light around the room.
"If it’s a high traffic area or a child’s room, then a durable, wipe clean paper would be beneficial. Strong colours and patterns can also hide any scuffs or finger marks.
"While colour and pattern choice is down to personal preference, it’s worth remembering that it will have an impact on your mood. If you need your bedroom or living room to be a peaceful, zen-like space then opt for wallpaper in calming tones that are easy on the eye, rather than something bright and busy."

How to remove wallpaper
If you’re not sure how to strip old wallpaper properly, here’s I Want Wallpaper's Alex expert tips:
What you'll need to remove wallpaper
Ladder
Wallpaper scraper
Utility knife or orbital scorer
Spray bottle
Liquid soap/detergent
Sponge
Tape
Old sheets/dust cloths
Rubber gloves
1. Check layers
Before starting, you need to know how many layers of paper there are to remove - it's simple to do, with a scraper. If you find there are over two layers, make sure you give yourself extra time.
'Strippable paper' is designed to be easy to peel off, while many vinyl wallpapers are also easy to remove. You can check whether it will be a simple task or not by using a knife. Use it to pry the corner of the paper away, before using both hands to pull it down - if it comes off in a long strip, and there are no signs of adhesive, the task will have become a whole lot simpler!

Tip: are you planning to update the paper? Well, add acrylic primer to the wall - it will make it a whole lot easier to remove in the future.
2. Protect floors and furniture
Removing strippable paper is a messy job - it's therefore worth spending some extra time to look after your floors, woodwork and furniture. Think about removing the wall sockets too - just ensure any gaps are covered with tape to prevent water from getting in and, for added safety, turn the electricity off too. If it's not possible to remove furniture from the room, move it to the centre of the room, then, cover it with an old sheet.
3. Slit the paper and wet the walls
If you have non-strippable wallpaper, make slits in the paper, using either a utility knife or a specialist tool like an orbital scorer - just make sure you take care to avoid damaging the wall. Keep the slits roughly 10 inches apart, before using a sponge to wet the walls with a mixture of warm water, a small amount of cellulose paste and liquid detergent. The slits allow the moisture to soak behind the wallpaper, so it's easier to remove.

4. Let the paper soak
After soaking the paper for a few minutes, it's time to start getting it off. Hold your scraper at a 30-degree angle, and then slide it behind the scores, slowly scraping the paper upwards, and away from the wall.
For the more stubborn areas, it could be time to bring in a steamer. It's a messier method, but if an area is particularly stubborn, it will help you get the job done.
5. Remove the wallpaper paste
Are there any traces of glue left? Well, the good news is it can be removed by using a solution of:
Liquid soap - regular washing up liquid also works
A tablespoon of baking soda
Vinegar (this works for the more stubborn residue)
Hot water
Apply this with a sponge - the solution softens the glue or paste and means it will be simple to wipe off with a rag. You can then use a putty knife or similar to scrape off any remaining residue.

6. Repair holes and scratches
Has the process left any holes or scratches? Well, you can patch these with a joint compound (this is a creamy material which has a toothpaste-like consistency). After it's dried, sand it to create a smooth surface.
7. Wash the wall with sugar soap
It's worth spending a bit of extra time here - it will be time well spent.
Before you start wallpapering
Check batch numbers
Check the batch numbers of your wallpaper if you're using more than one roll - you'd be surprised but depending on the batch, they could have slight colour discrepancies.
If you can, get consecutive batch numbers when you're buying wallpaper - this means it will perfectly align when hung. You'll also want to accurately measure the total area you're covering - it's better to over order, as that gives you wiggle room for potential accidents.
Plan features
Measure your wall and make sure you have a firm plan as to where you'd like certain features to appear. For instance, a large motif should appear above a feature like the sofa, and not cut off halfway.
Remember to work away from windows
When you approach the wallpapering time, be sure to work away from any windows. This will mean that when you're finished you won't see any joins between drops when the light hits the wall.

How to hang wallpaper
Hanging normal or feature wallpaper may seem a daunting task, but these tips make it as simple as possible:
What you'll need to wallpaper
Pasting table
Step ladders
Bucket
Pasting brush
Seam roller
Wallpaper smoother
Carpenter's level
Pushpins
Steel tape measure
Pencil
Scissors (and a jug of water to dip them in to remove paste)
Large scraper or spatula
Utility knife
1. Find the centre point
After you’ve prepared the walls by cleaning and filling in any cracks, find the centre point of the wall. This will be where the first drop will be placed. Divide the width of the wallpaper in half and mark the point to the left of the centre.
2. 'Size the wall'
'Size' the wall to start, covering it in a solution of half PVA glue, half water - this can be applied with a paint roller. It's not crucial, but it provides a glossy finish, so the paper is easier to put up. It also helps it stick in place.

3. Make a plumb line
Use a spirit level to create a plumb line to intersect with the second mark. A plumb line helps you draw straight lines at regular intervals all around the room, and this will be where you align the wallpaper’s edge, to make sure it's straight.
4. Mark the pasting table
Measure the floor to ceiling height of your room, and make a mark on the pasting table - this saves you the hassle of measuring every individual piece of paper. Leave yourself with a good few inches to achieve variations - this particularly applies in old houses, as the floors and ceilings can be uneven. You also want to make sure you have adequate paper for lining up the pattern. The basic rule here is more is more - after all, you can trim it down, but you can't make it grow.
Does your paper have a large pattern? If so, start in the middle of the wall, or a particular focal point and from there, work outwards. Just make sure you measure your wall's mid-point. If it's a plain, smaller pattern, you can start to paper it from the corner of your room, ideally on a wall which has no window or doors. That way, you can go full length without facing any problems. There's another important detail to consider - make sure each sheet is the right way up.
5. Roll the paper from top to bottom
Overlap the top of the roll to the top of the wall by 5cm. You want to have the first length straight, as this, essentially, sets the template for the rest of the room. Use the straight pencil lines you've drawn as a guide Slowly unroll the paper down the wall a bit at a time, smoothing it as you go, and working out any bubbles. Continue all the way down to the bottom of the wall, and then trim the top to bottom.

For the next drop, you want to ensure the pattern will line up, so there could be excess trim at the top of the roll to trim later. When it's been positioned and aligned properly, slowly unroll the paper, smoothing it as you go.
6. Score the paper
Always have scissors to hand - to finish, you’ll need to lightly score at the ceiling and skirting joints, before peeling the trim back and trimming it with scissors. Wipe away access paste with a damp sponge and voila! There's no need to worry if your first try looks a bit wonky or out of position - simply manoeuvre the sheets so you get them into the perfect position - this will ensure the paste doesn't dry and also leaves you with smooth walls.
7. Repeat the process
Repeat this process with further strips and make sure the patterns line up. Remember - work away from the windows, so you don't have any shadows from overlapping edges, and to finish off, smooth the paper to ensure there's no air bubbles.
How to hang wallpaper behind a radiator
Bleeding a radiator and taking it off the wall, so you can paper behind it, can take a lot of time for little reward. Instead, hang a strip of paper that is cut just long enough to cover around 20cm of wall behind the top of the radiator. You can then cut another short length to fit the gap at the bottom. The brackets should hide the bare wall from view, to ensure no one will know the difference.
How to wallpaper tricky areas
If you're struggling with light sockets or uneven surfaces, this step by step guide will provide you with a solution

How to remove bubbles from wallpaper
You've finished hanging your wallpaper - it looks amazing! Until, oh gosh, there's a bubble!
Before you panic and start rueing a job badly done, get around it by finding a tiny pin. Use this to puncture the air bubbles and gently remove the air with a wallpaper sweeper.
It will be easier to do this when the glue is still wet, so make sure you thoroughly check the paper as you go along. If it's a bigger bubble or you need more glue, you can always use a craft knife to make a slit, push the air out and then use a syringe to add more glue. You can then smooth this out and remove the excess glue with a damp sponge.
Now, the only thing left to do is style your wallpaper with coordinating accessories and furniture. If you're in need of some style inspiration, check out our style wishlist below for a round up of the best budget-friendly high street finds!
Style wishlist: get inspired with our home decor ideas
Every week, we round up our favourite new homeware discoveries - click here to see what we're loving!


